Queen Elizabeth Way - Images
<- Page 3 Page 4 - Burlington to Oakville Page 5 ->
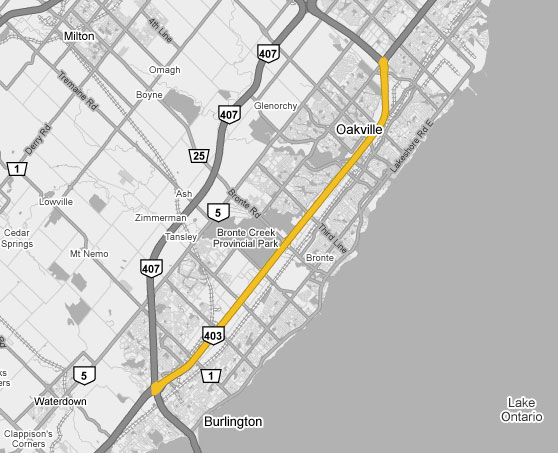
Photos shown in this table are arranged from South (Fort Erie) to North (Toronto):
| Proper Municipality Name | Photo Description | Photo | ||
|
Photos taken from driver's perspective appear offset from centre-line Photos: |
Toronto- Bound |
Fort Erie- Bound |
||
| Continued from Stoney Creek to Burlington Images | ||||
| City of Burlington Regional Municipality of Halton |
View looking towards Toronto from the ramp to Highway's 403 and 407. Photo taken: June 14th, 2007. |
 (720x480) (1440x960) |
||
| City of Burlington Regional Municipality of Halton |
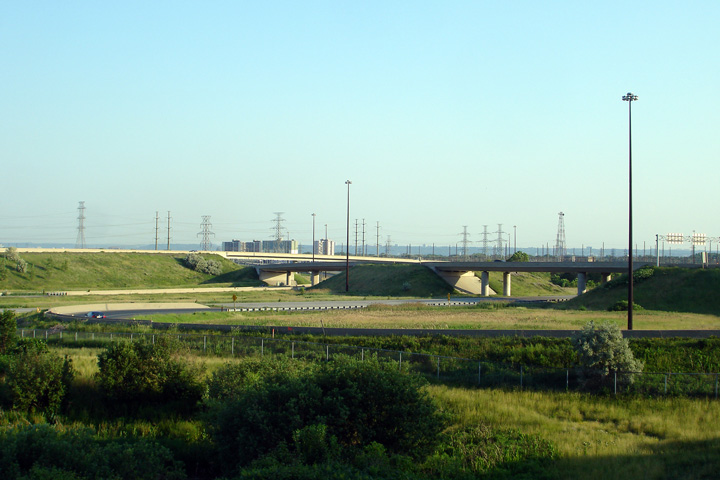
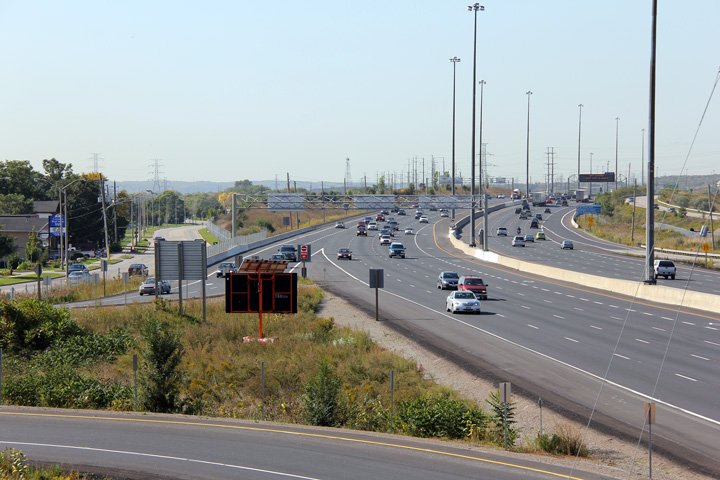
View looking towards the Freeman Interchange as seen from the North Service
Road west of Brant Street. The large radius loop ramp from the
Toronto-bound QEW to westbound
403 dominates this photo. Several of
the interchanges other high-speed flyovers are visible in the background. Photo taken: June 12th, 2007. |
 (720x480) (1440x960) |
||
| West of the Freeman interchange Highway 403 leads through Downtown Hamilton to Woodstock. Click here for Highway 403 Images | ||||
| City of Burlington Regional Municipality of Halton |
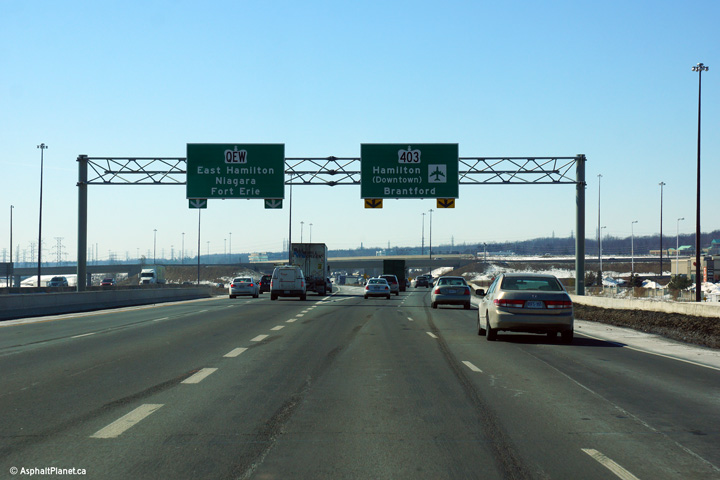
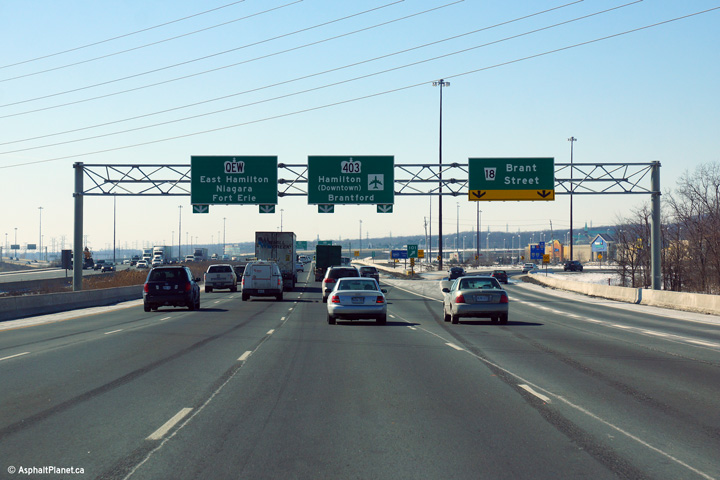
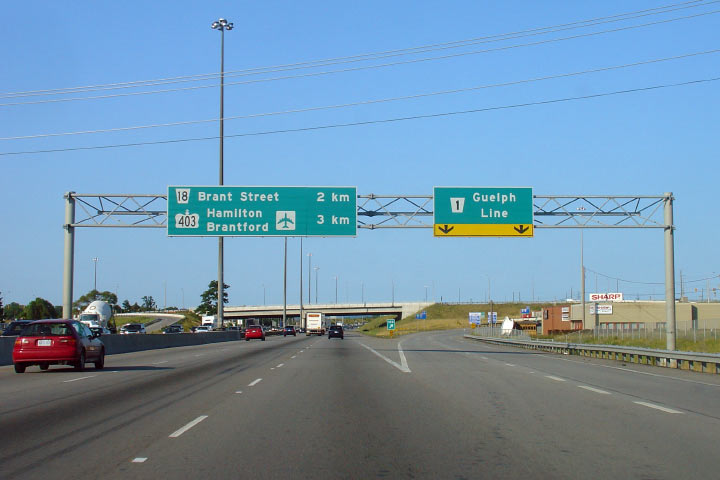
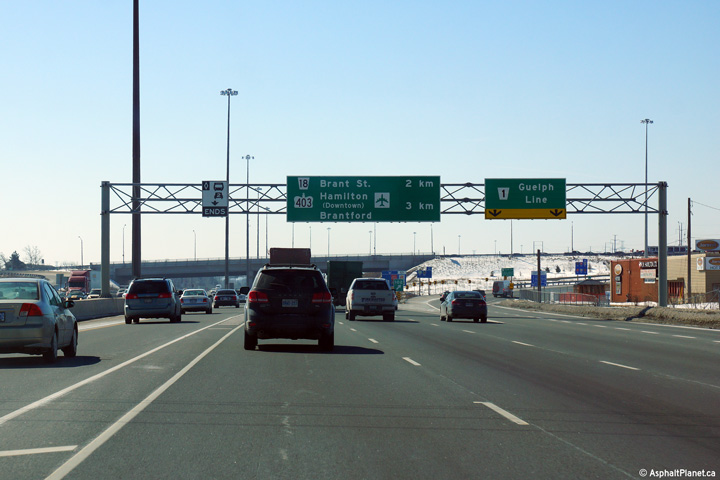
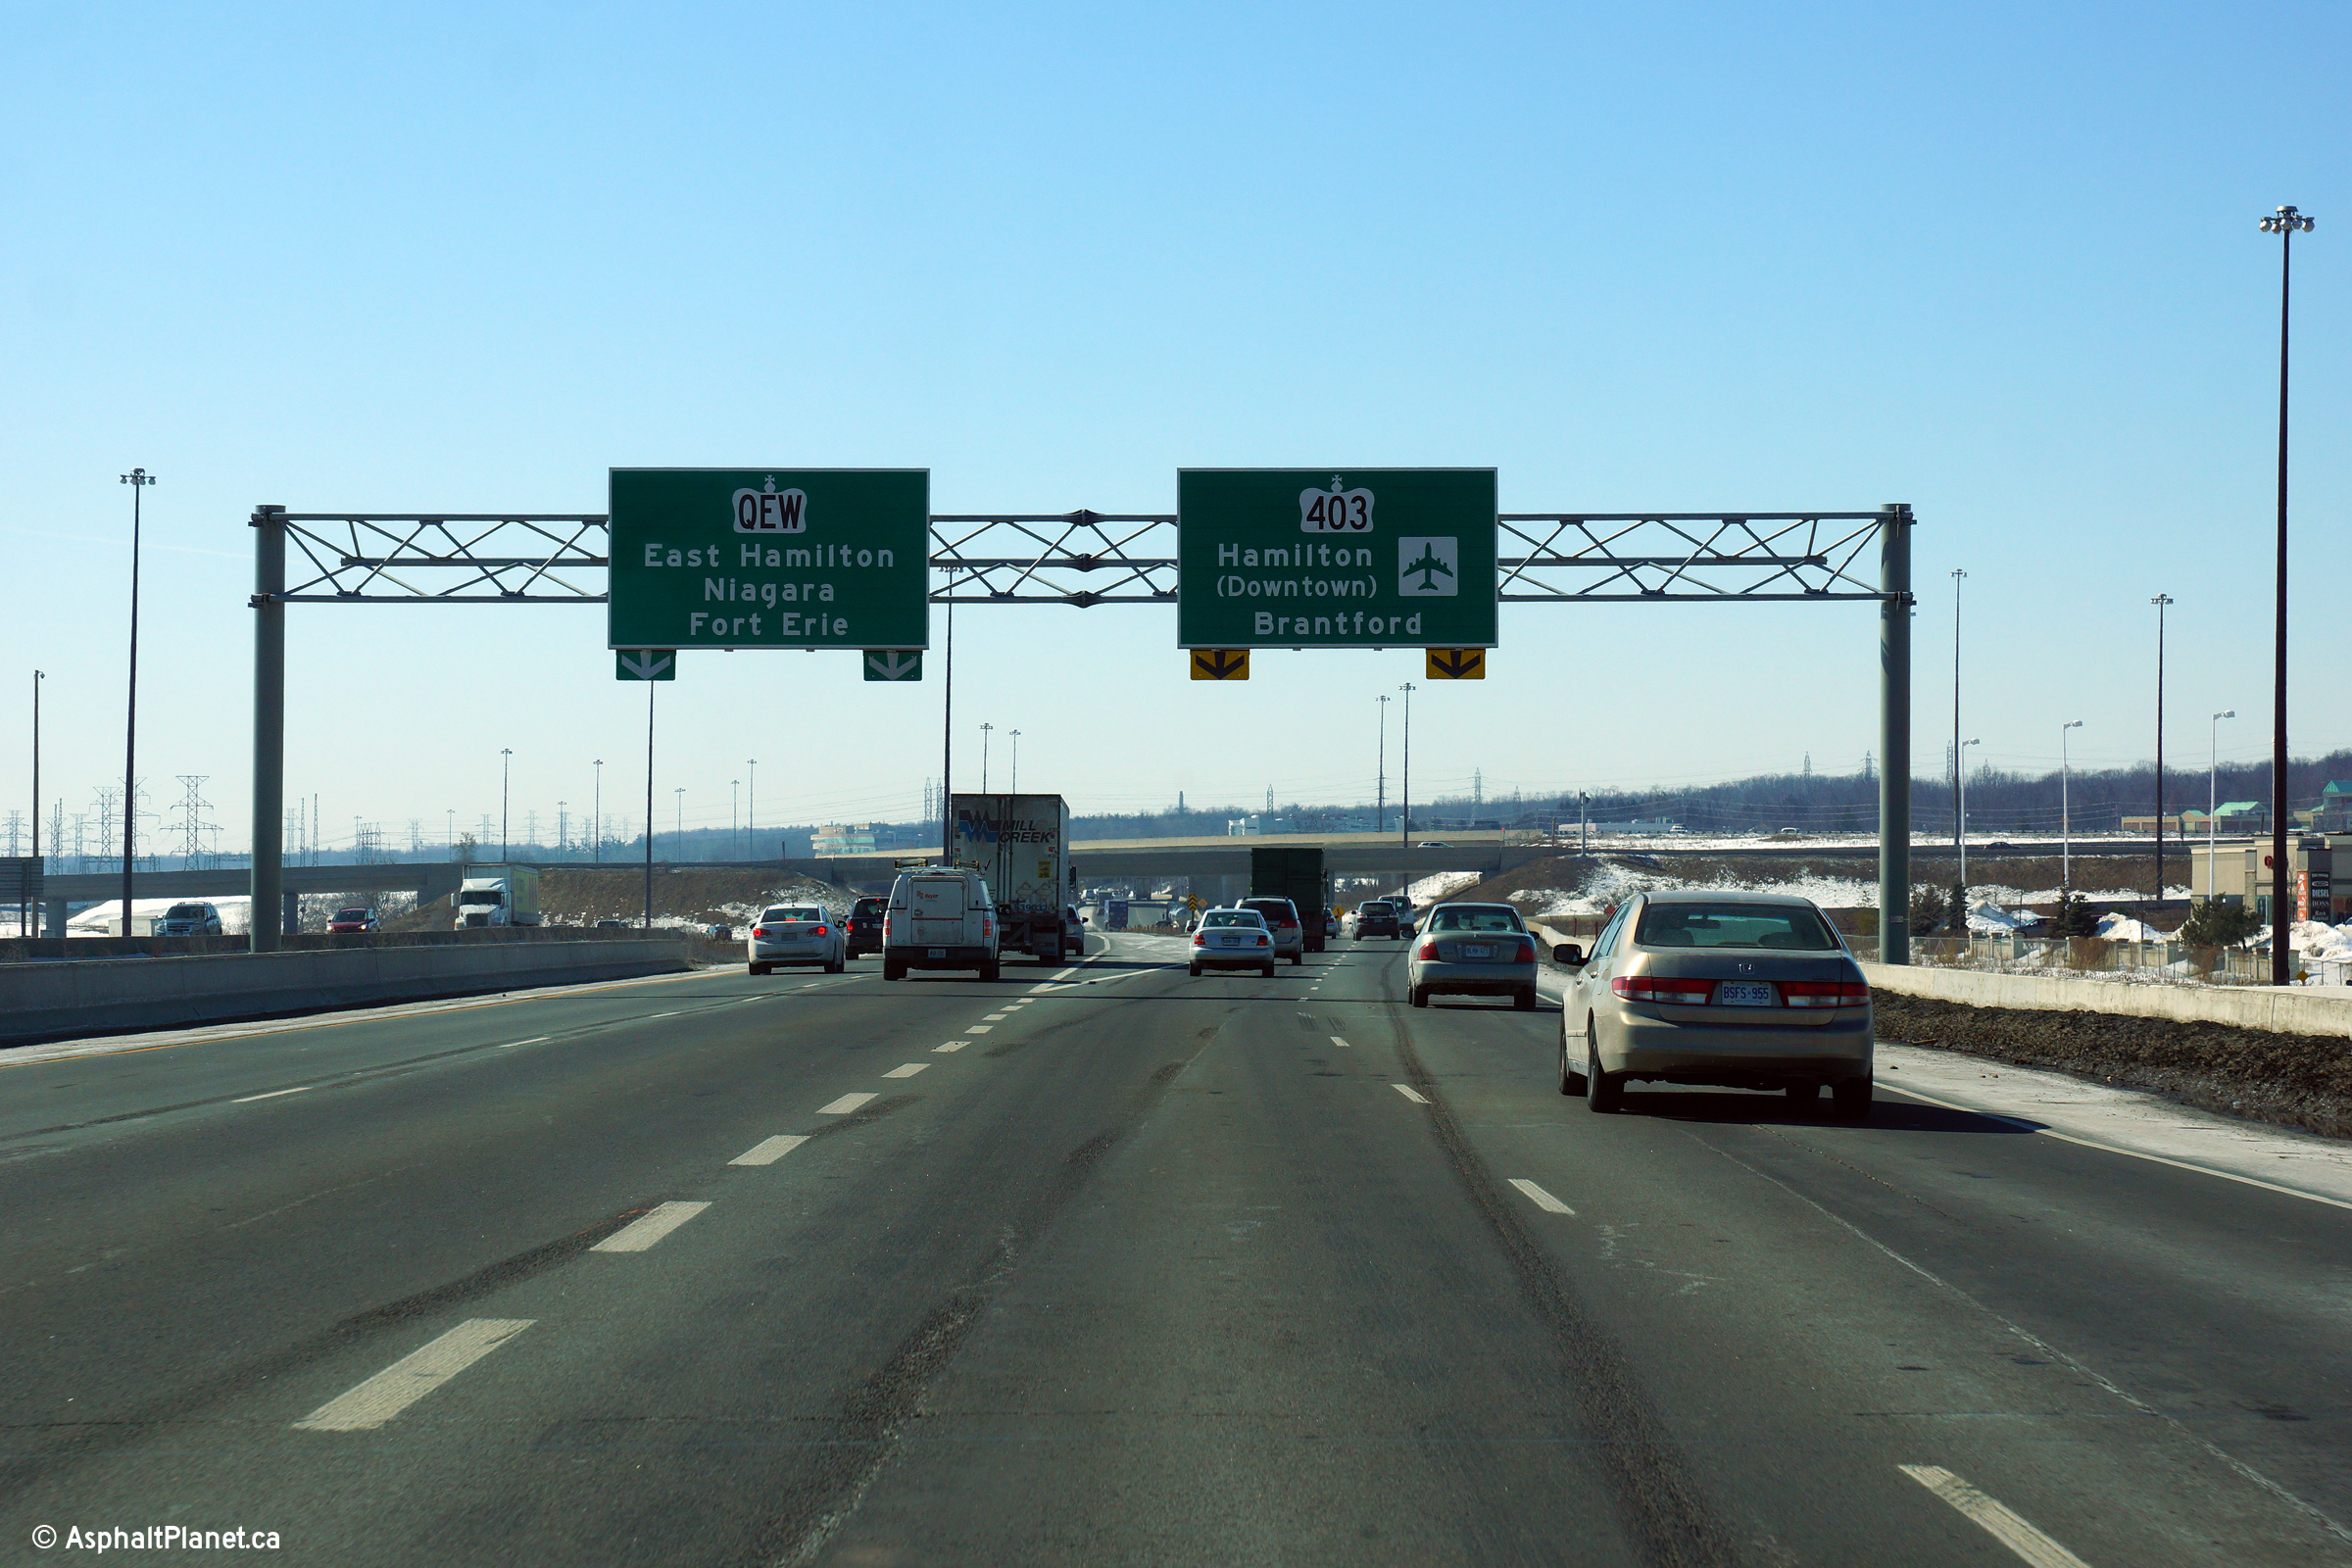
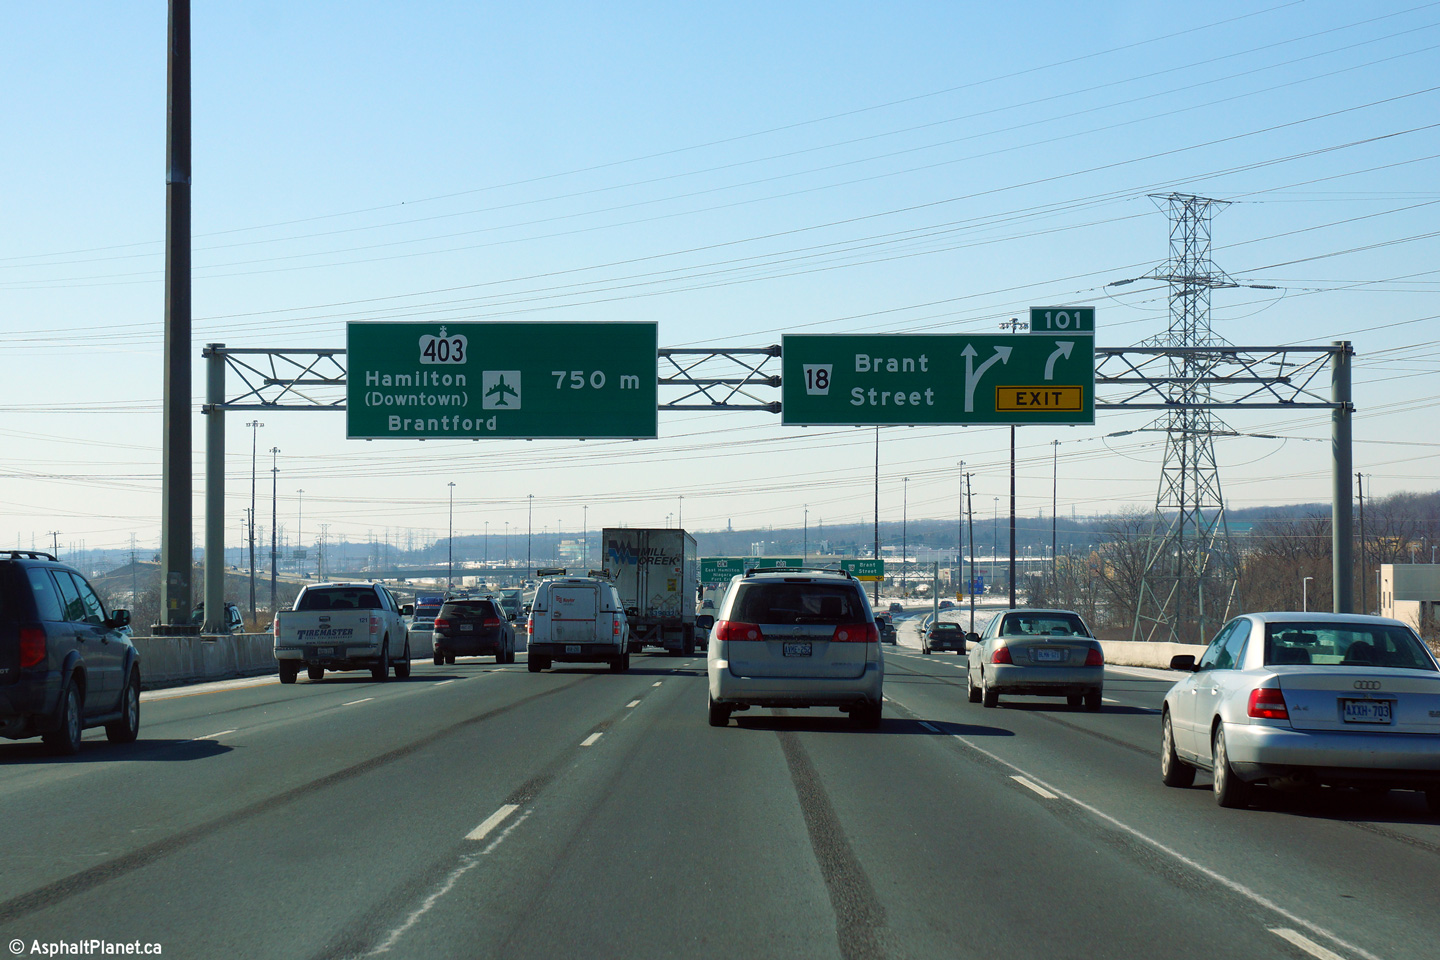
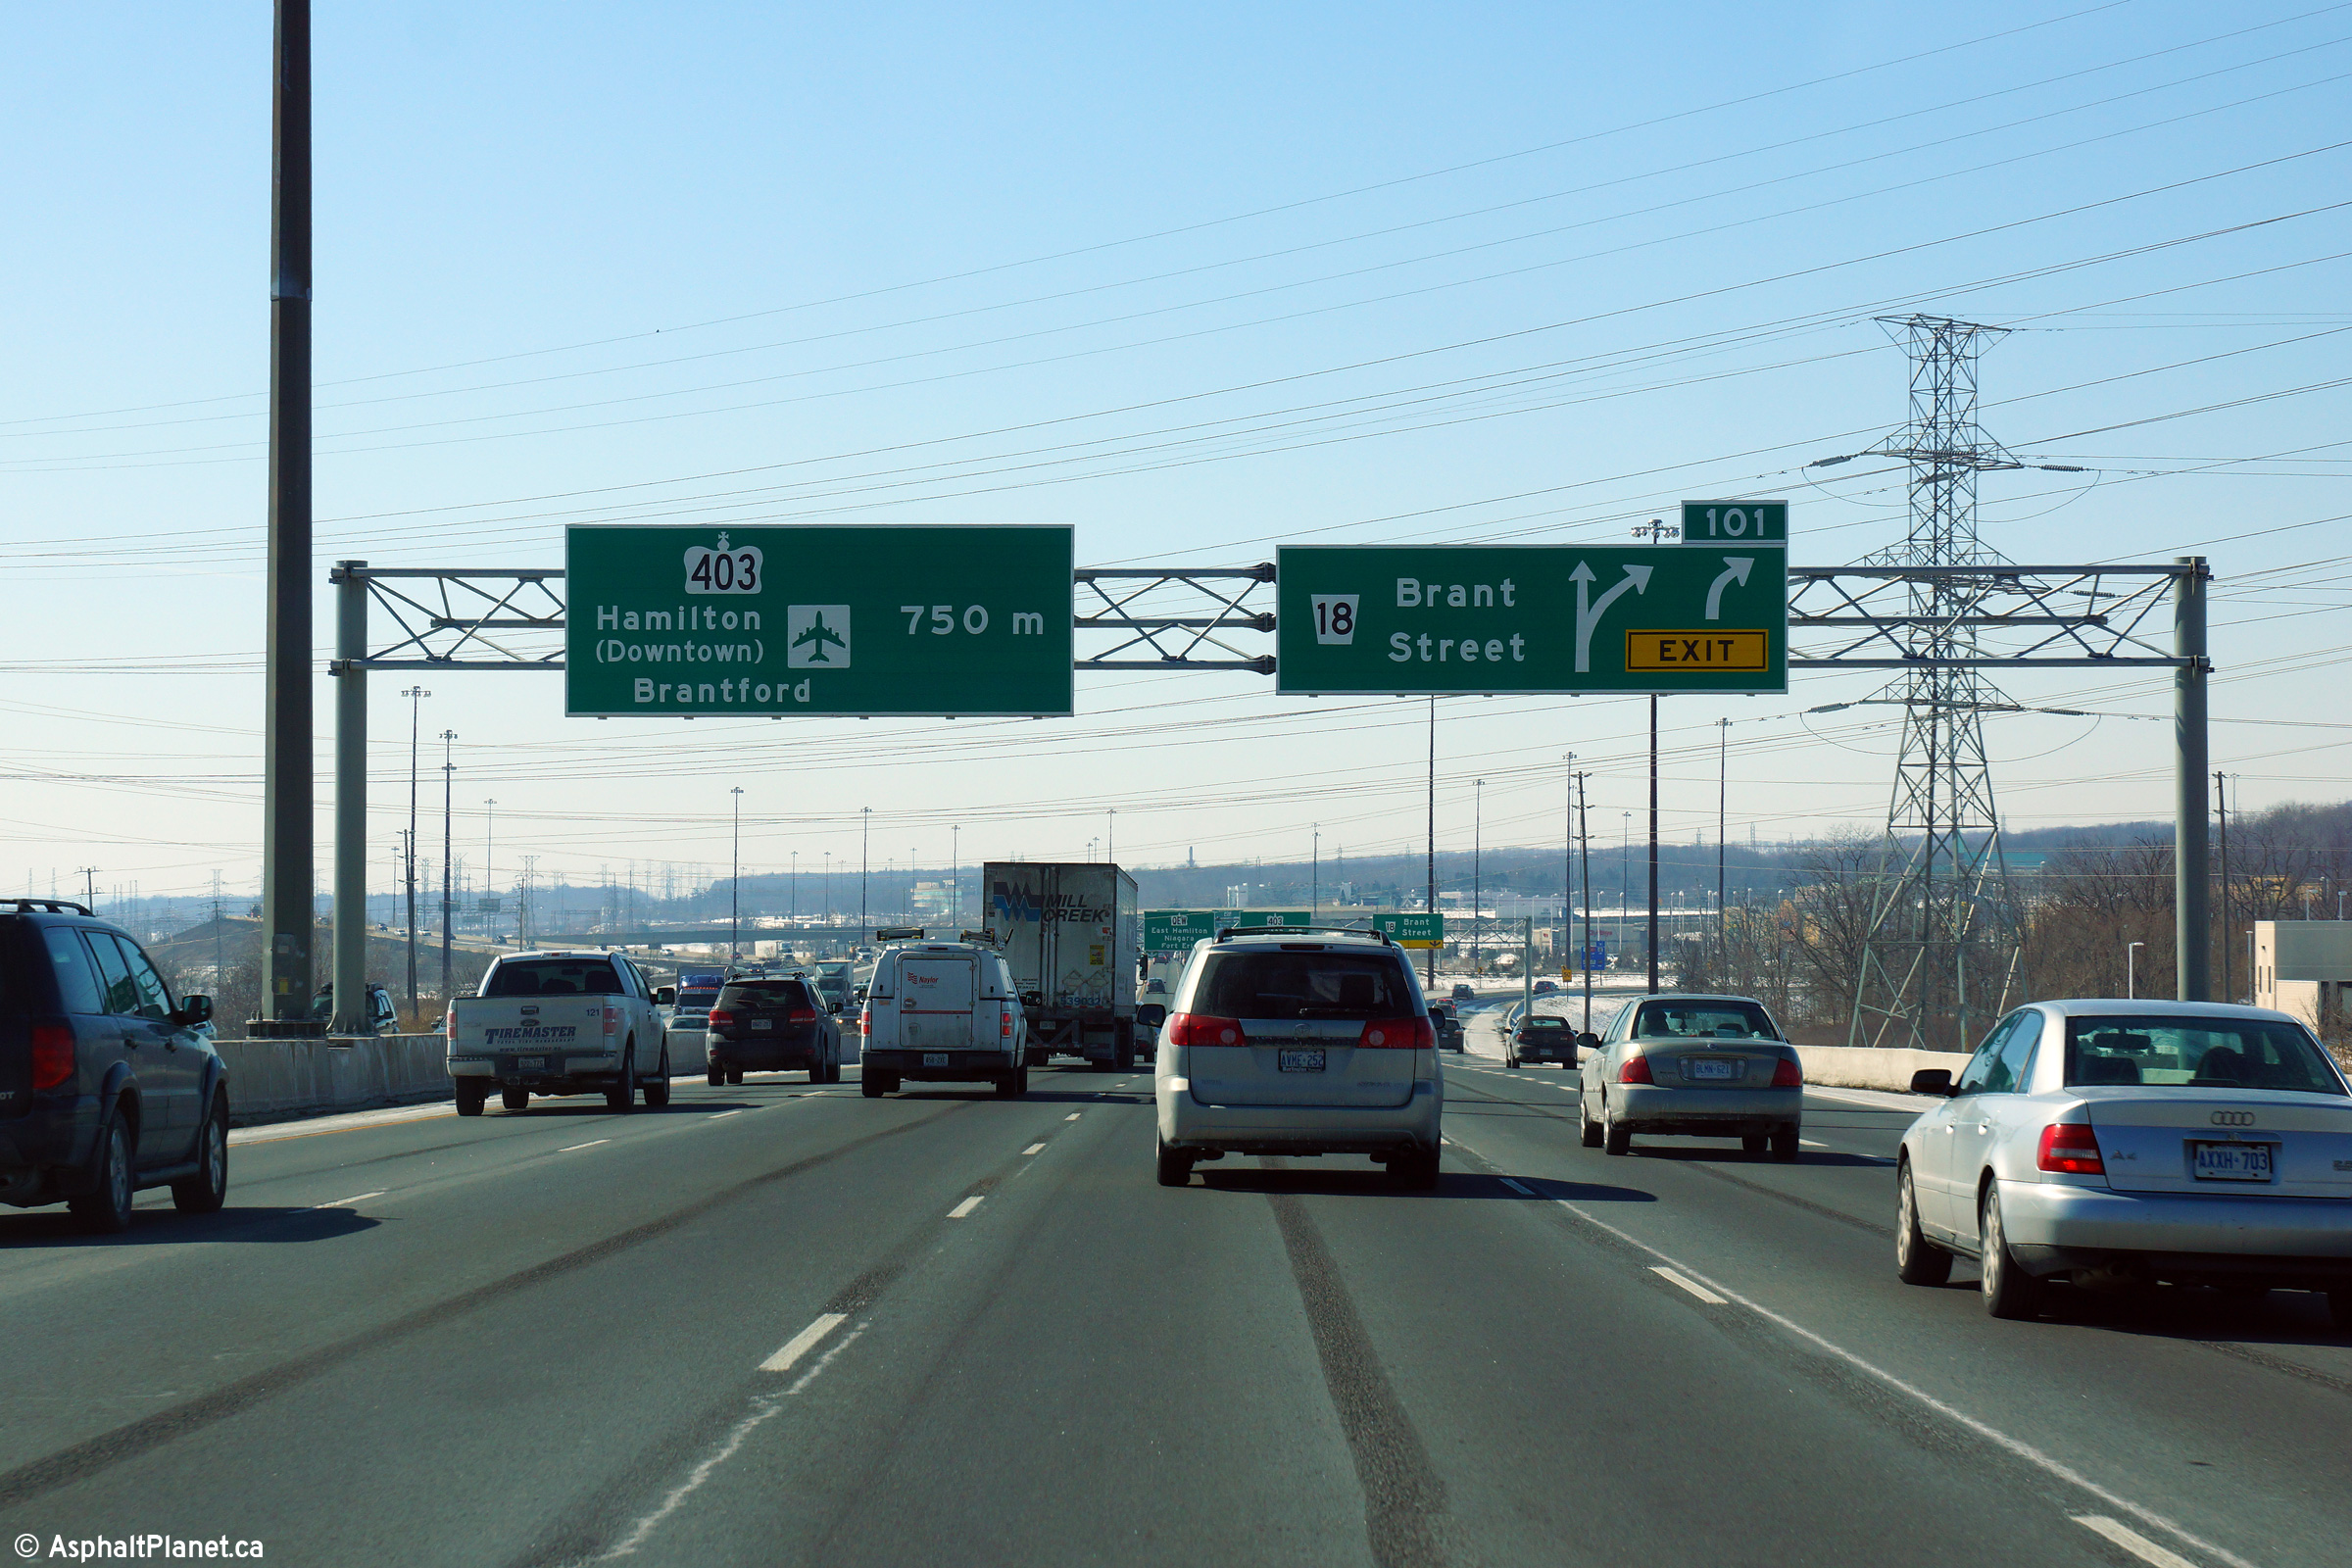
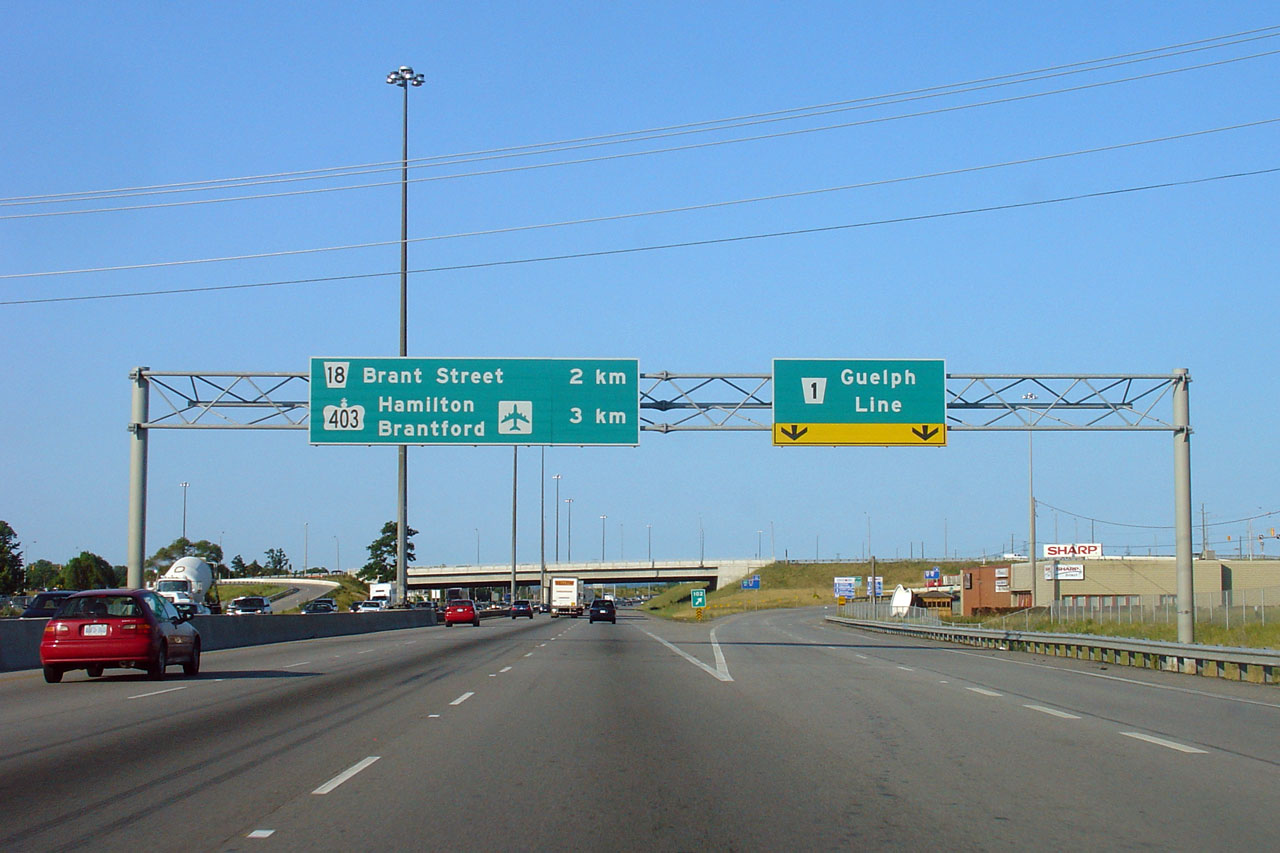
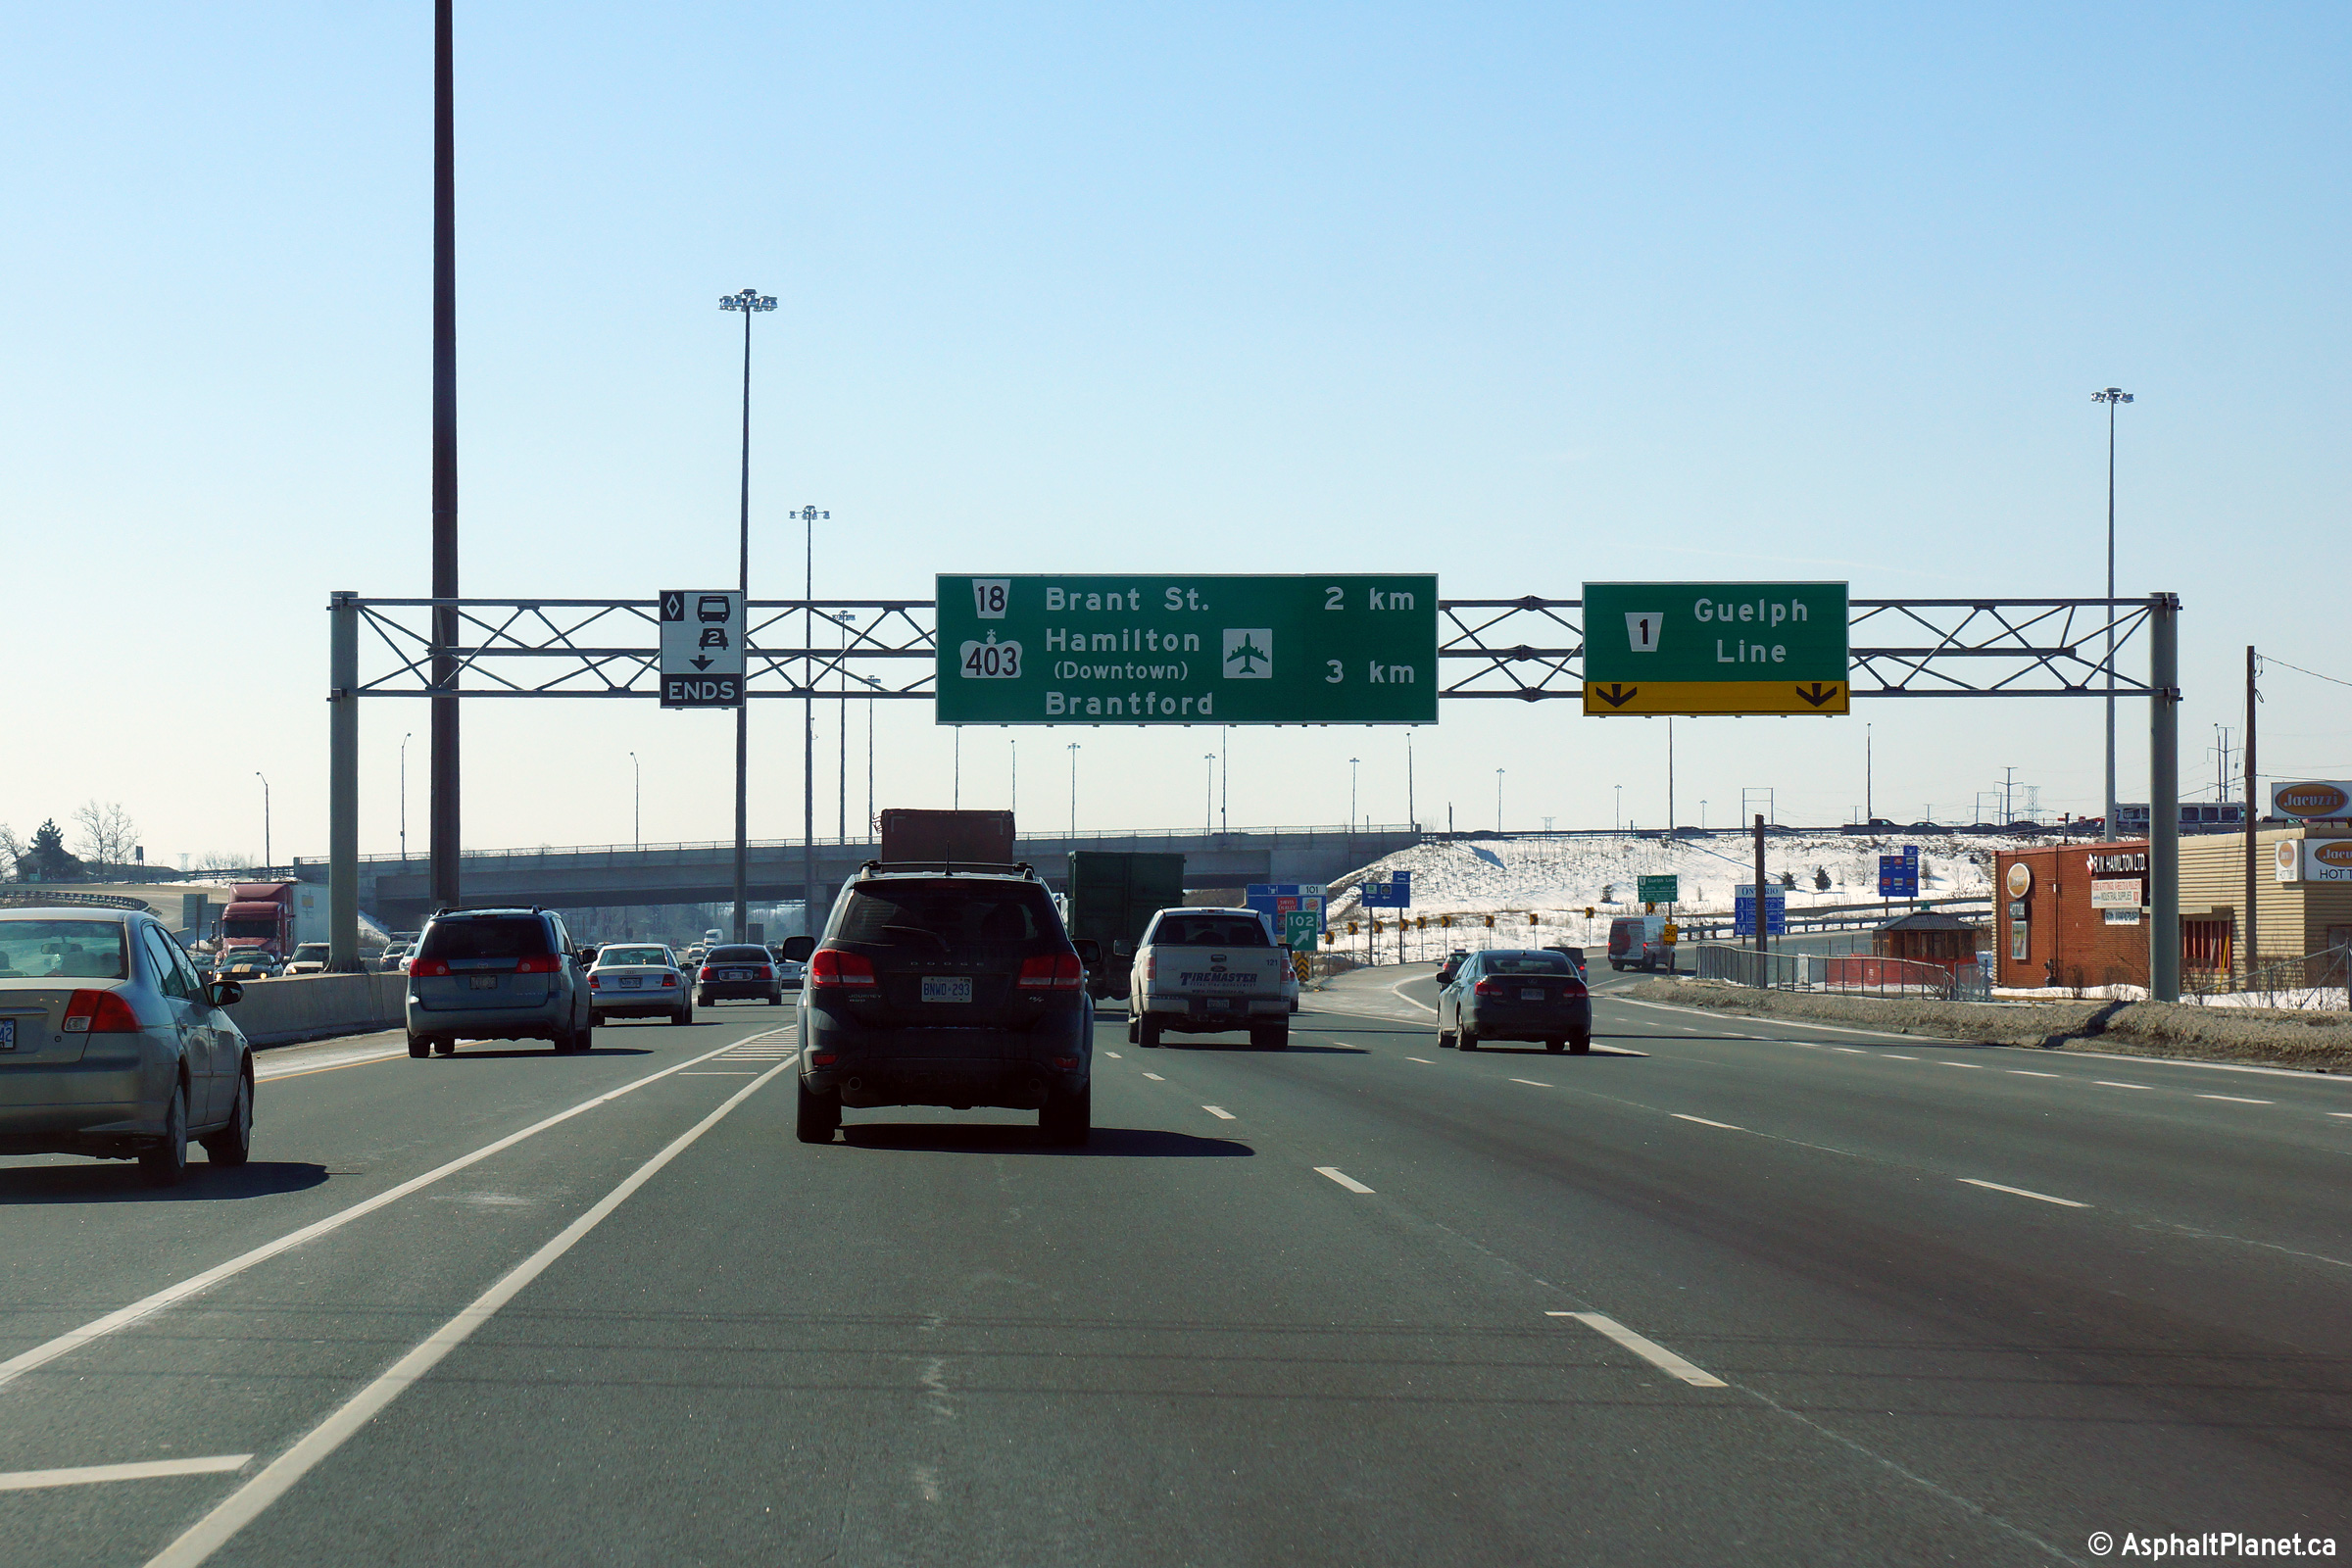
Overhead sign denoting the Niagara (west)-bound split of the QEW and
Highway
403. The Niagara-bound lanes of the QEW/403 were widened from
three to four lanes through the Brant Street intersection during the summer
of 2013. The lower photo highlights the most up date signage
and configuration. Upper photo taken: October 11th, 2011. Lower photo taken: March 7th, 2014. |
 (720x480) (720x480)(1440x960) (2400x1600) |
||
| City of Burlington Regional Municipality of Halton |
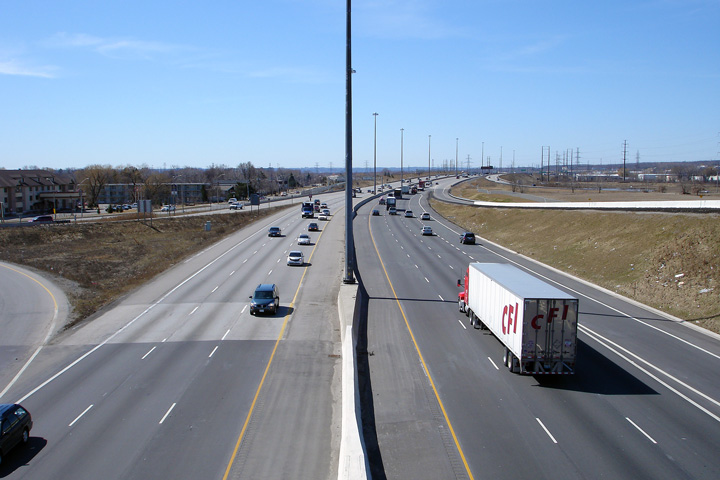
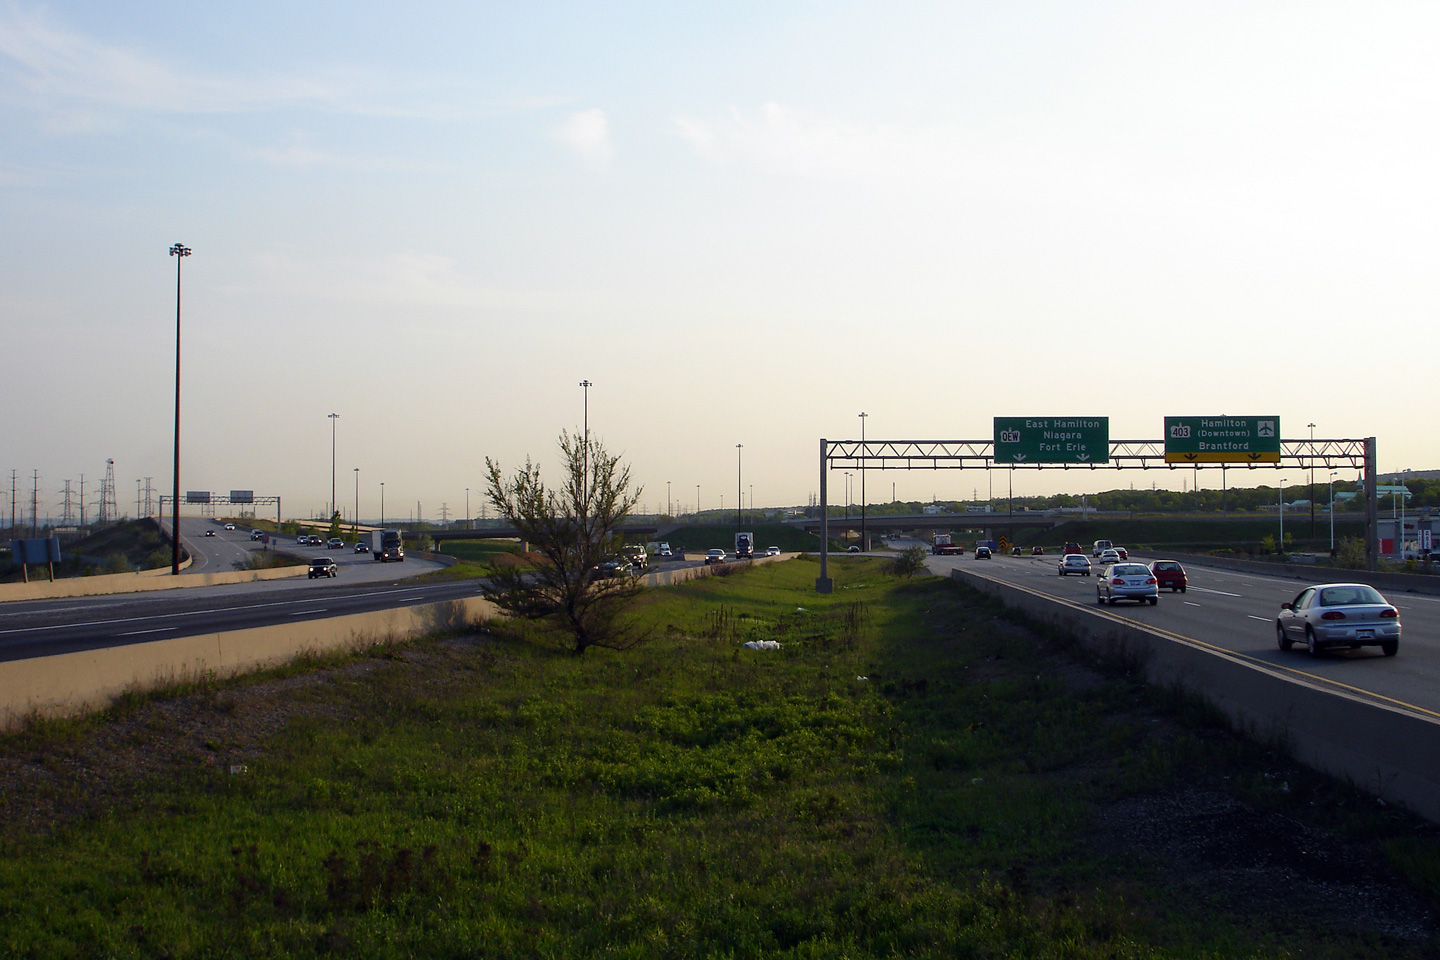
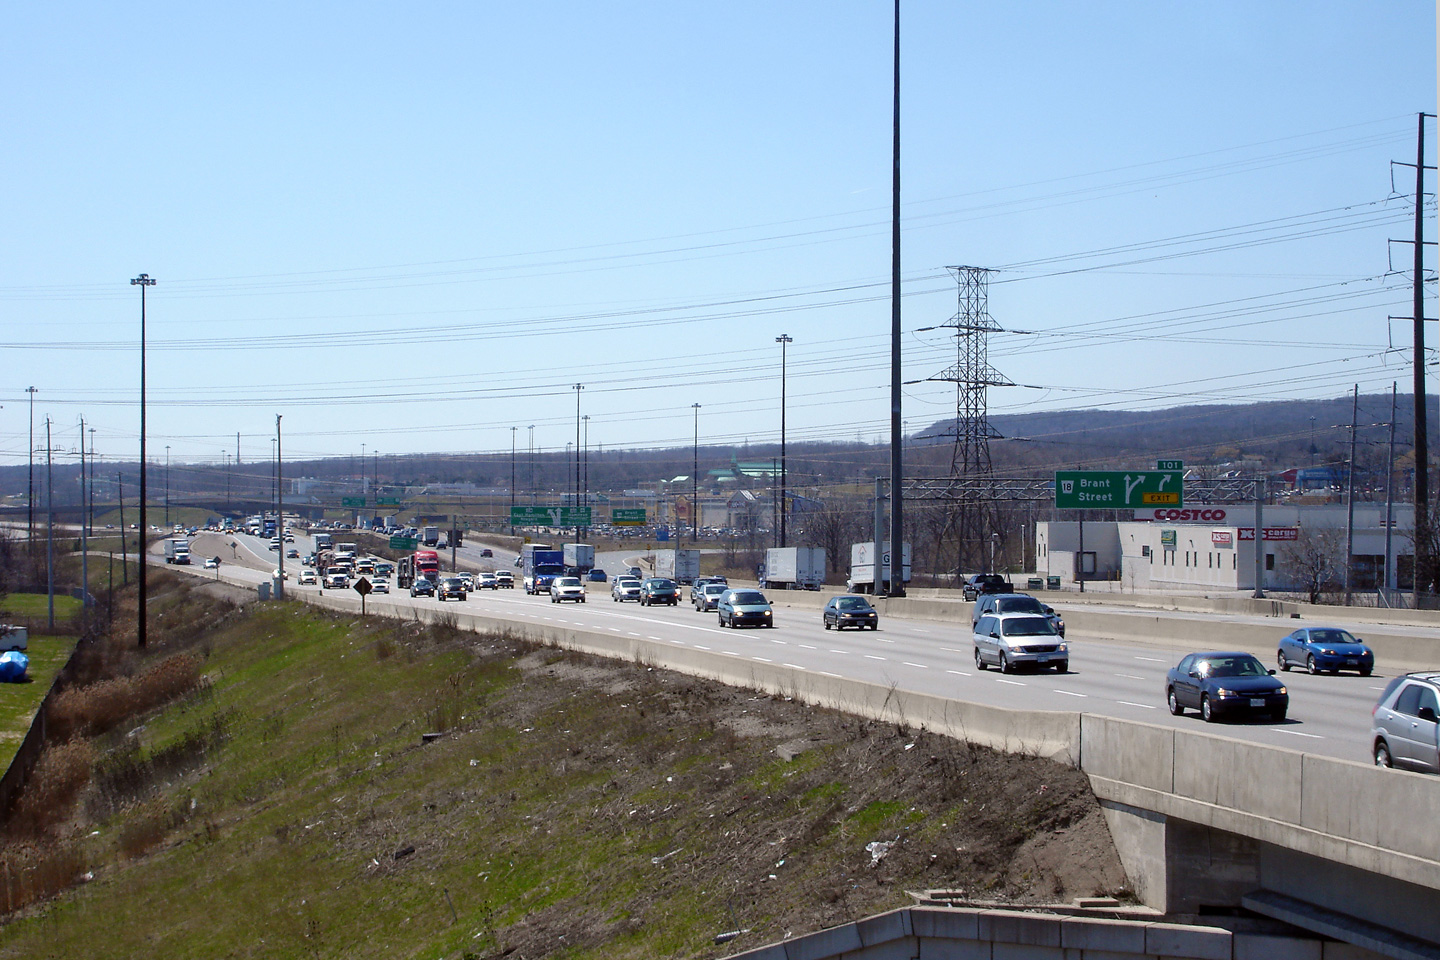
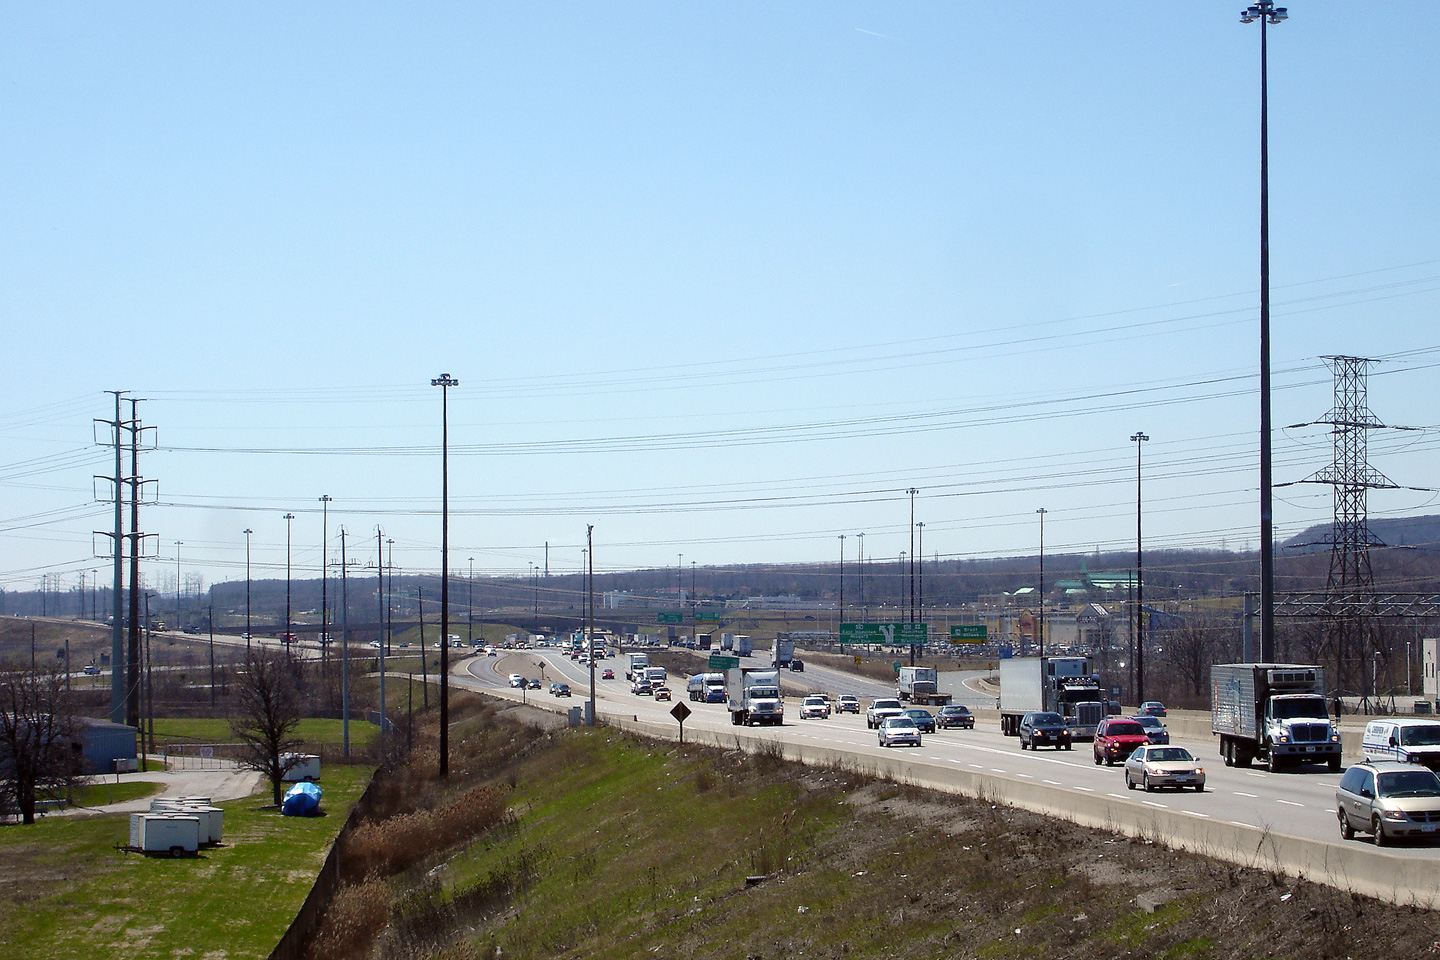
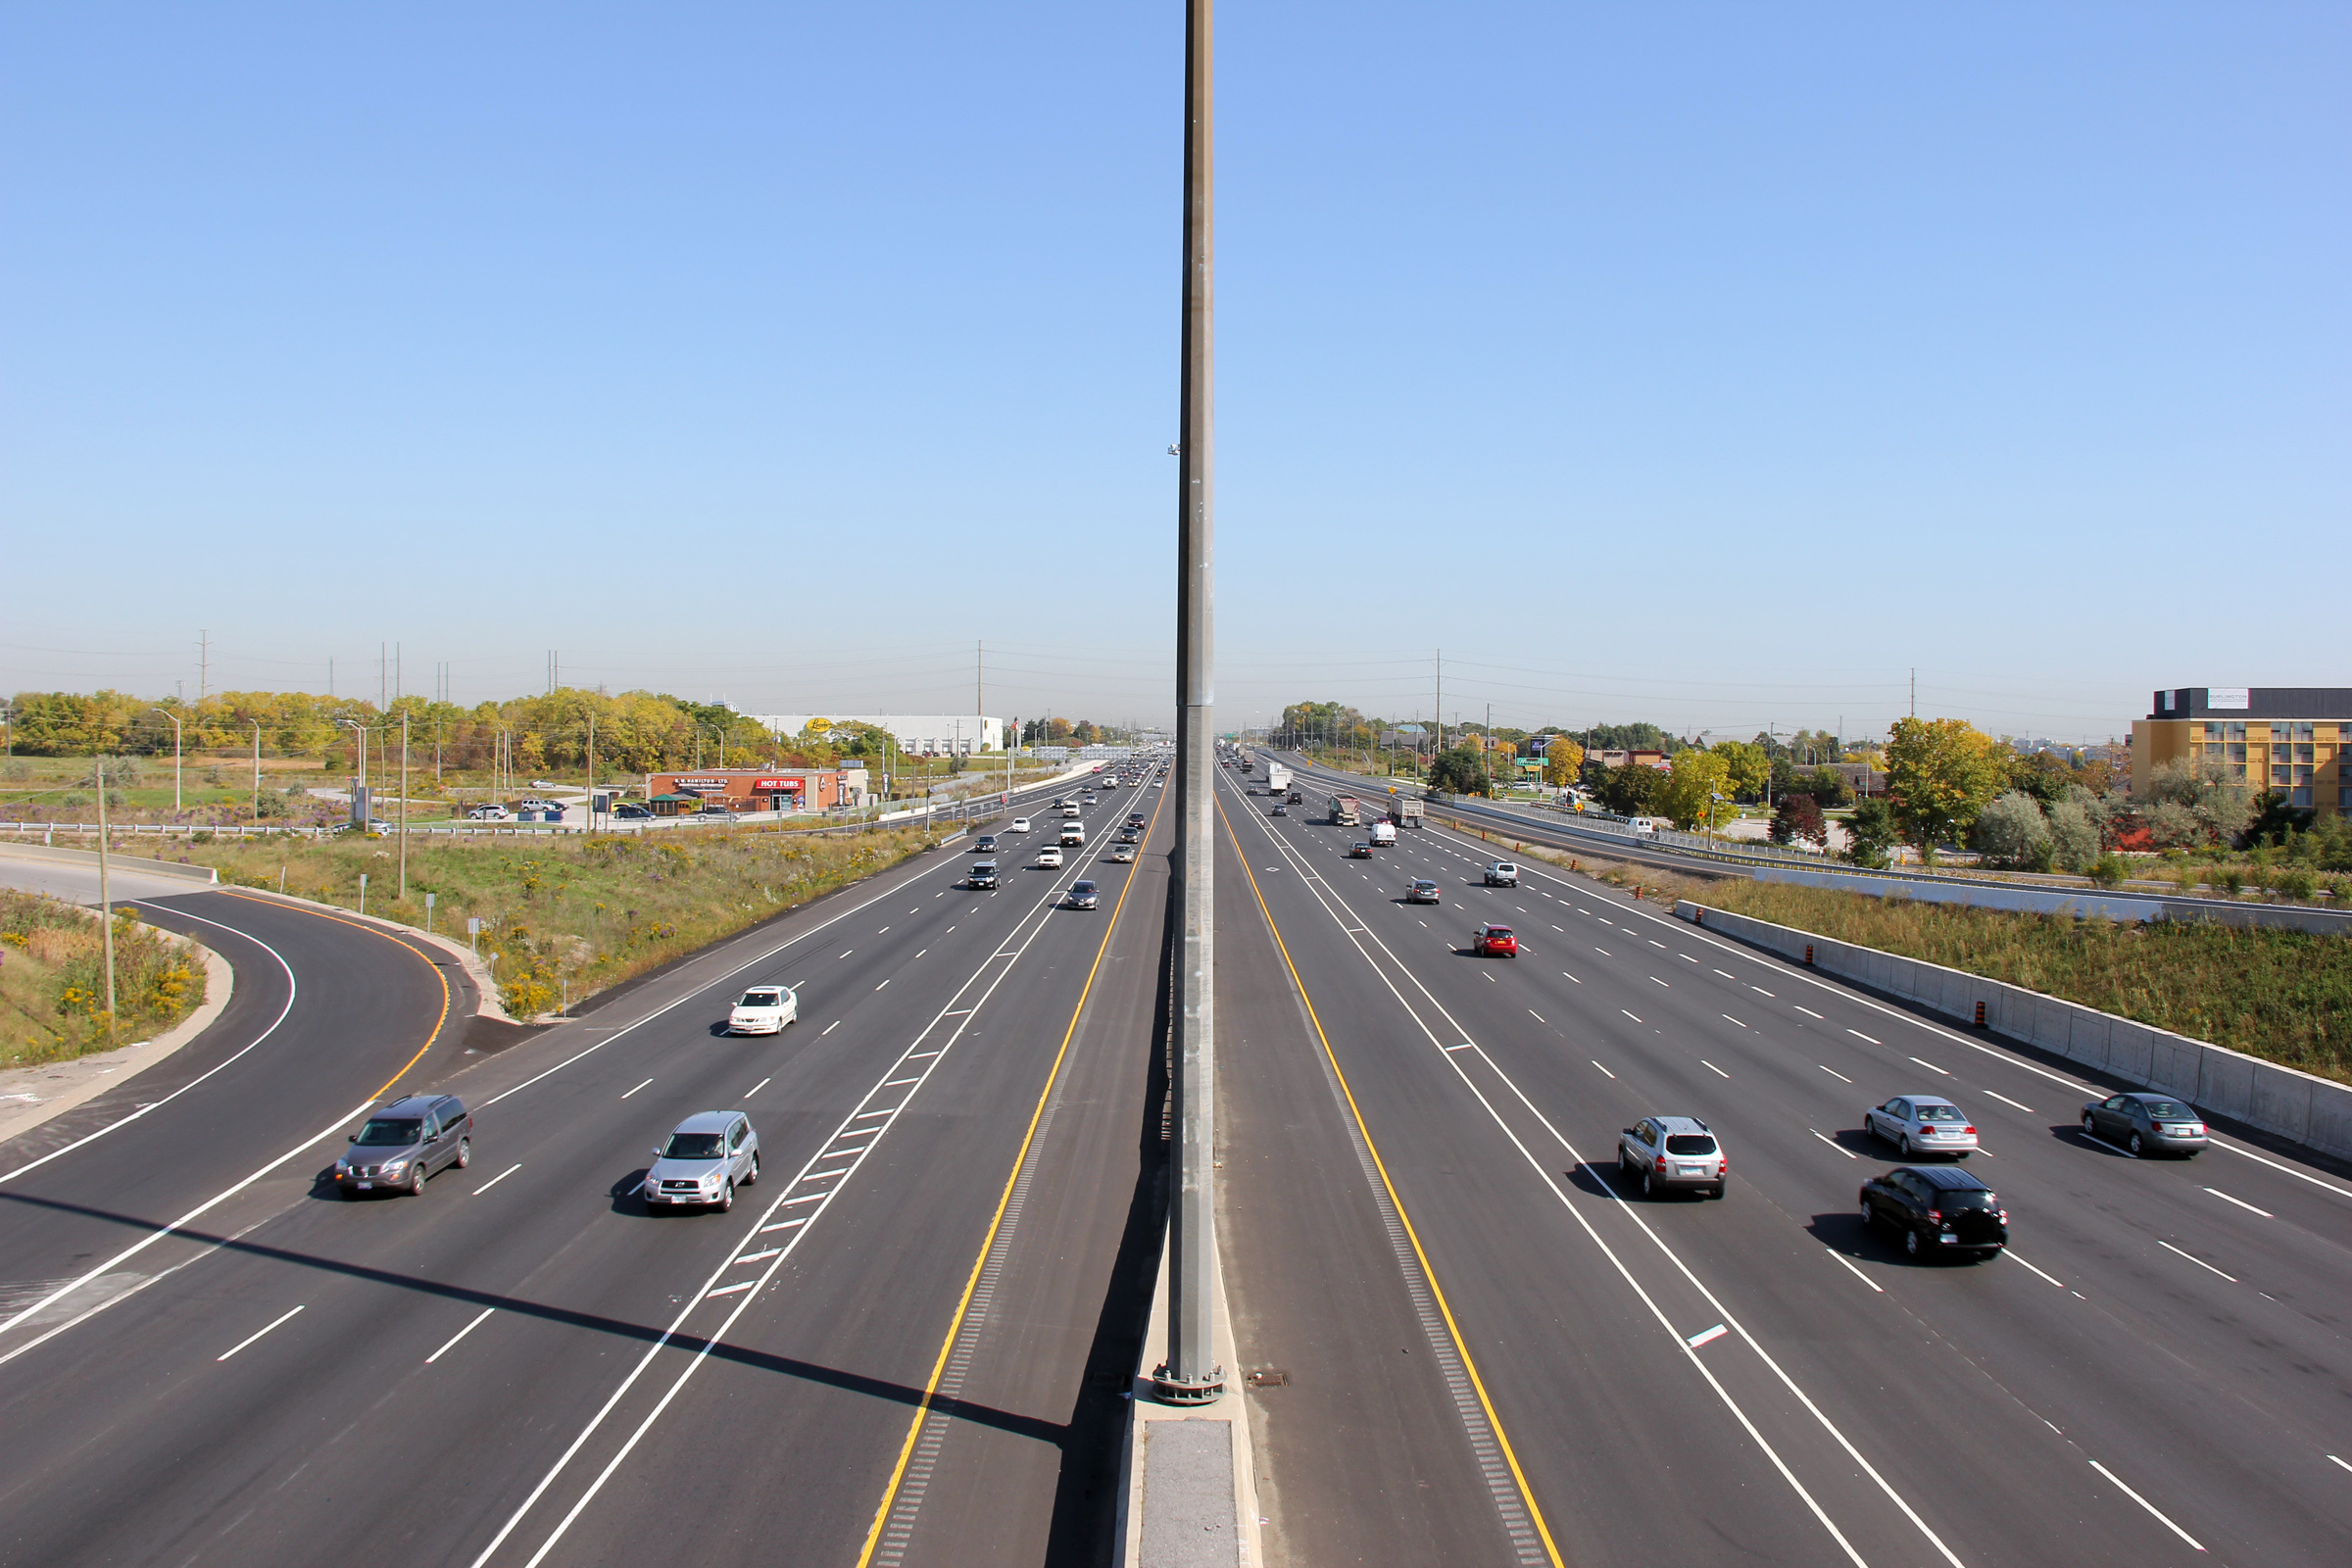
Two views looking west along the QEW/403 from Brant Street. In the
upper photo, notice that the overhead signage support is centred in the
depressed median
of the highway. The support was built this way in order to allow for easy expansion of the QEW to six lanes through
the Freeman interchange. Ironically, when the Niagara-bound lanes of
the QEW/403 were widened in 2013, they were widened to the outside of the
pre-existing carriageway necessitating the removal of the pictured overhead
sign support structure. The lower photo highlights the collector lane
that lead both northbound and southbound on-ramps from Brant Street into a
single lane that joins the westbound 403 after its split from the QEW. Photos taken: May 22nd, 2007. |
|
||
| City of Burlington Regional Municipality of Halton |
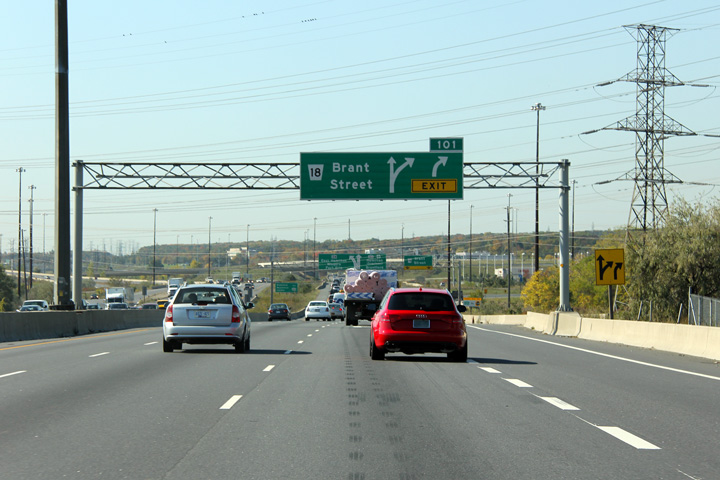
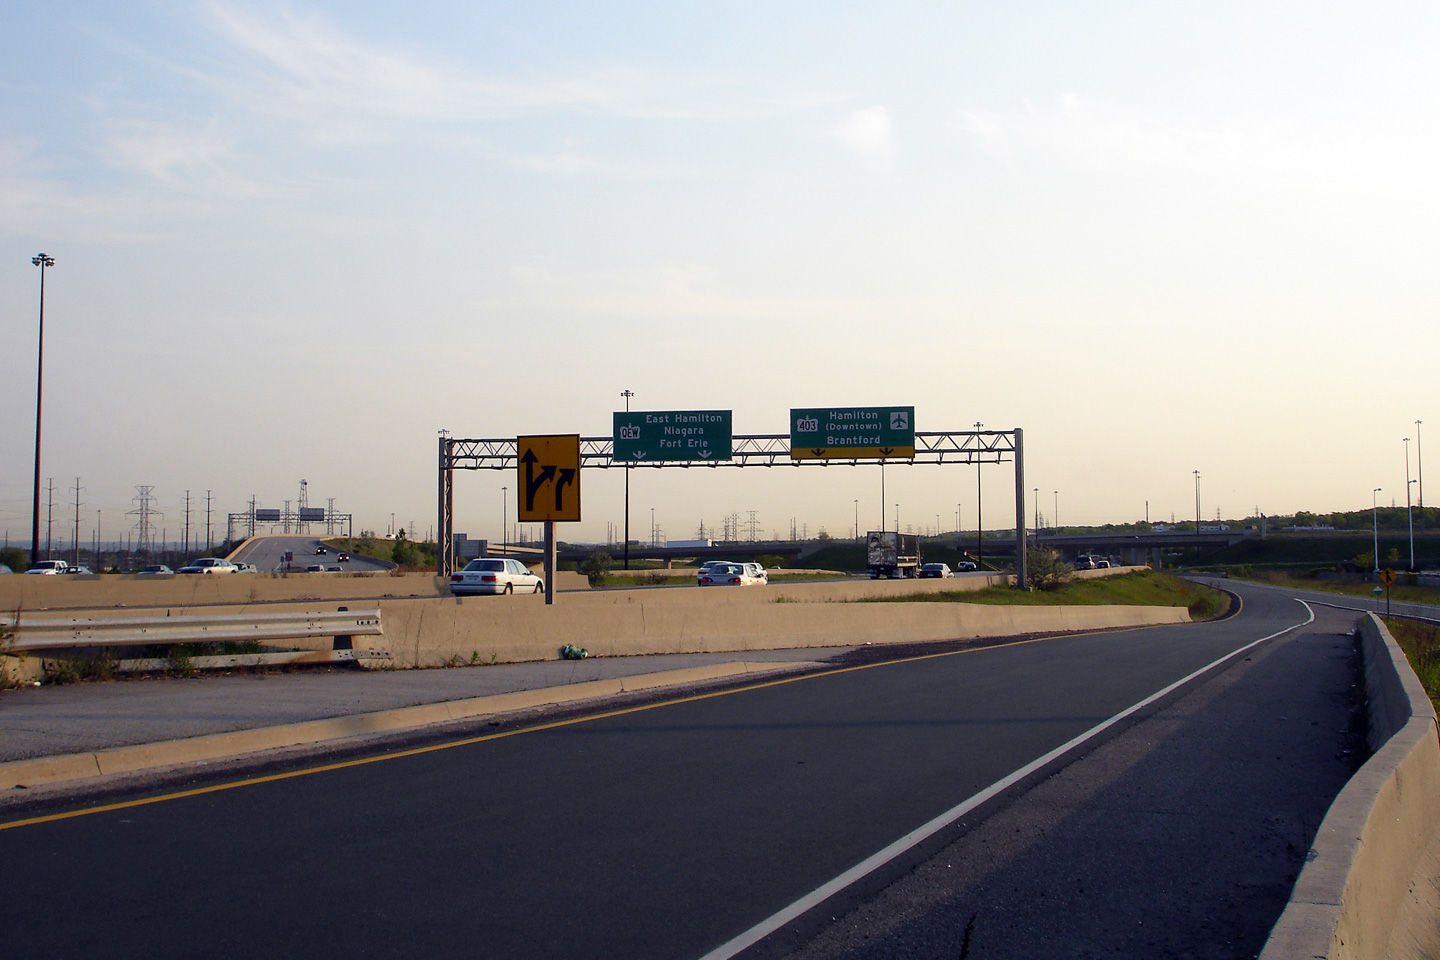
This overhead sign denotes both the Brant Street exit from the
Niagara-bound QEW as well as serves as an advanced sign for the upcoming
QEW/403 split. Because the decision lane was eliminated for the
QEW/403 interchange when the Niagara-bound carriageway was widened in 2013,
the diagram sign was not replaced when the expressway was
widened. Upper photo taken: October 11th, 2011. Lower photo taken: March 7th, 2014. |
|
||
| City of Burlington Regional Municipality of Halton |
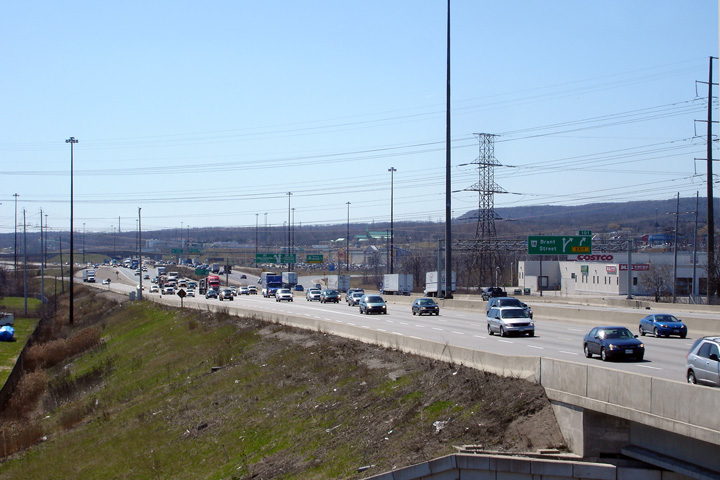
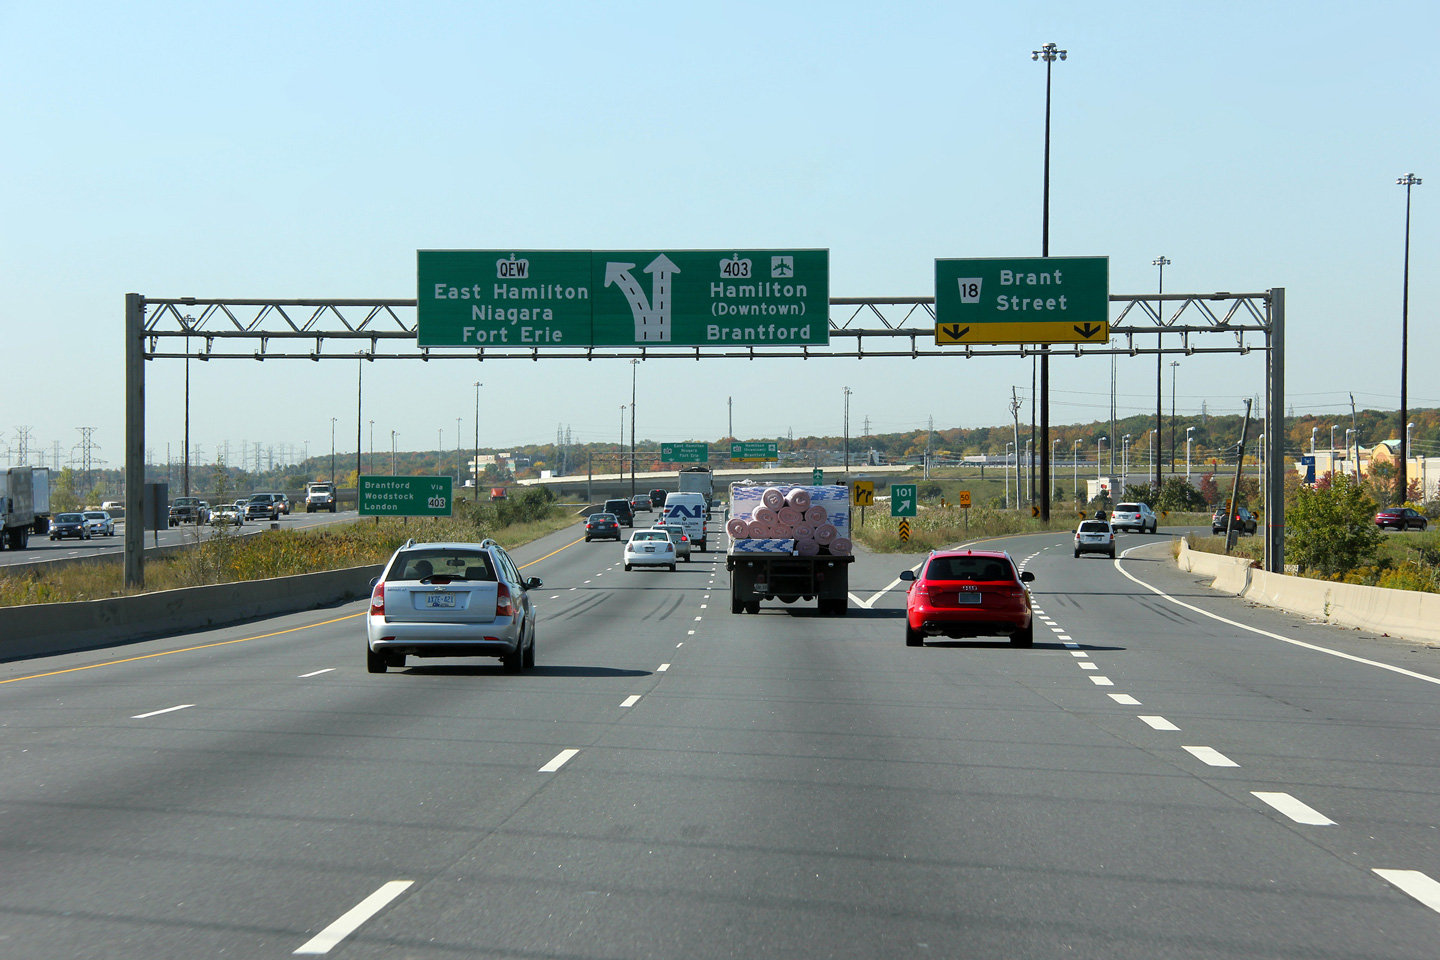
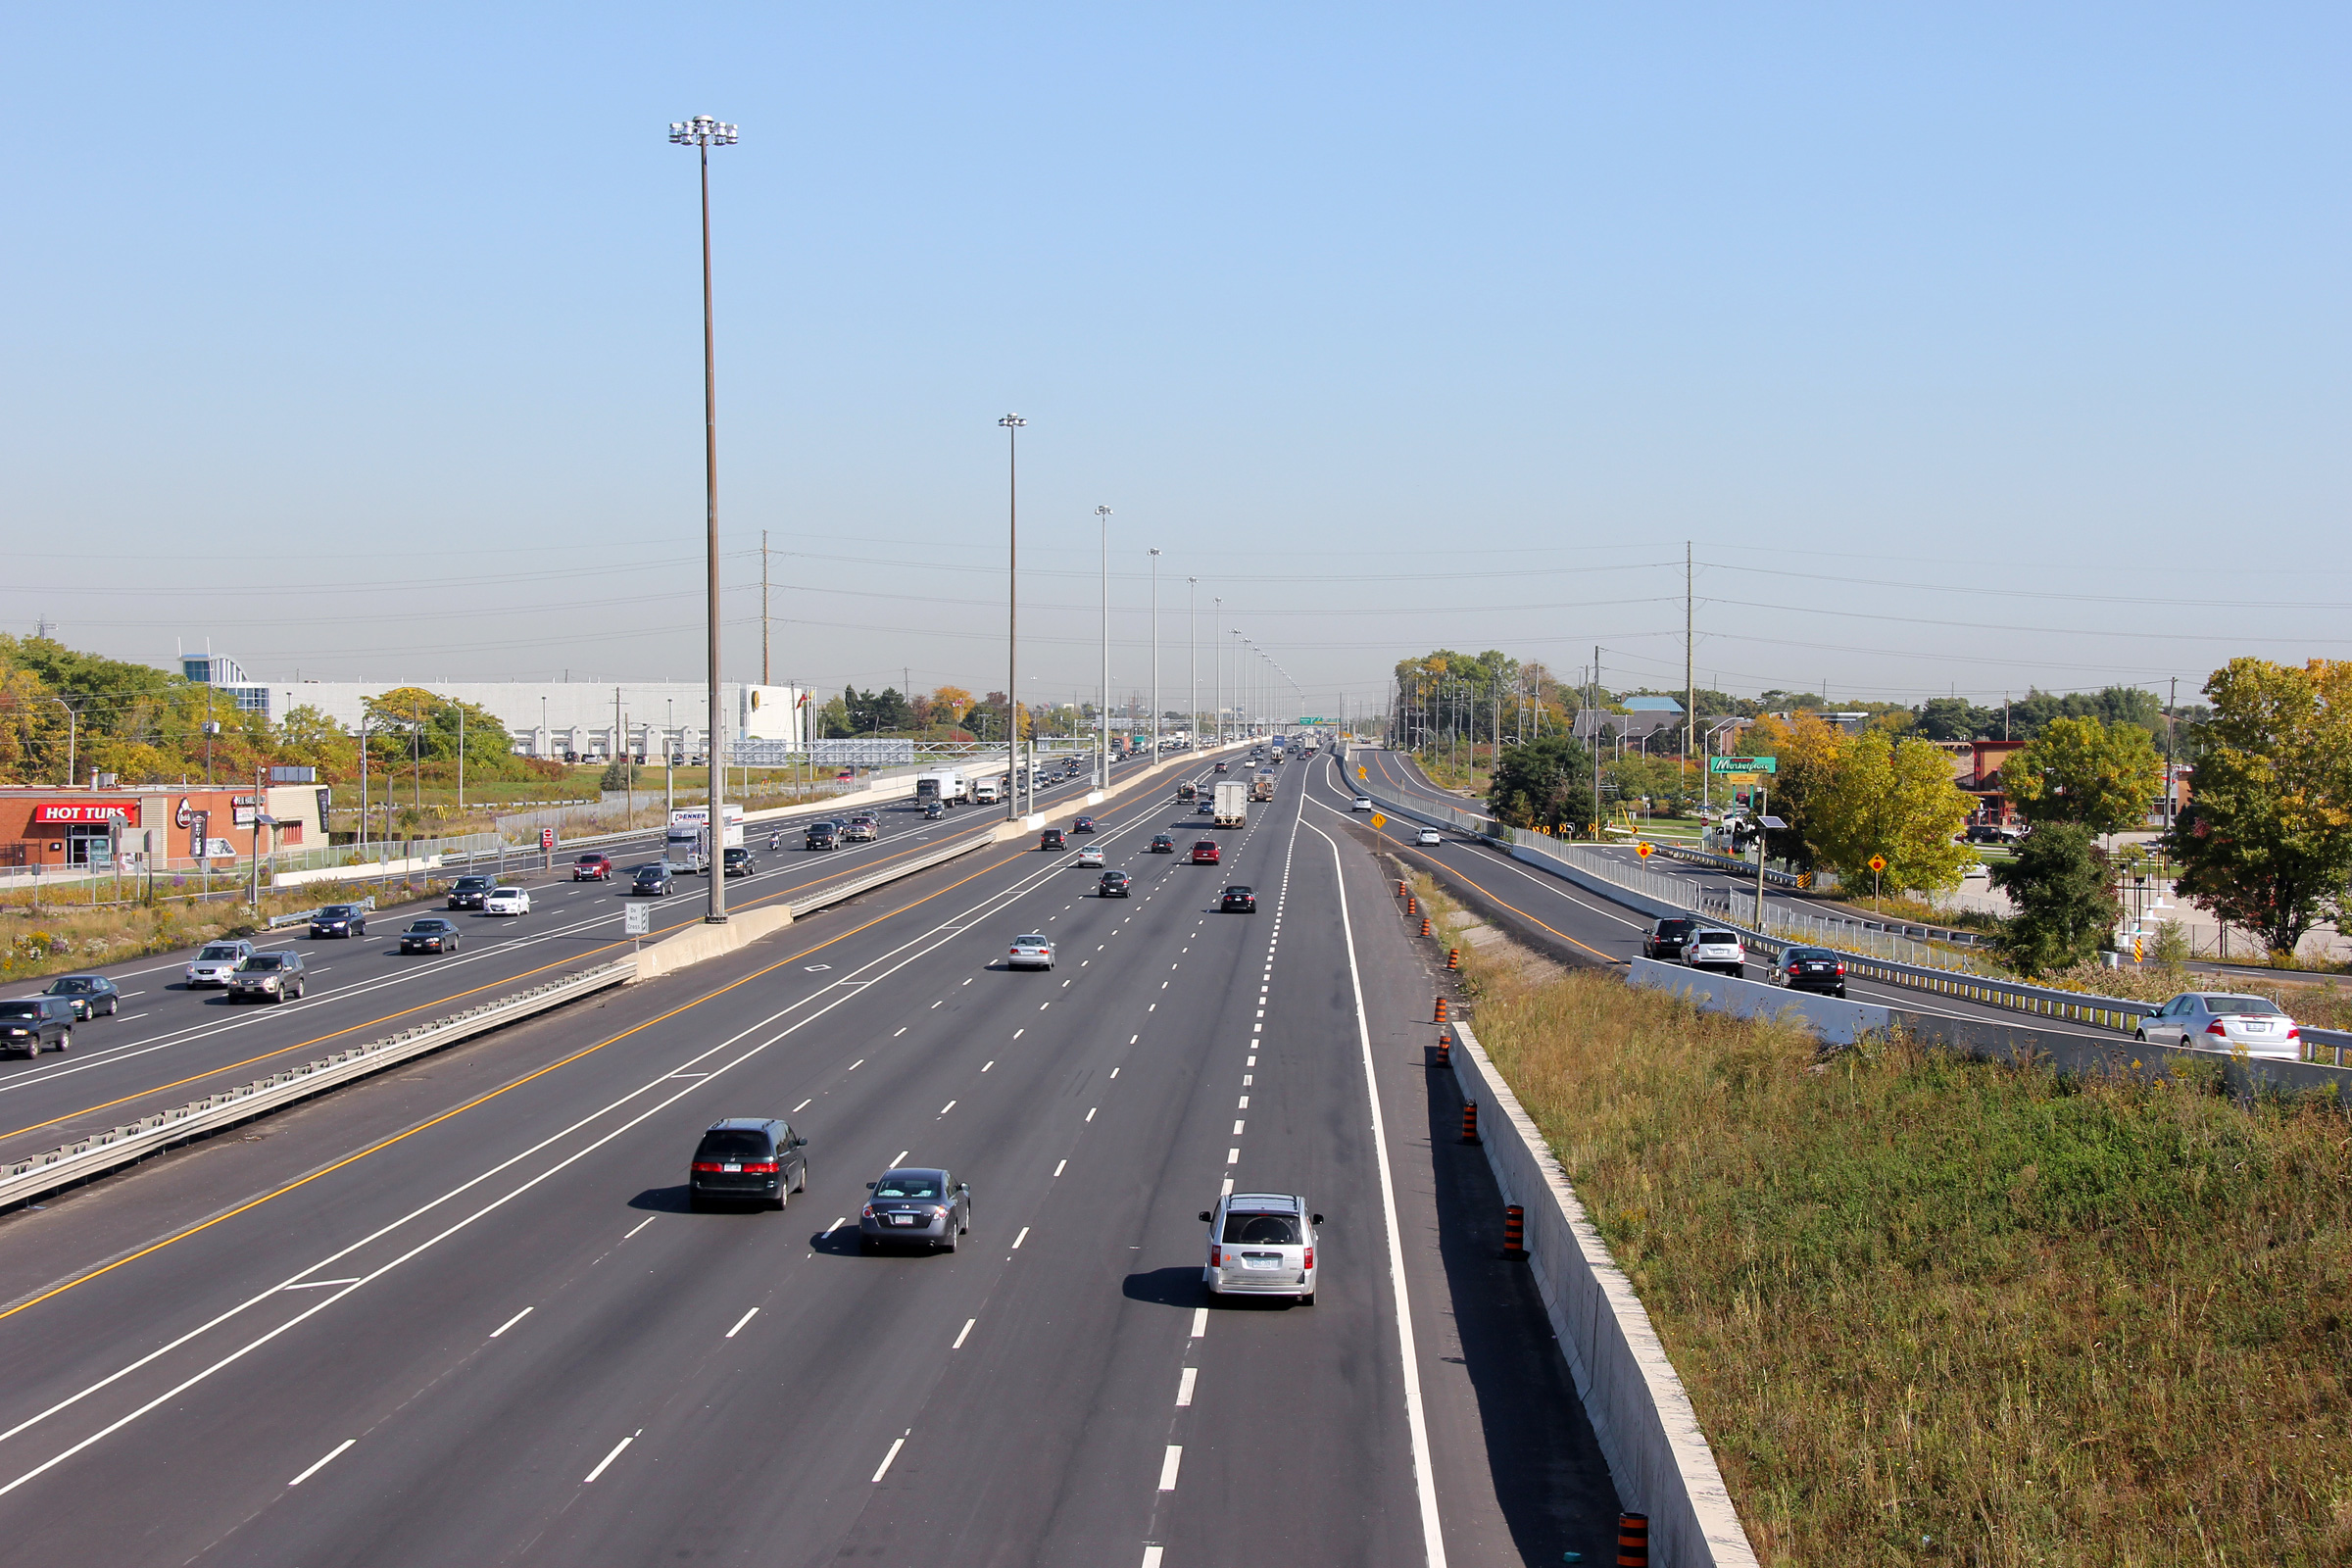
Advanced signage for the Hamilton-bound ramp to Brant Street. Before 2013,
the traffic using the fourth Niagara-bound lane was forced off of the
expressway at Brant Street. In 2013, the fourth lane was extended
beyond the Brant Street to the Highway 403/QEW split immediately to the
west. This greatly alleviated traffic congestion in the area. Upper photo taken: October 11th, 2011. Lower photo taken: March 7th, 2014. |
 (720x480) (720x480)(1440x960) (2400x1600) |
||
| City of Burlington Regional Municipality of Halton |
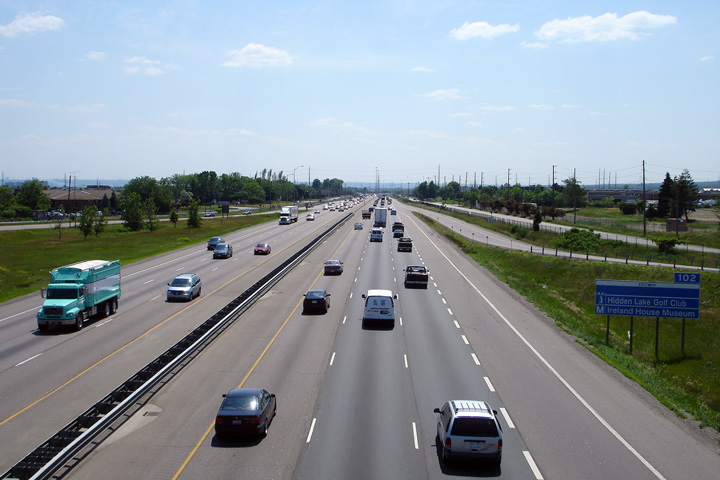
Two views looking westerly along the QEW/403 from between Brant Street and
Guelph Line. In the upper photo, observe the abutment for the CN
Railway structure. The pier was designed do that additional beams
could be rested on top of the existing abutment without substantial
modification to the pier. This structure was widened by an additional
lane in the construction that saw an HOV lane constructed along the highway
between Burlington and Oakville. The neighbouring Brant Street
underpass was similarly designed. In its case, however, the additional
lanes will be added to
the median of the highway. Photos taken: April 19th, 2007. |
|
||
| City of Burlington Regional Municipality of Halton |
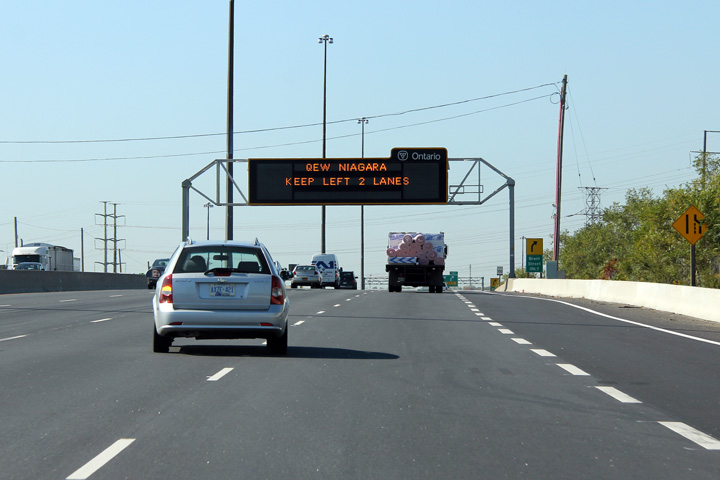
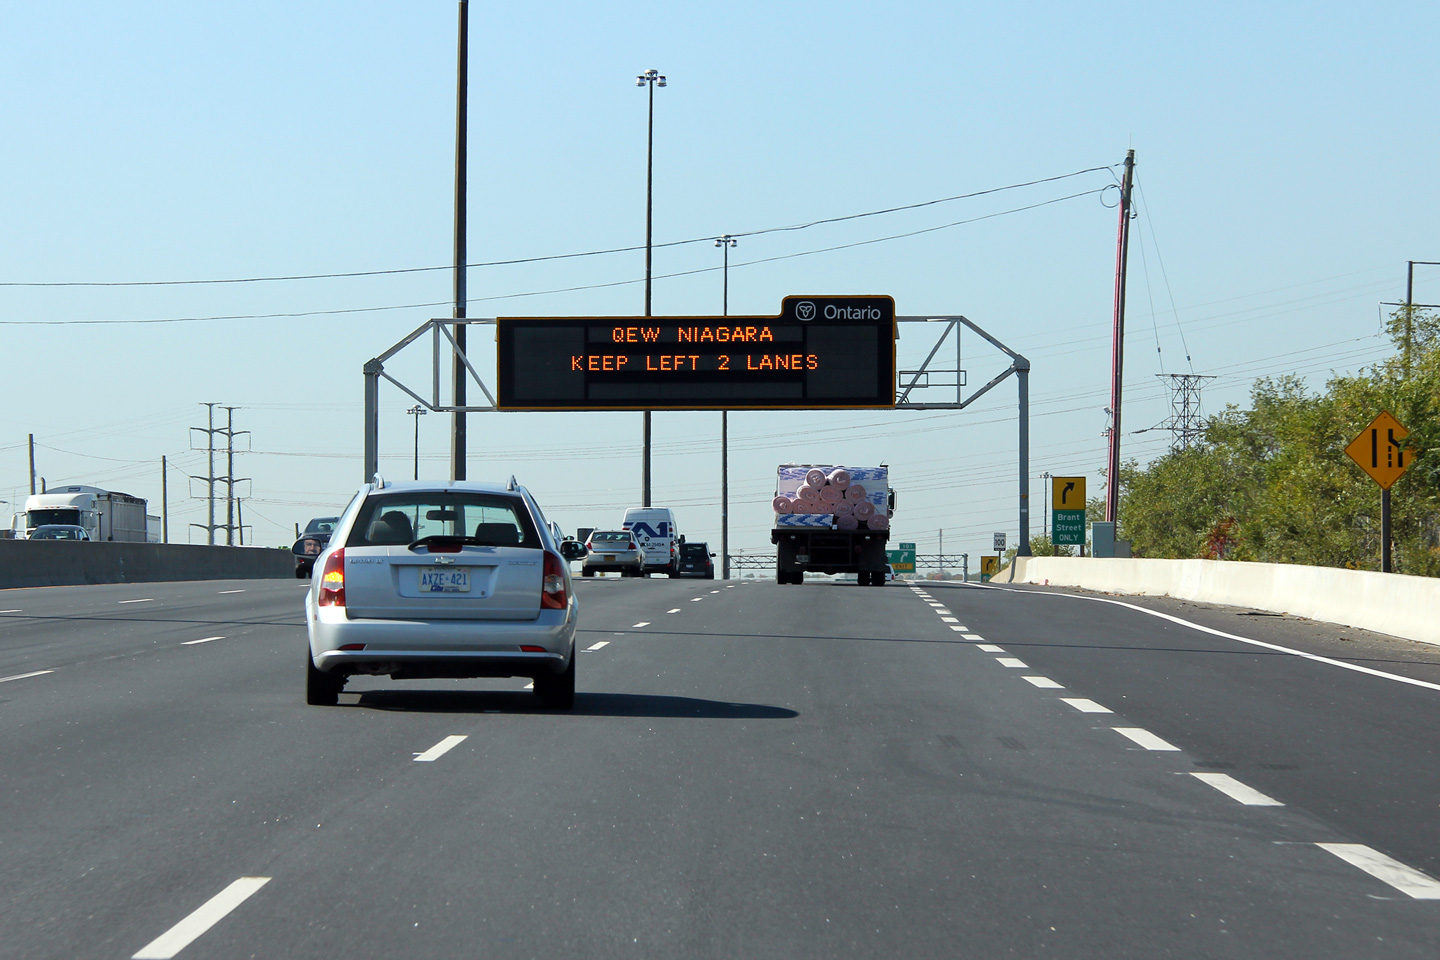
Overhead changeable message sign along the Hamilton-bound QEW approaching
the Freeman Interchange. When this sign is not advising motorists of
traffic congestion or lane closures, this sign defaults to a message advising
motorists continuing Niagara-bound on the QEW to keep to the left two lanes. Photo taken: October 11th, 2011. |
 (720x480) (720x480)(1440x960) (2400x1600) |
||
| City of Burlington Regional Municipality of Halton |
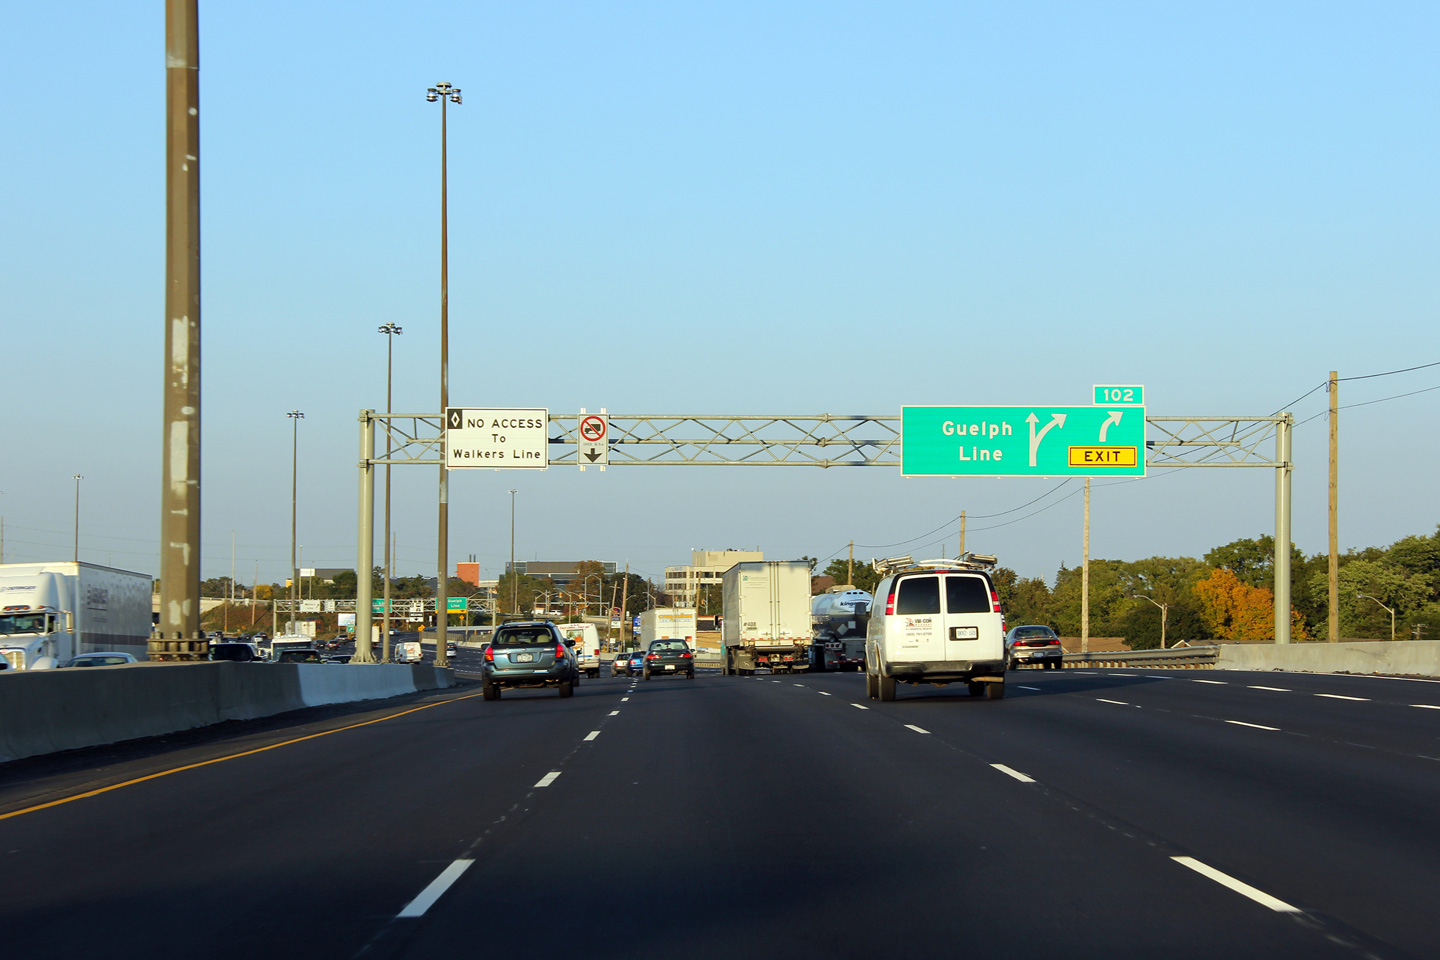
Advanced signage for the Toronto-bound exit to Guelph Line. This
signage omits the fact that Guelph Line is Halton Regional Road 1. Photo taken: October 11th, 2011. |
 (720x480) (720x480)(1440x960) (2400x1600) |
||
| City of Burlington Regional Municipality of Halton |
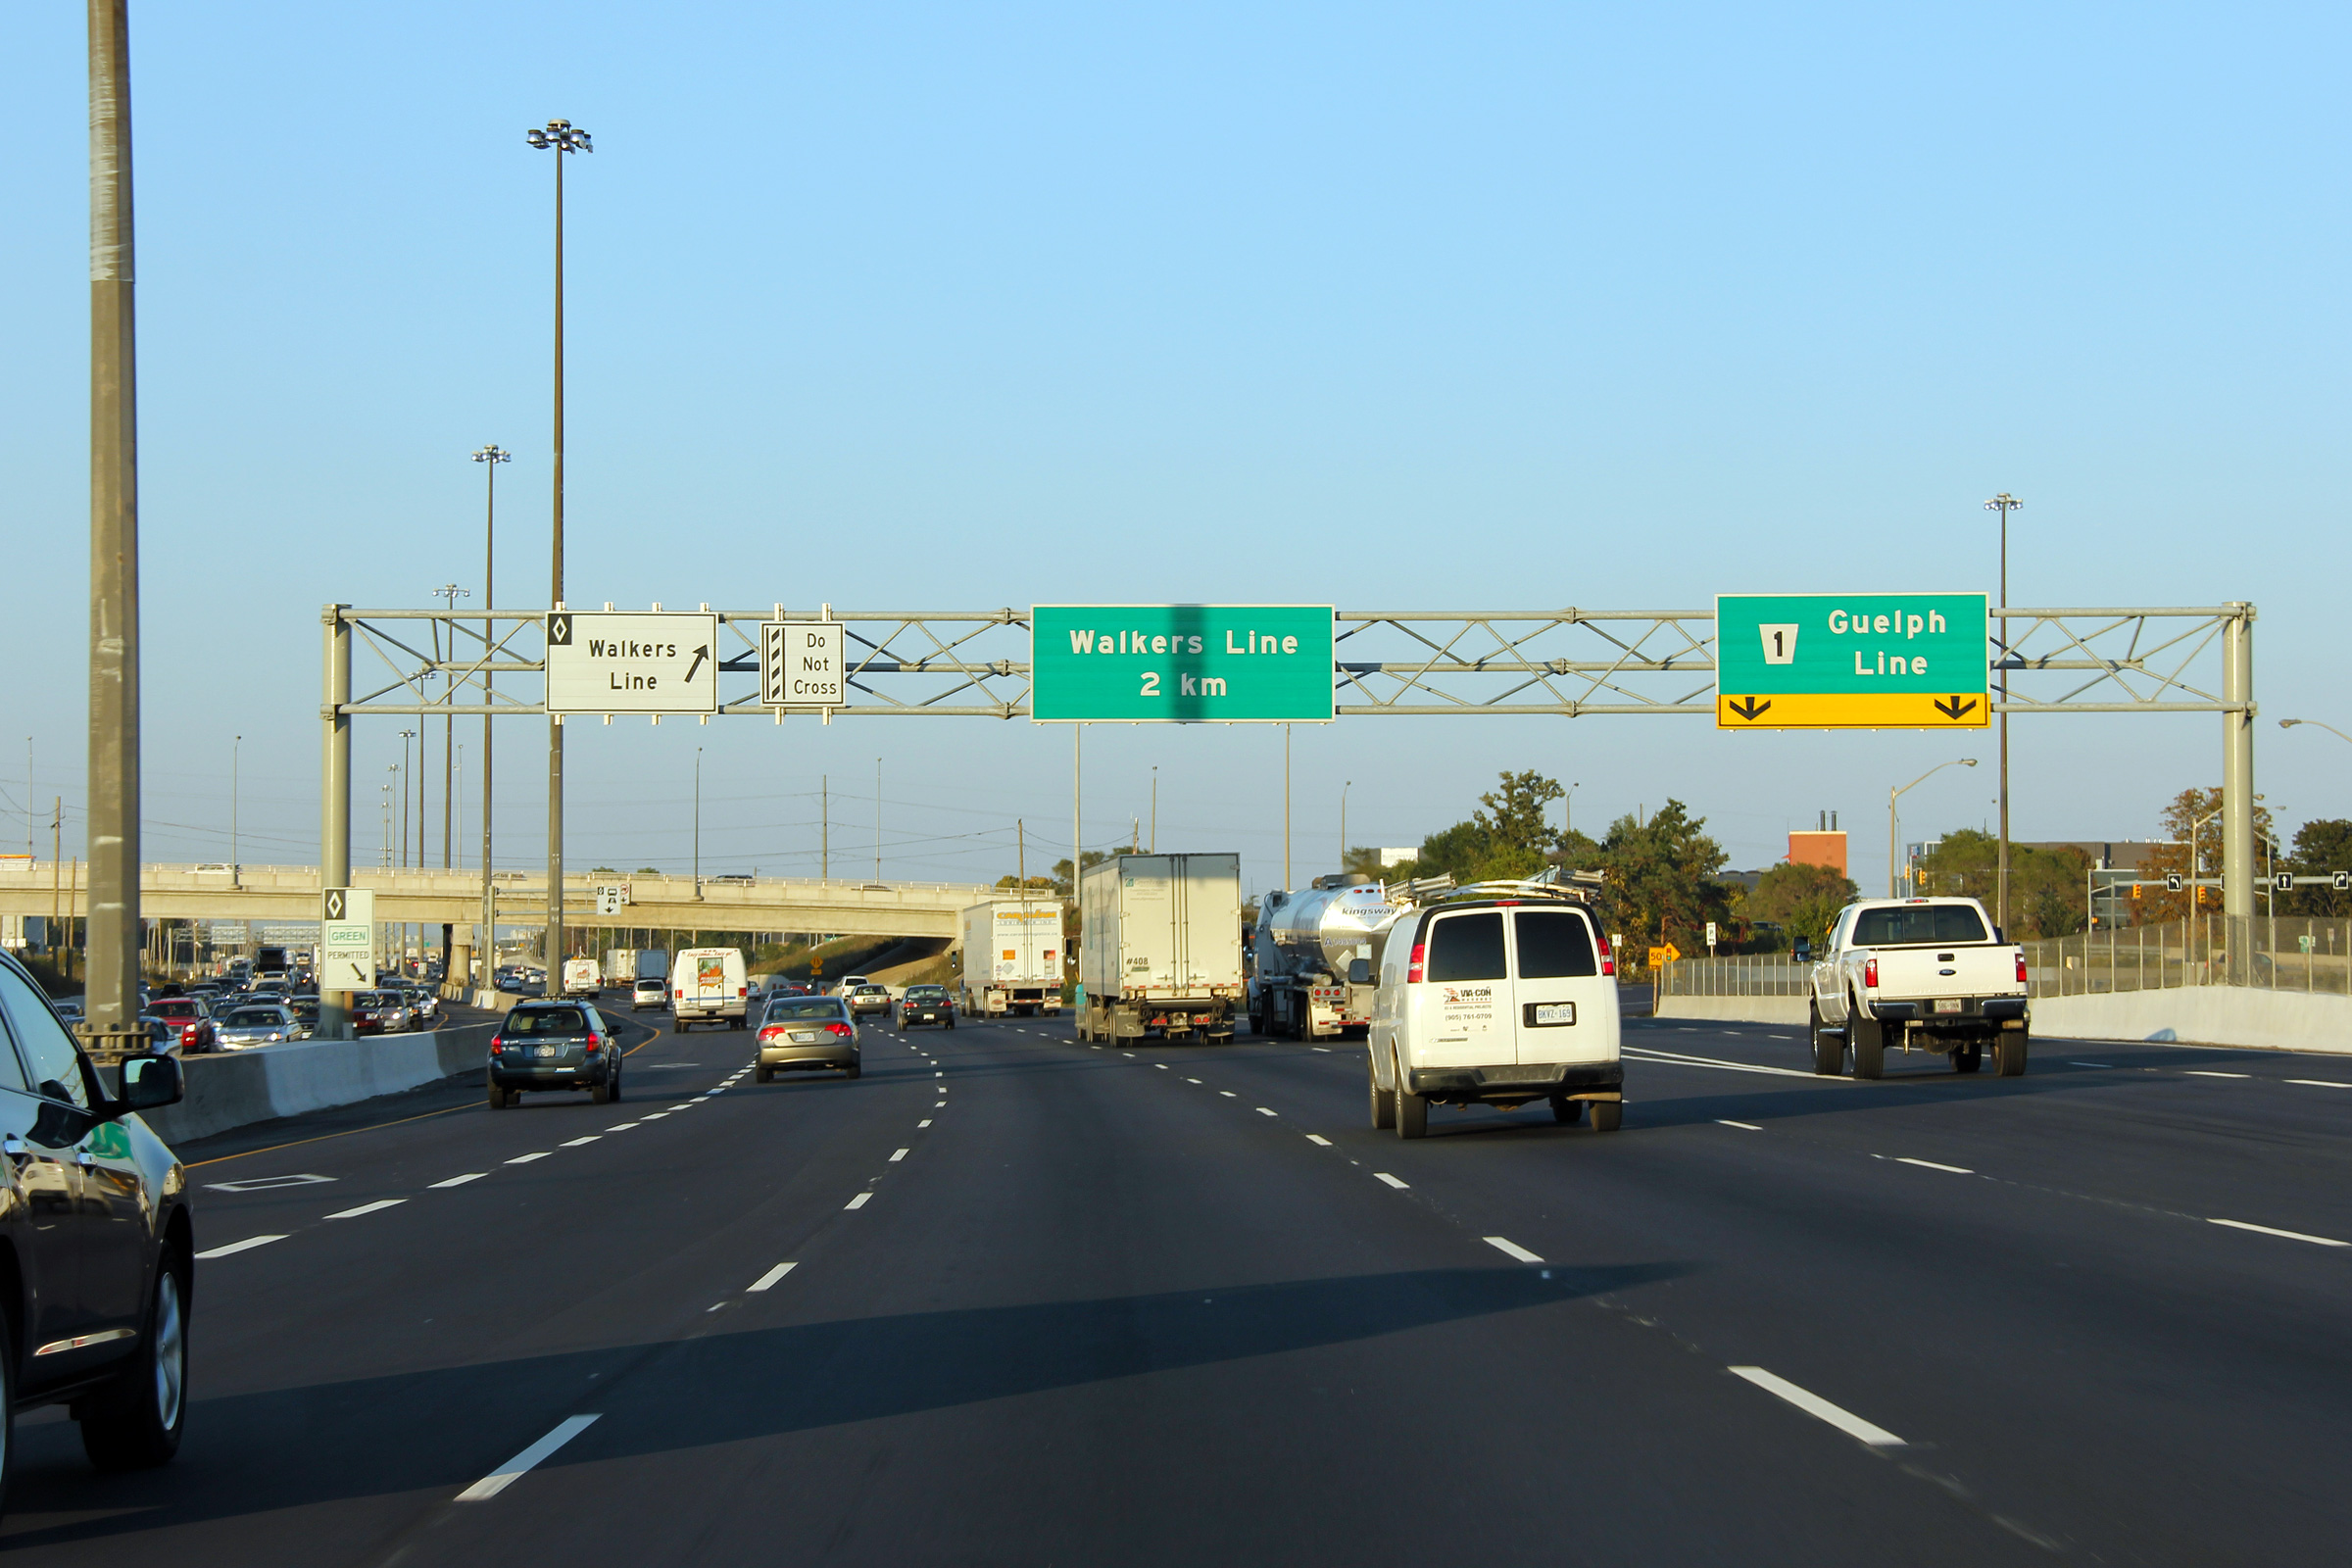
Driver's perspective of the Toronto-bound exit to Guelph Line. The
Toronto-bound HOV lane begins at this interchange. Photo taken: October 11th, 2011. |
 (720x480) (720x480)(1440x960) (2400x1600) |
||
| City of Burlington Regional Municipality of Halton |
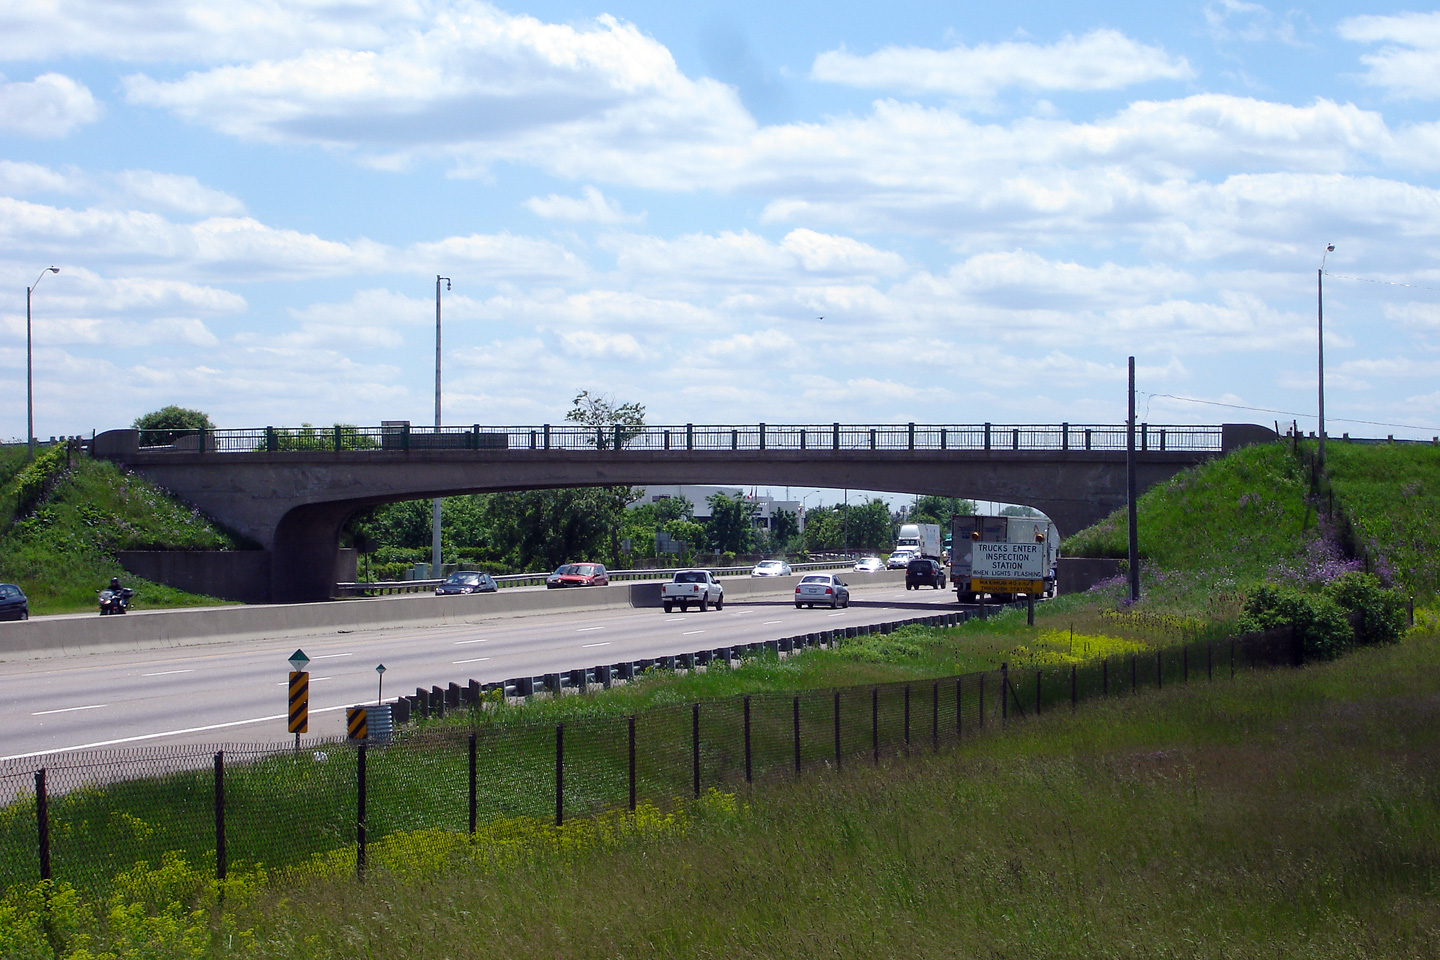
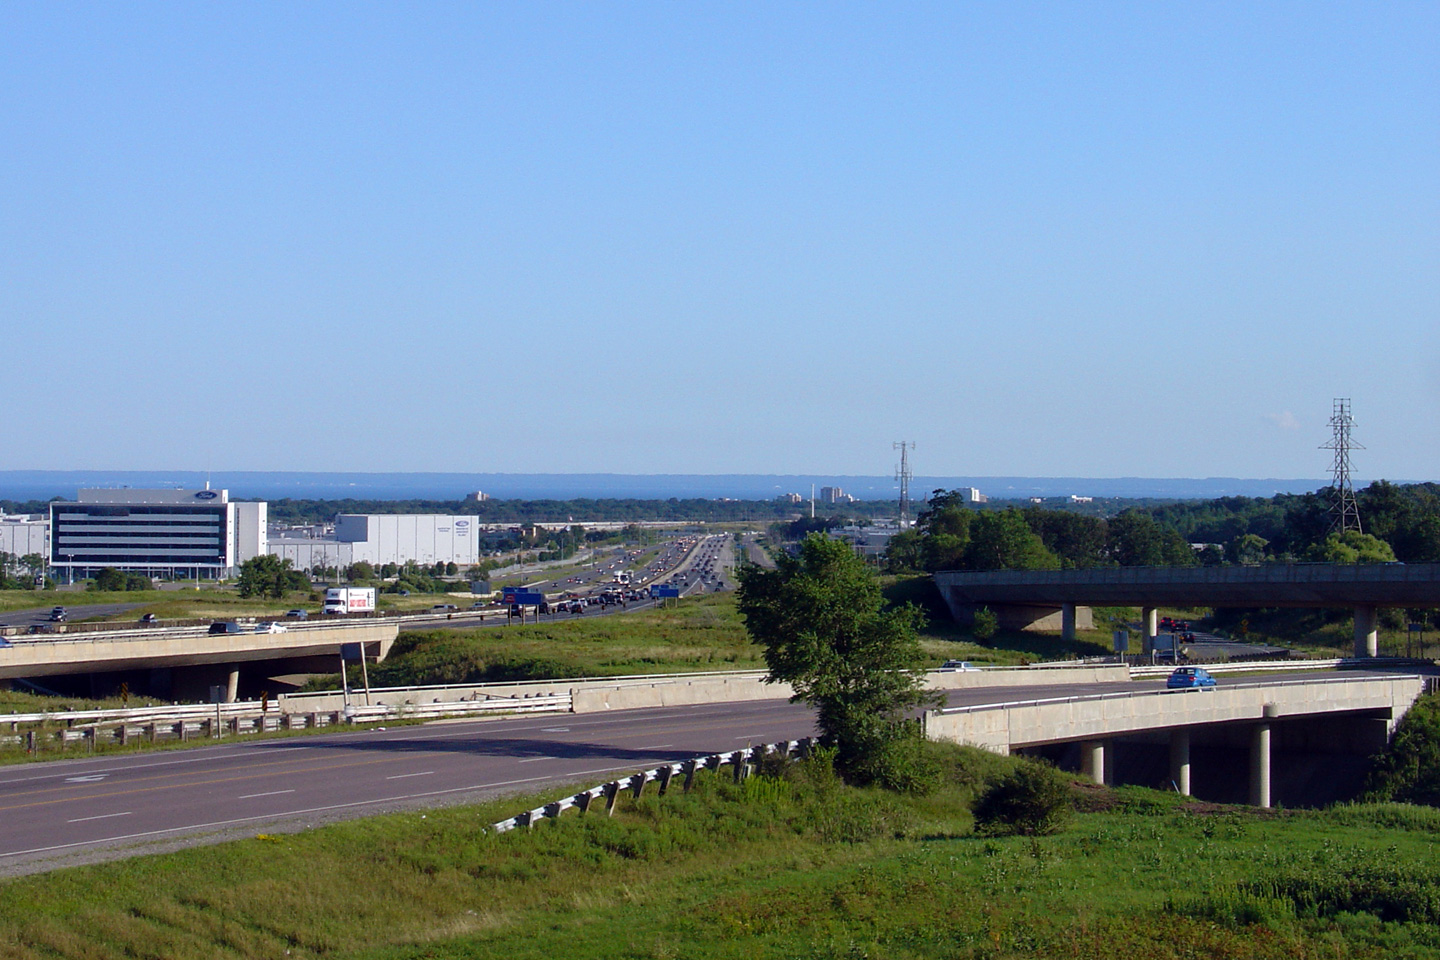
Looking towards Fort Erie from the Guelph Line overpass in Burlington.
The Guelph Line interchange and structure were both significantly reconfigured and
replaced during the 2004 and 2005 construction seasons. This
reconstruction work was a precursor to the reconstruction that saw High
Occupancy Vehicle (HOV) Lanes added to the QEW/403 between Guelph Line and
Trafalgar Road. Upper photo taken: March 27th, 2006. Lower photos taken: October 11th, 2011. |
(720x480)
(1440x960)
(2400x1600) |
||
| City of Burlington Regional Municipality of Halton |
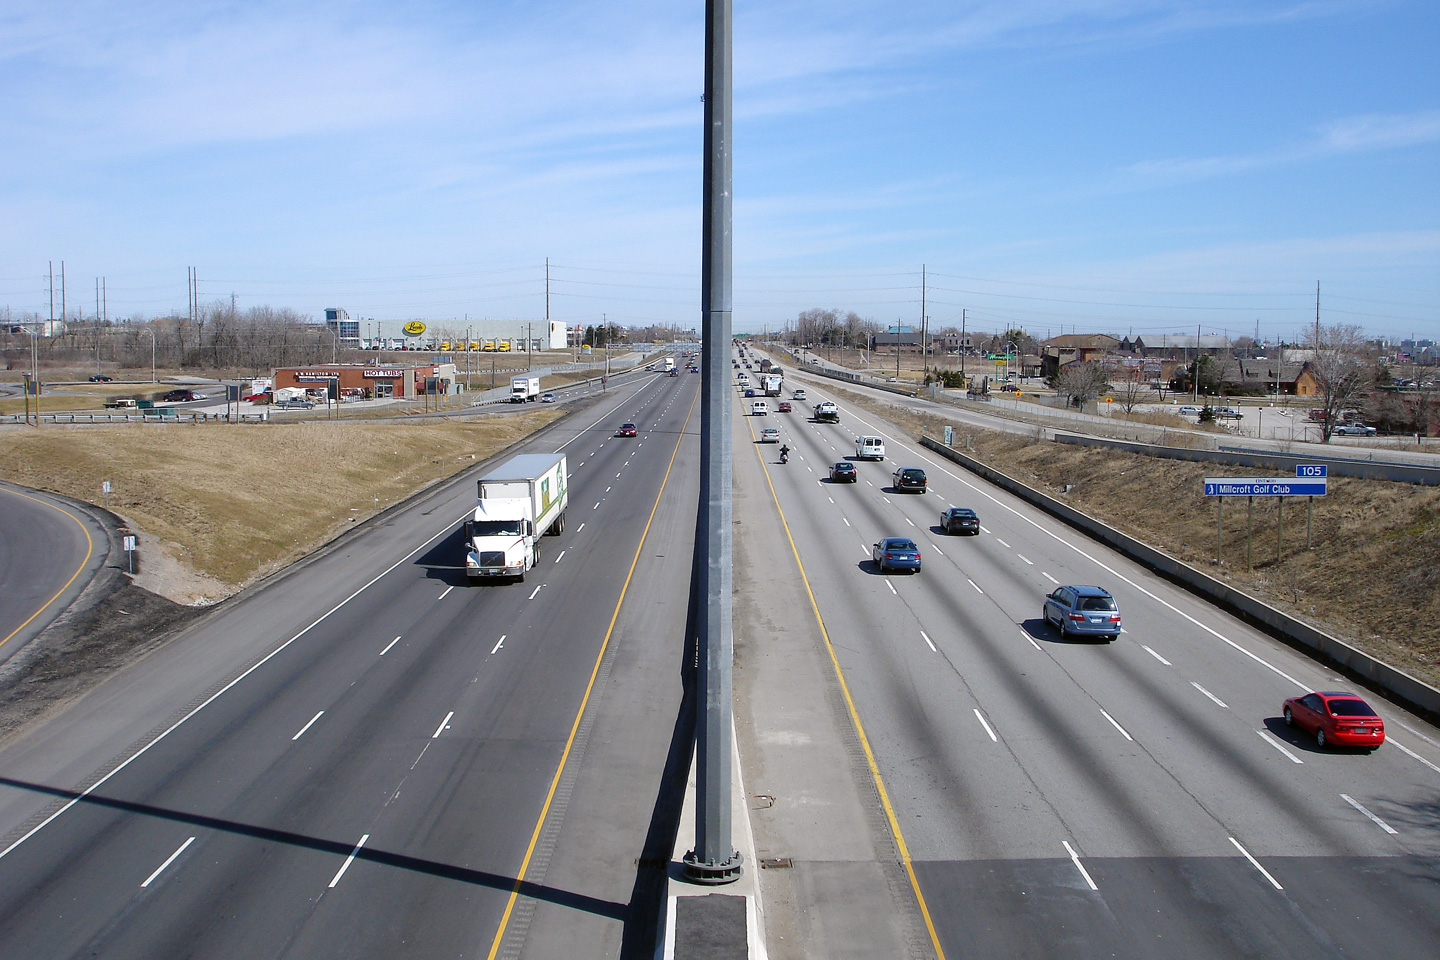
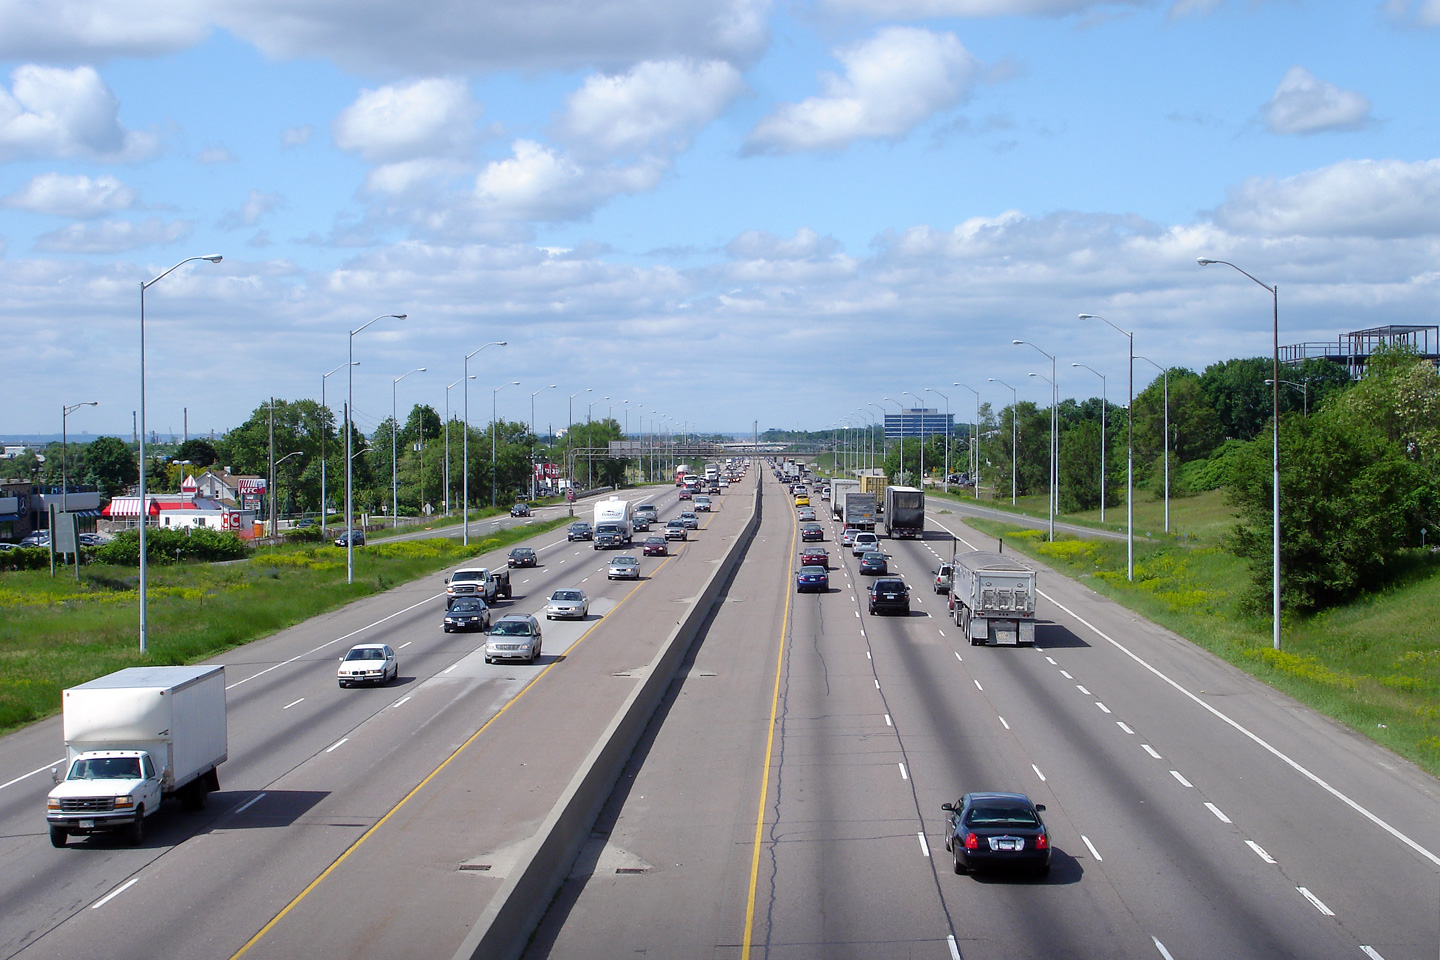
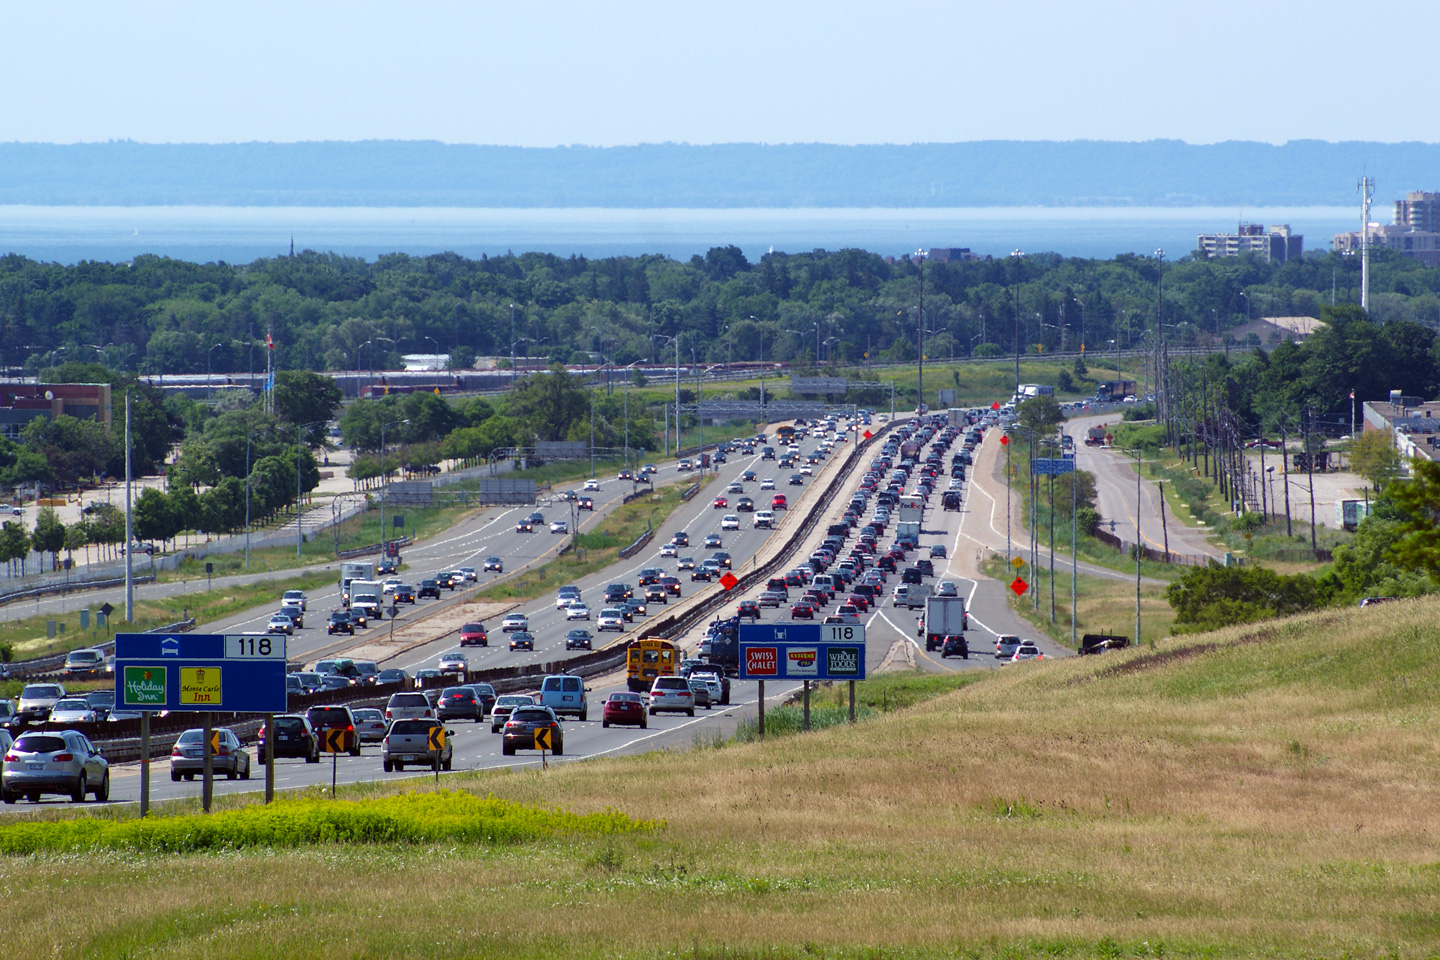
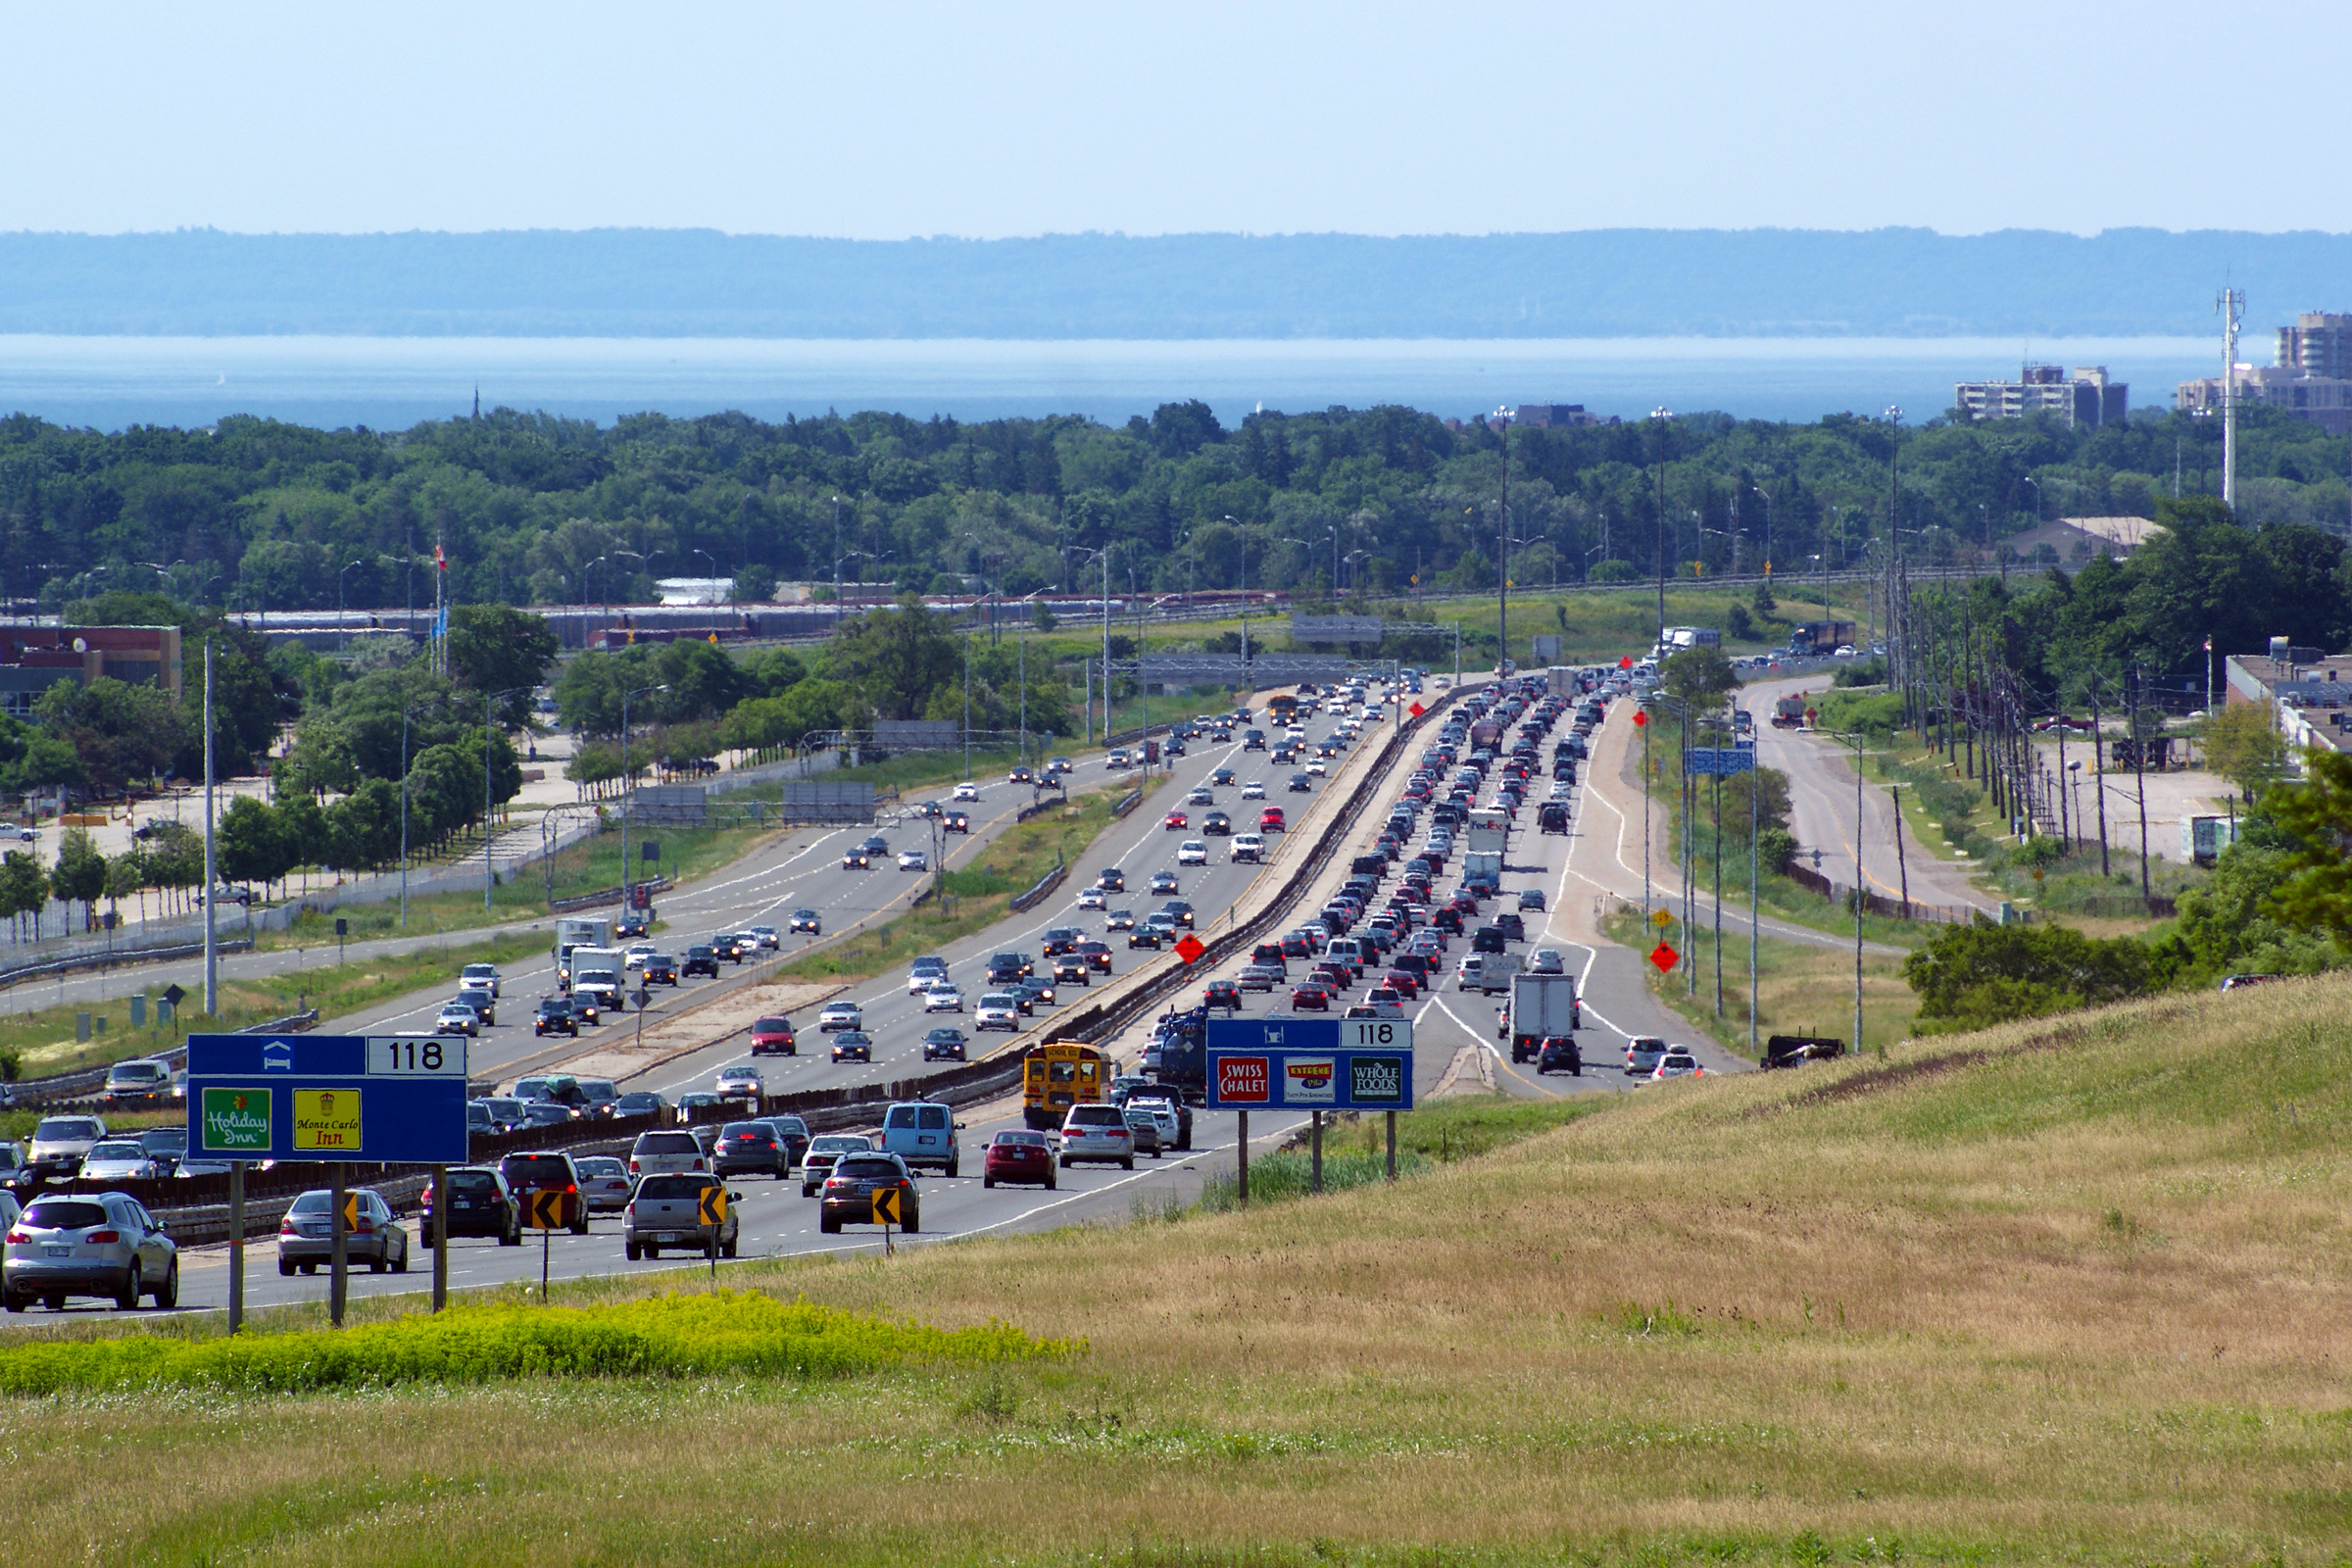
Facing Toronto Bound from the Guelph Line overpass. Today, the
Guelph Line interchange is a
standard parclo A4 configuration, however, historically Guelph Line met the
Queen Elizabeth Way at a cloverleaf interchange. Upper photo taken: March 27th, 2006. Lower photos taken: October 11th, 2011. |
 (720x480) (1440x960) (2400x1600) 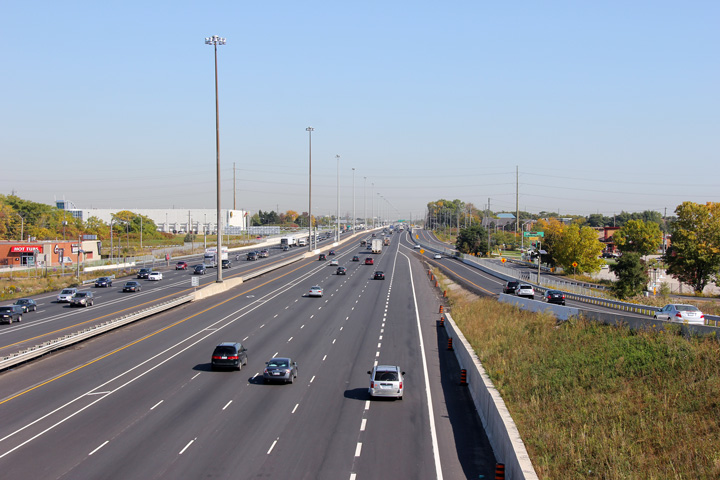 (720x480) (1440x960) (2400x1600) |
||
| City of Burlington Regional Municipality of Halton |
Overhead signage for the Guelph Line interchange. The signage was not
significantly altered when it was replaced during the construction that saw
an HOV lane added to the QEW/403 in 2011. Upper photo taken: July 20th, 2007. Lower photo taken: March 7th, 2014. |
|
||
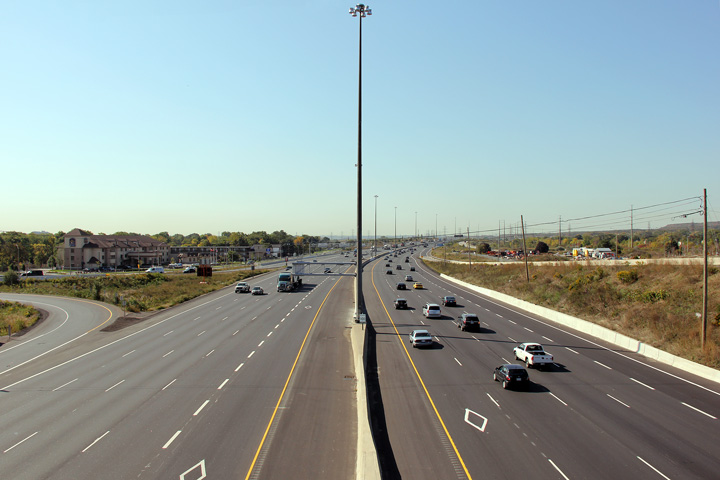
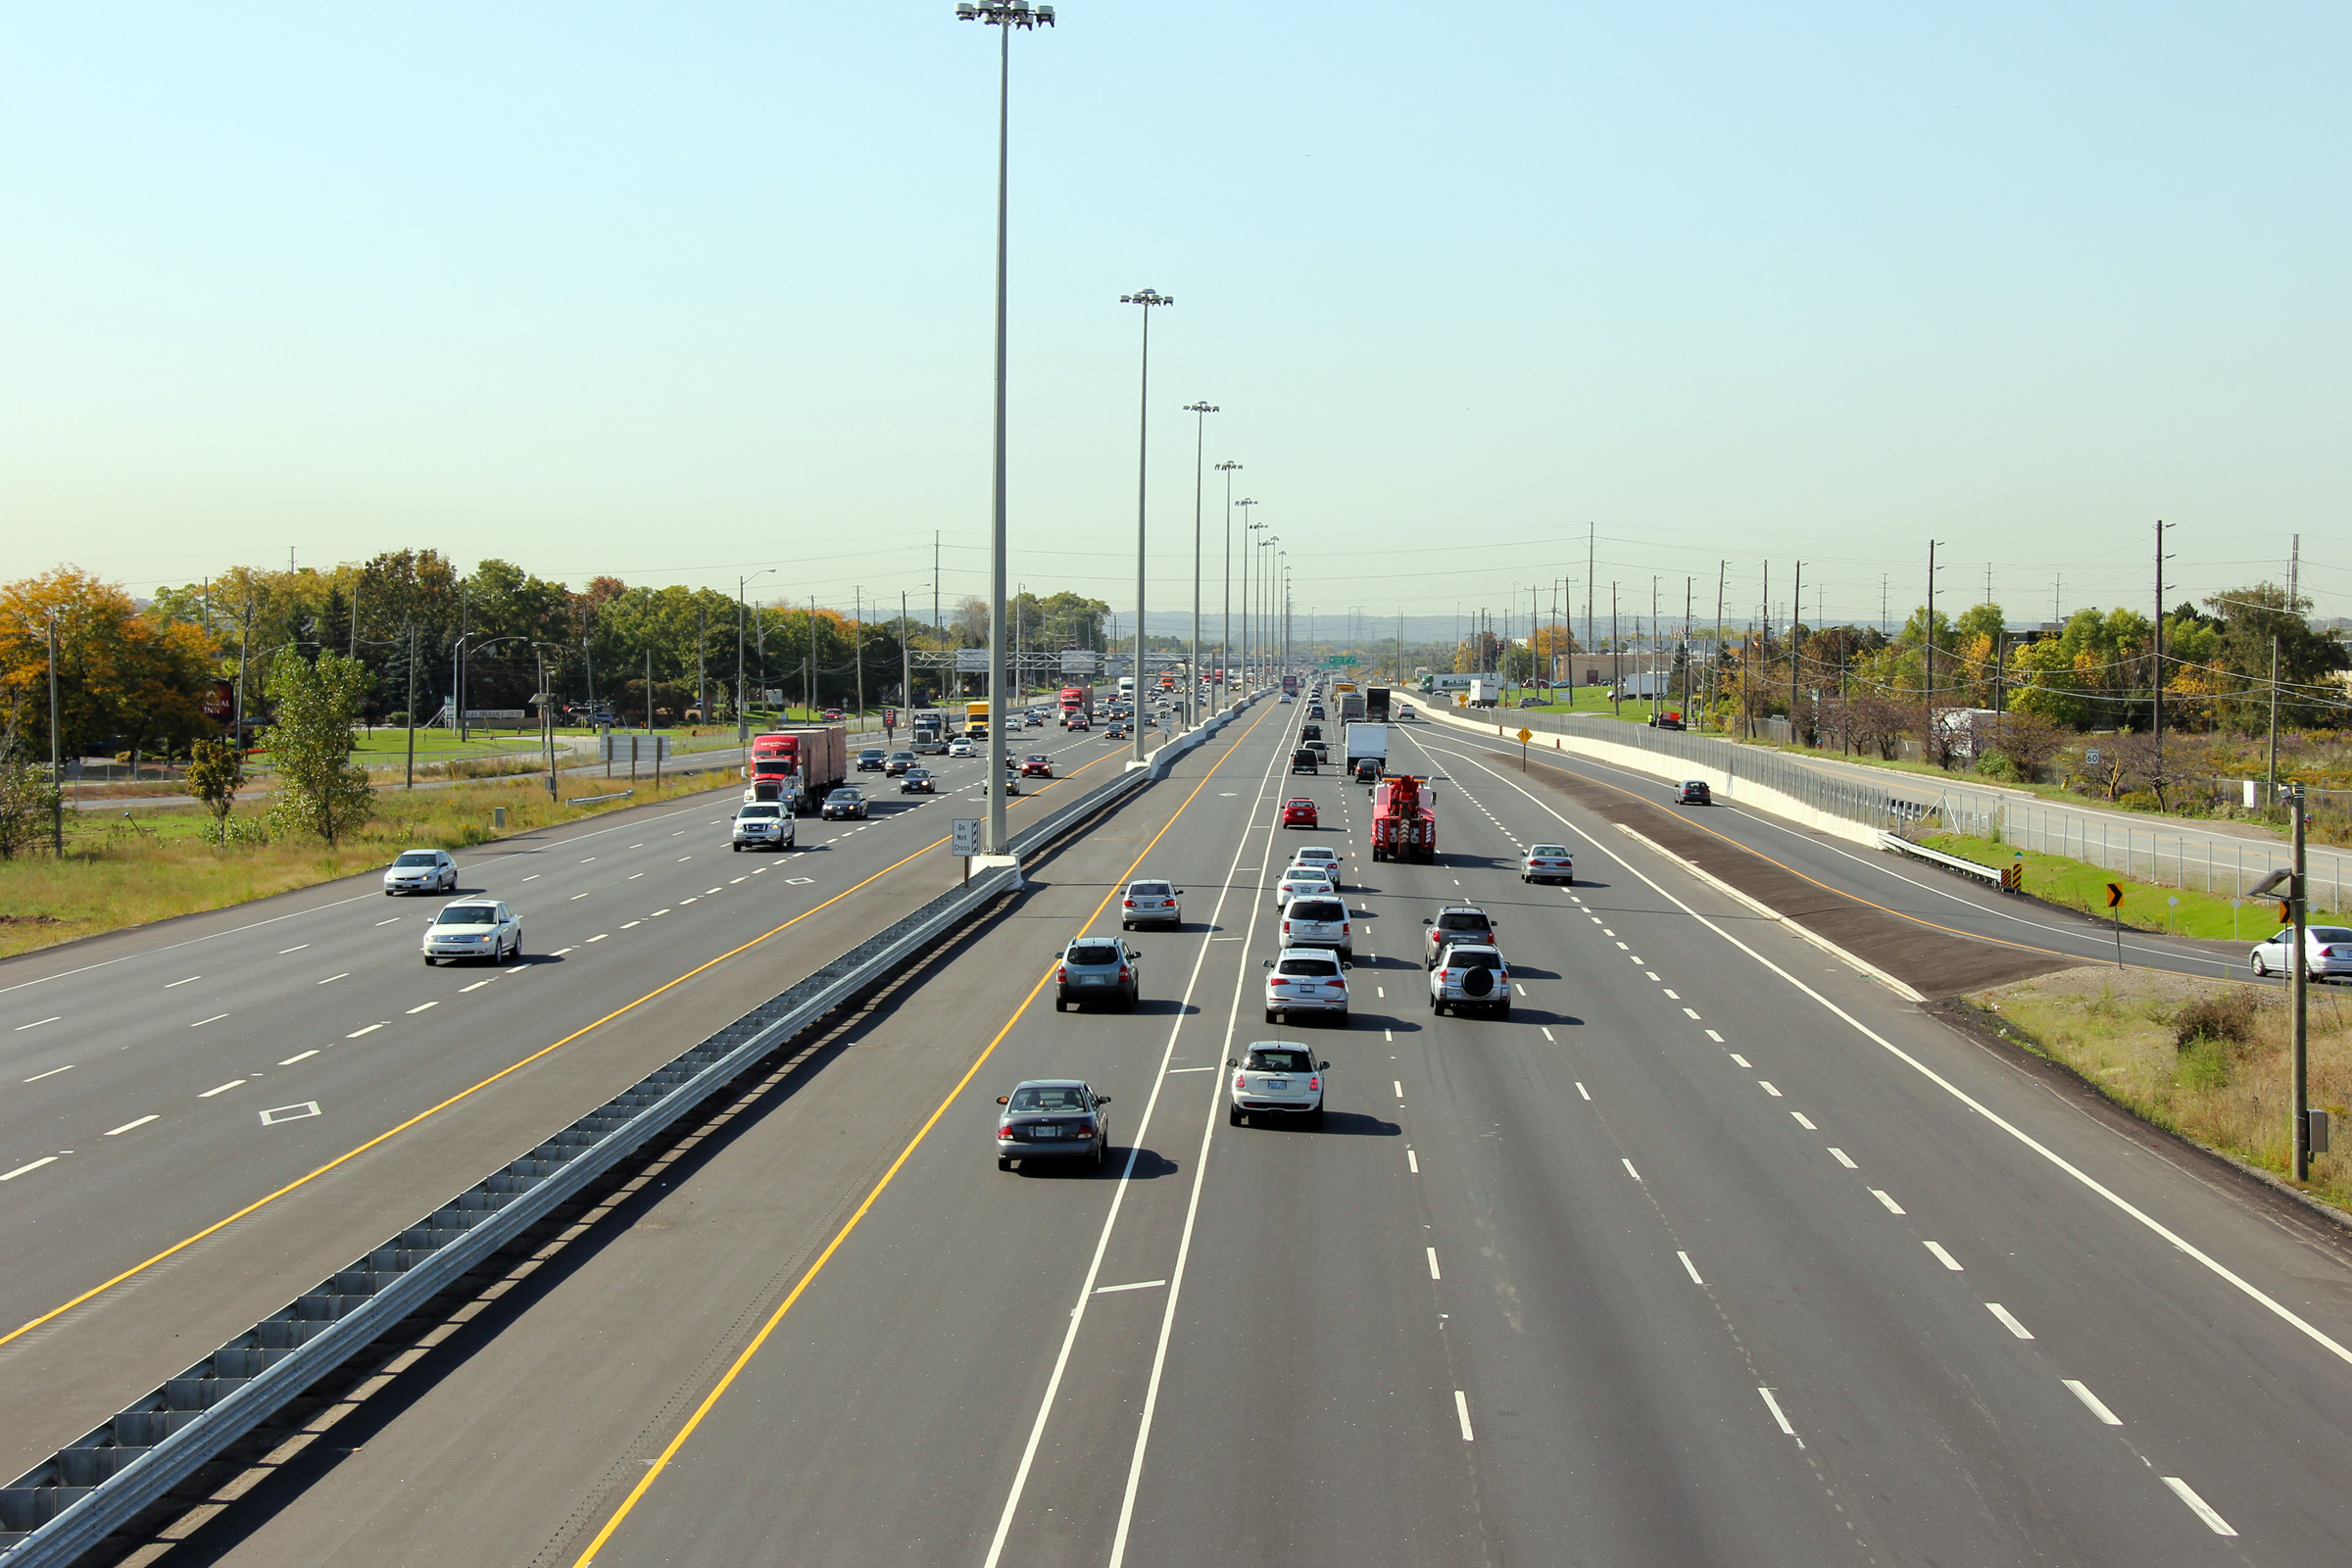
| City of Burlington Regional Municipality of Halton |
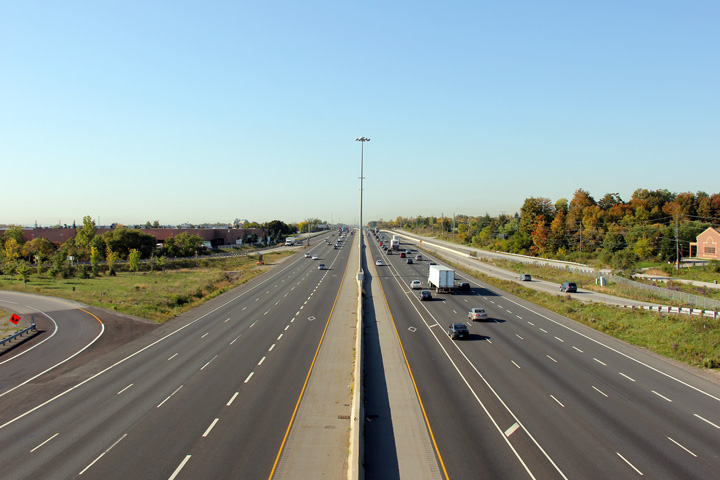
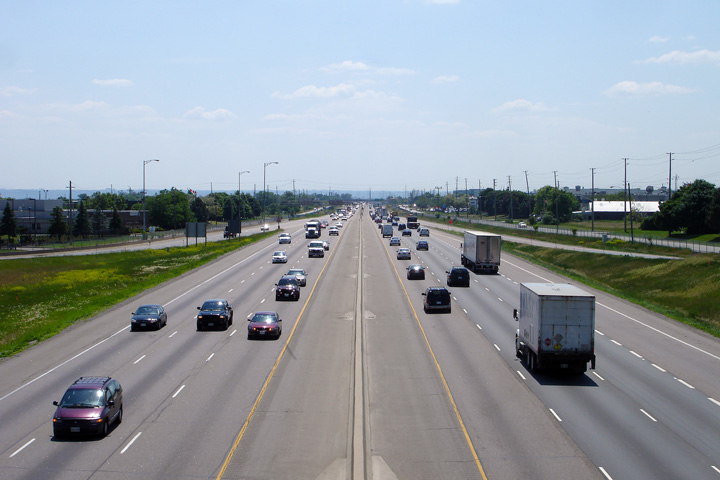
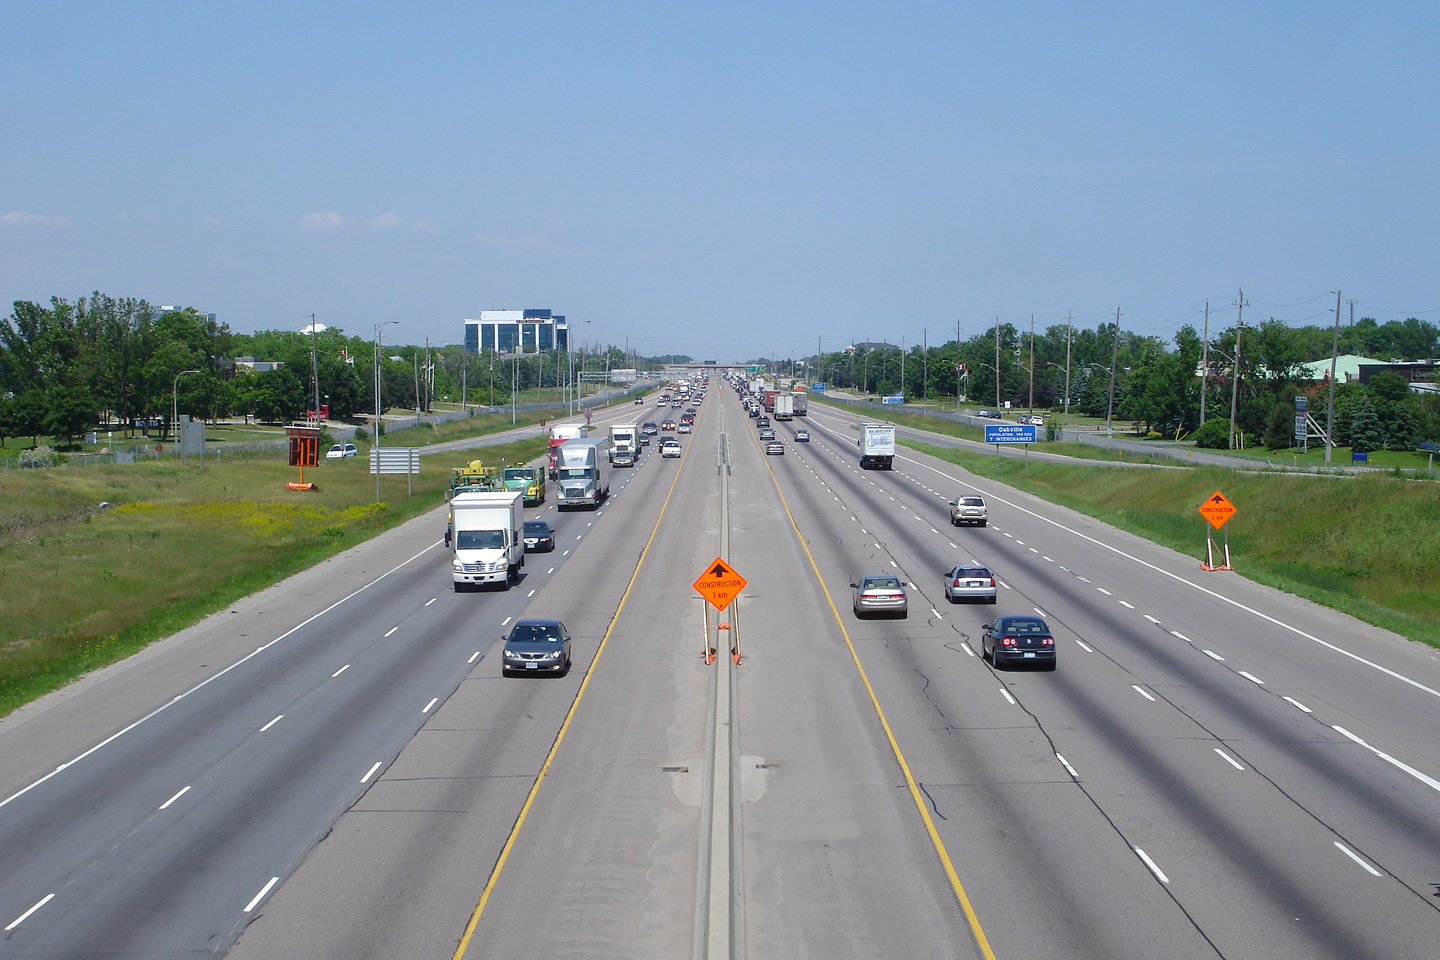
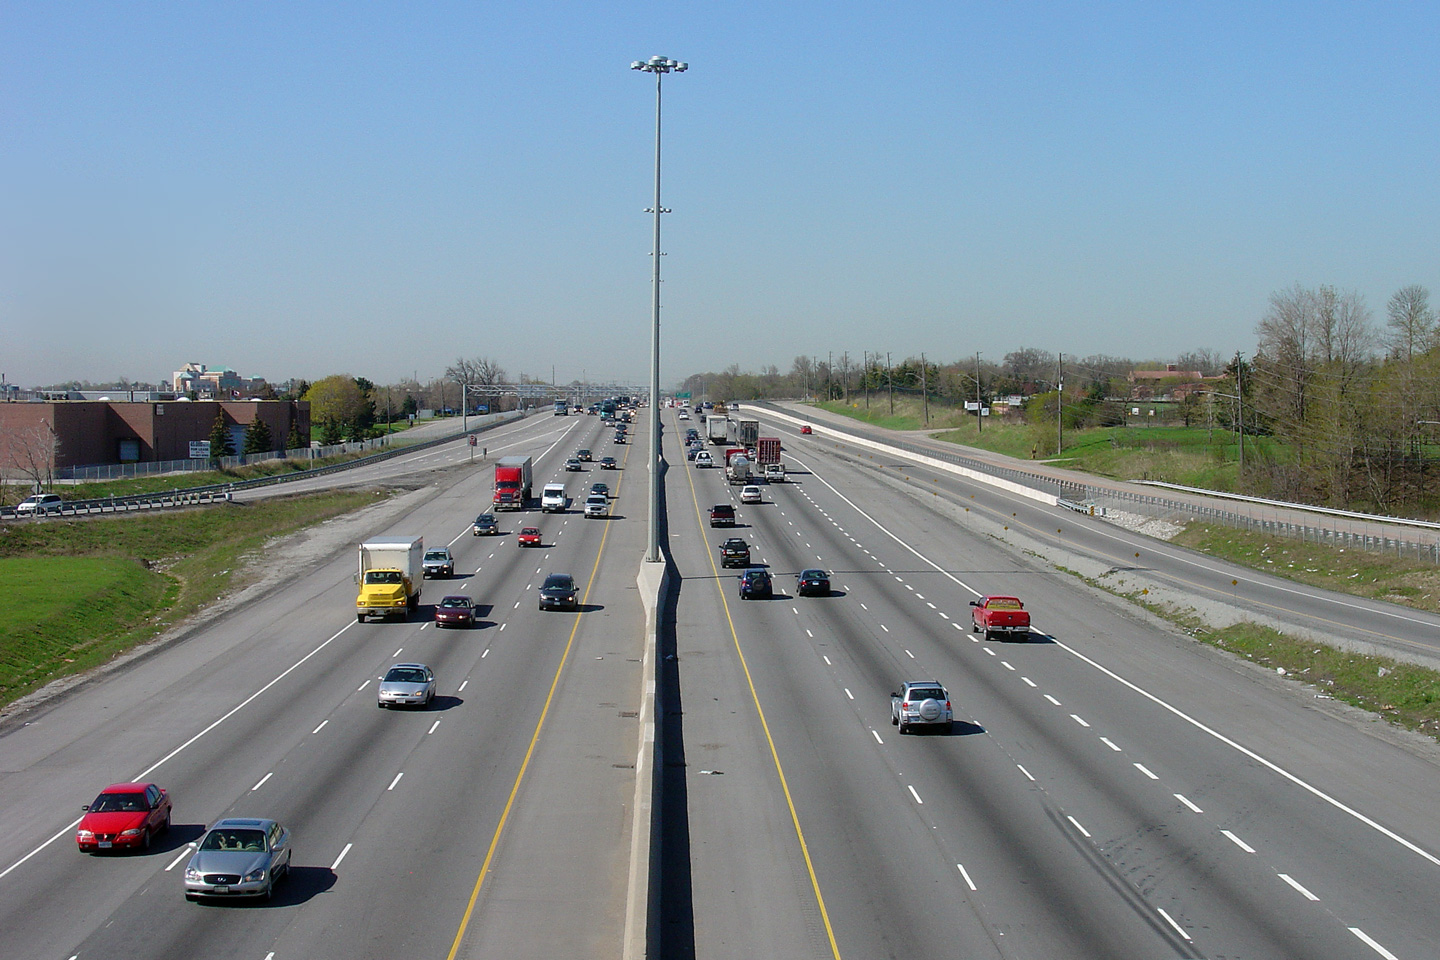
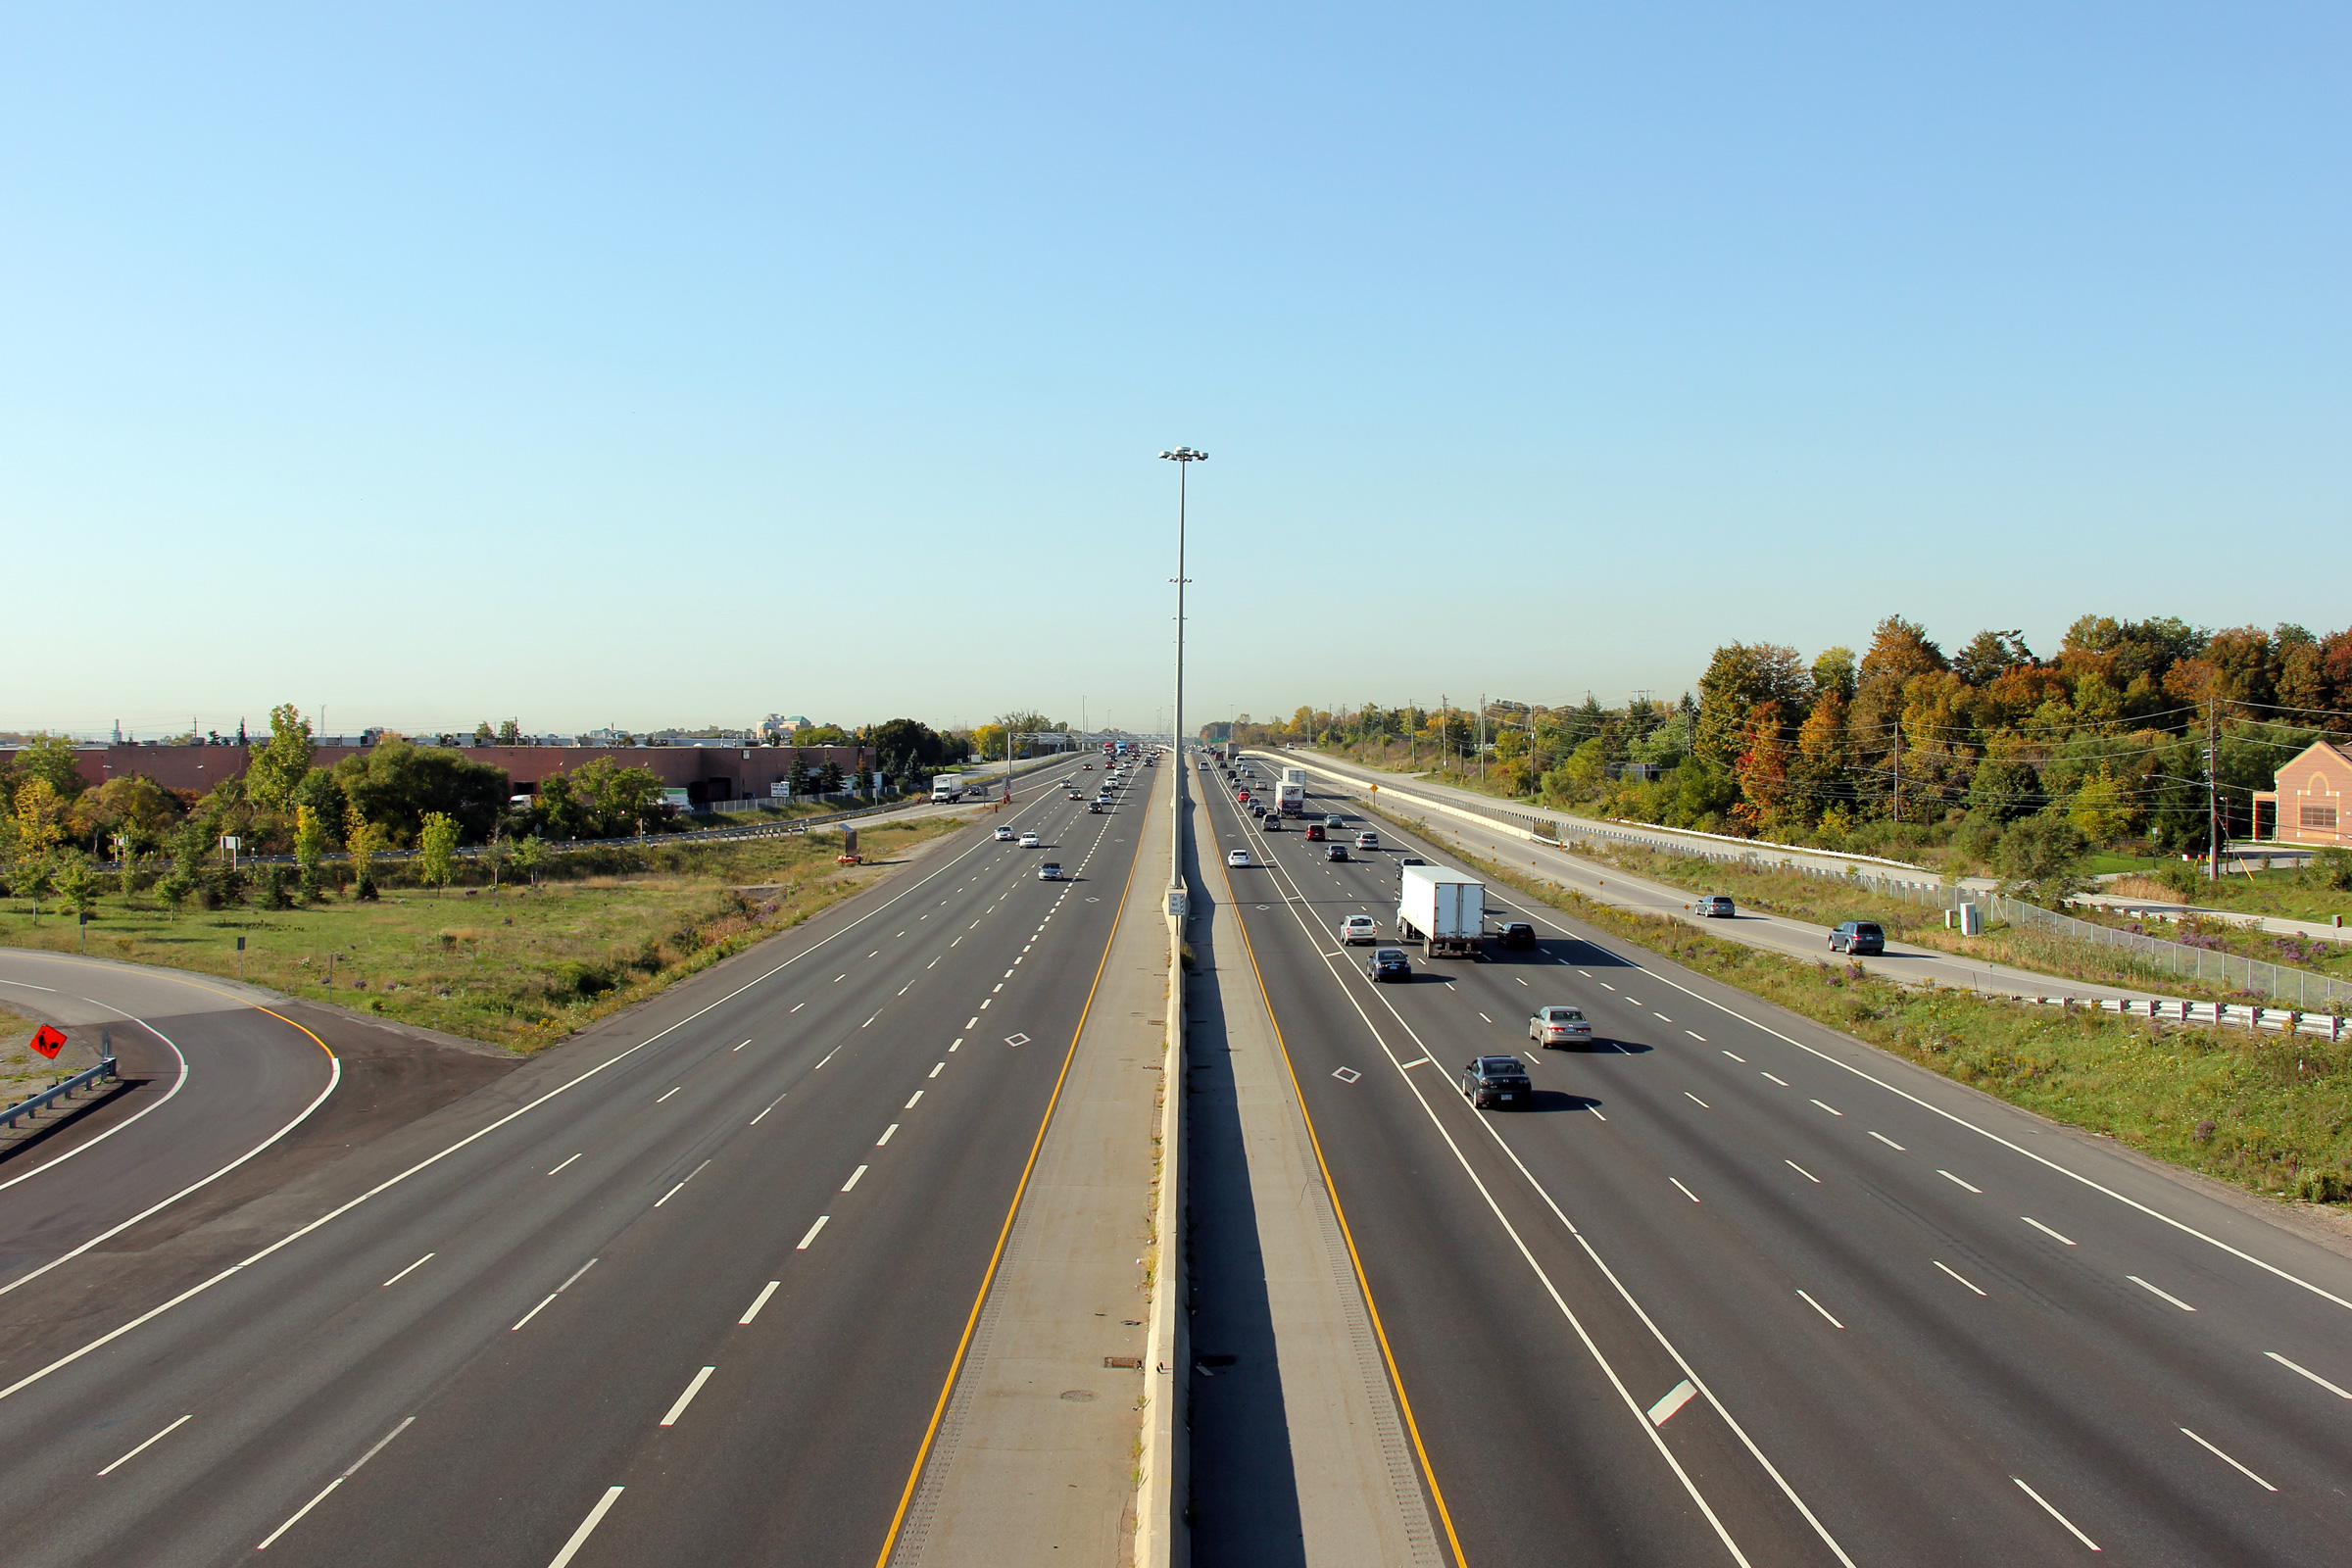
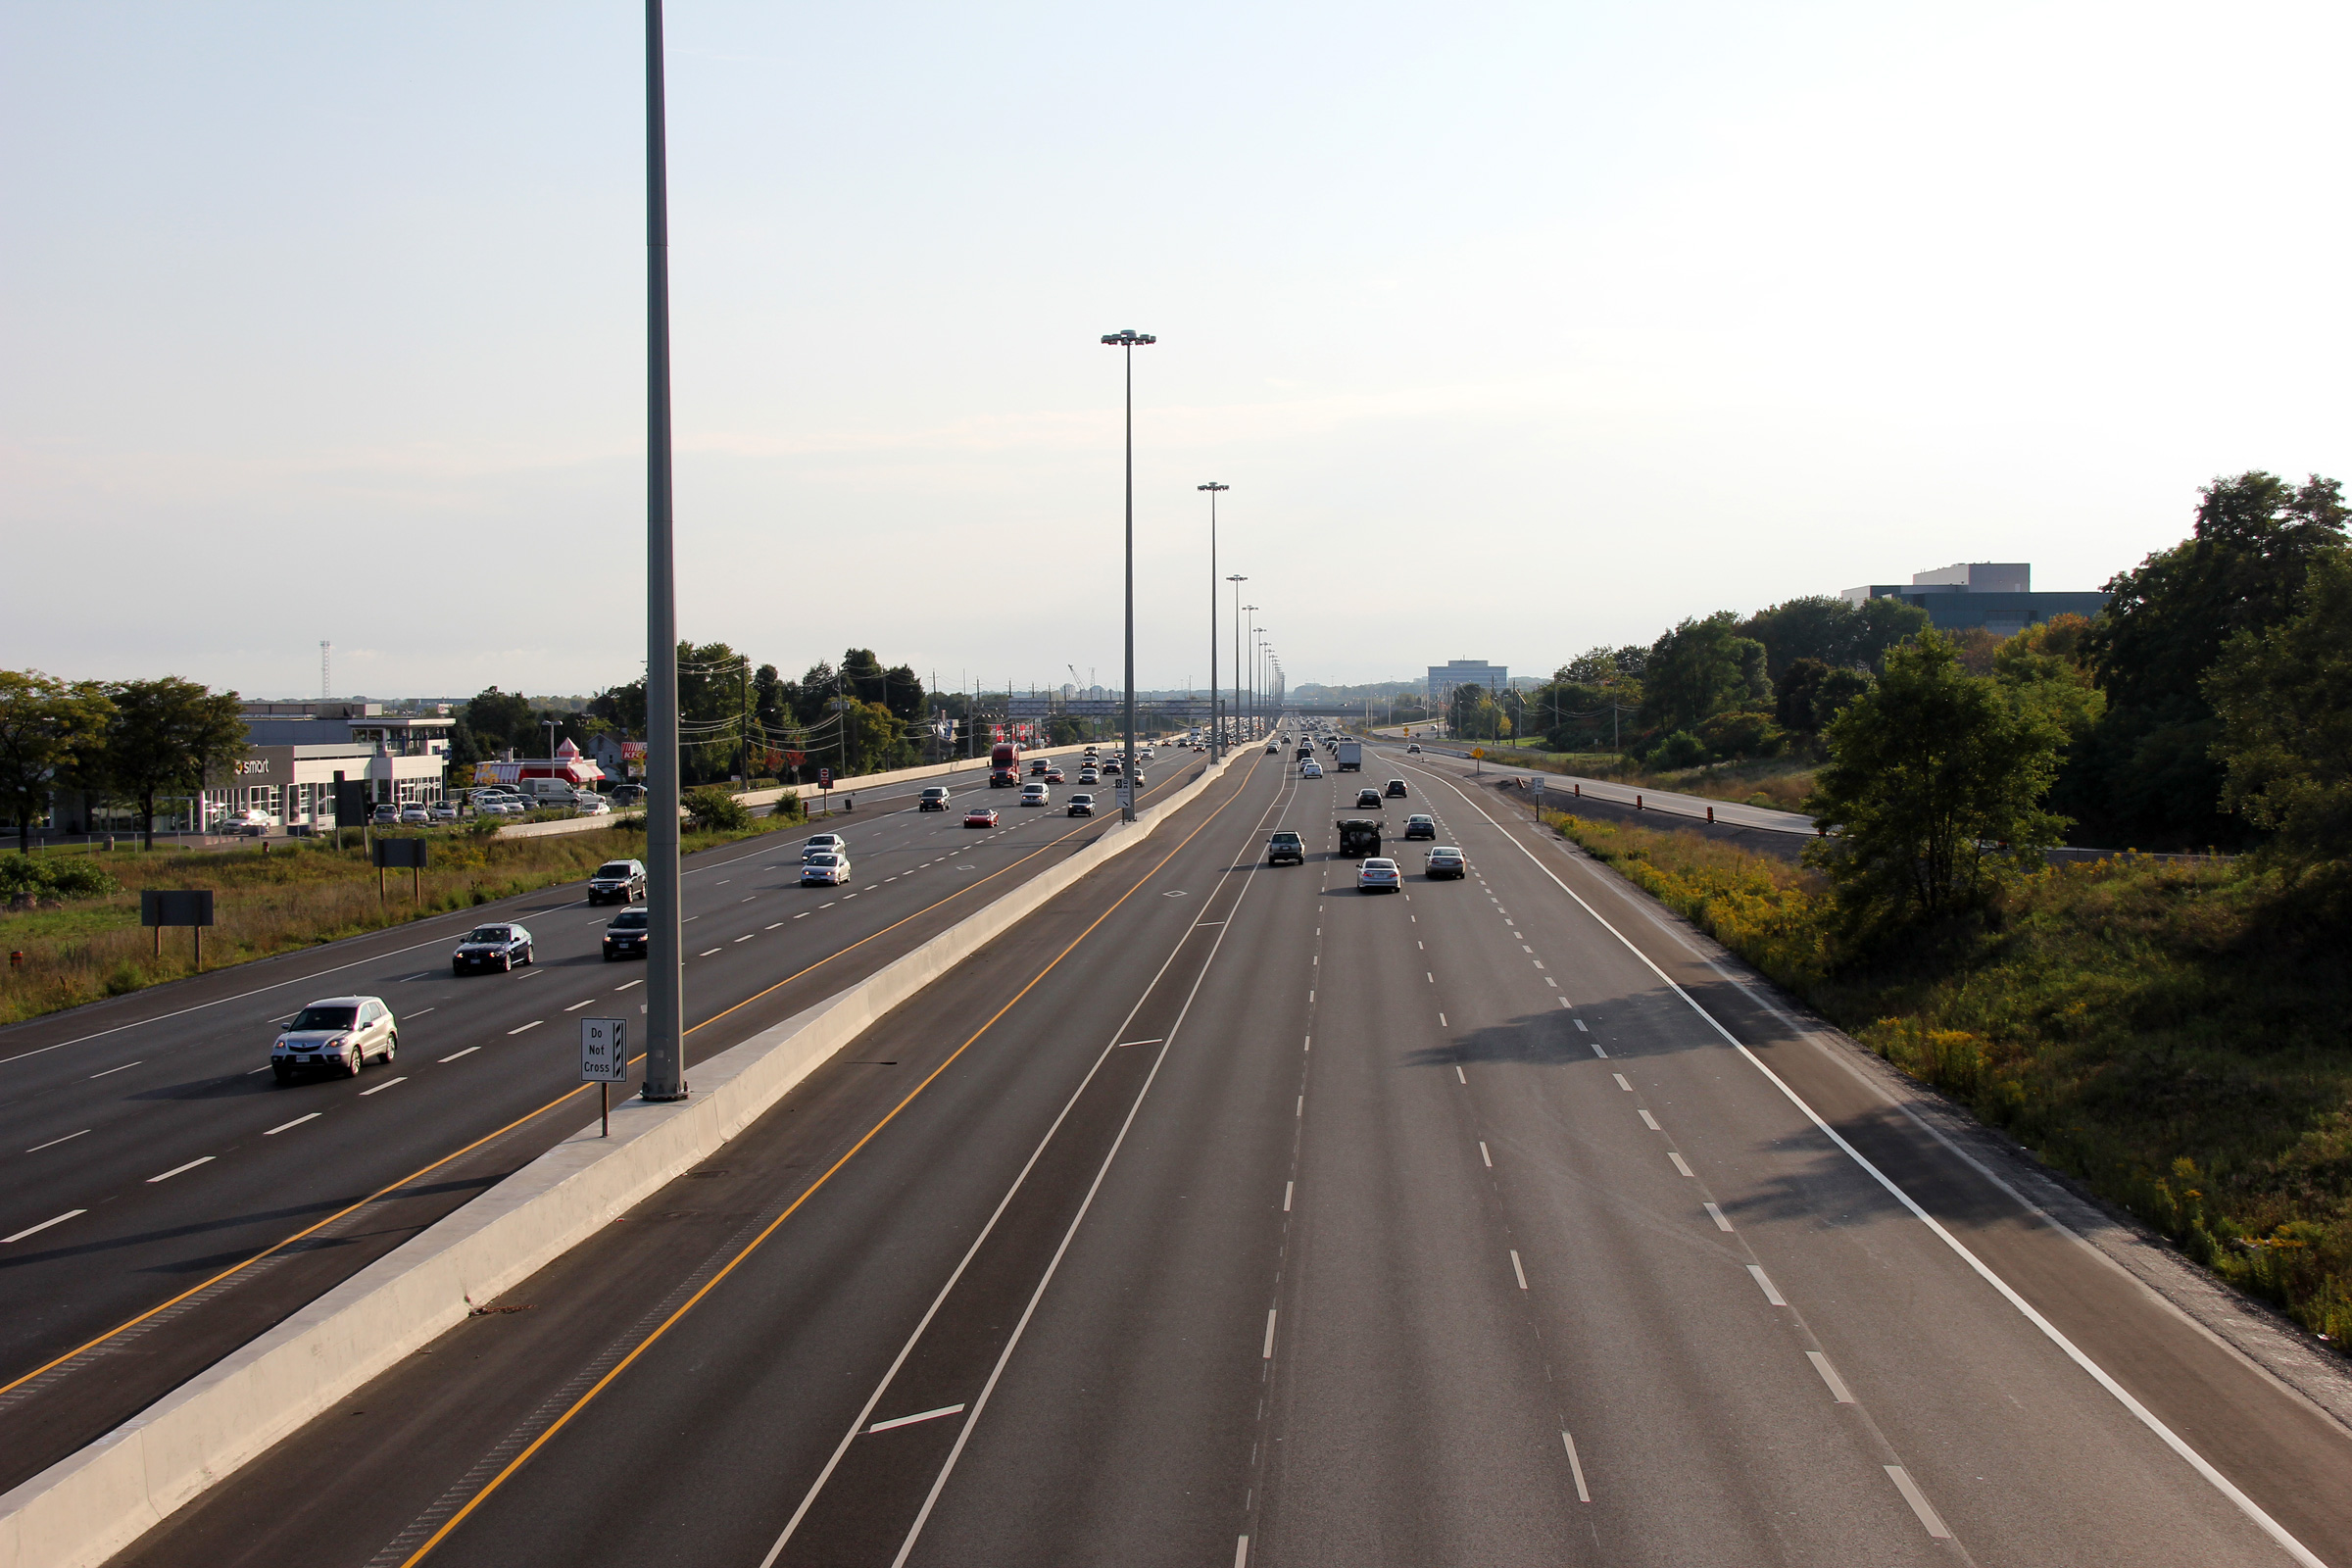
Looking Hamilton-bound from the Walkers Line overpass. Steel guide
rail has been used intermittently along the QEW through Burlington and
Oakville between long segments of concrete barrier. Upper photo taken: June 11th, 2007. Lower photo taken: October 11th, 2011. |
 |
||
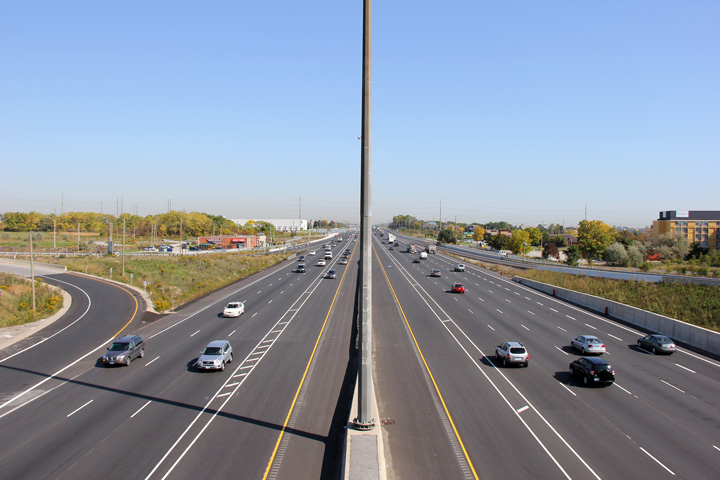
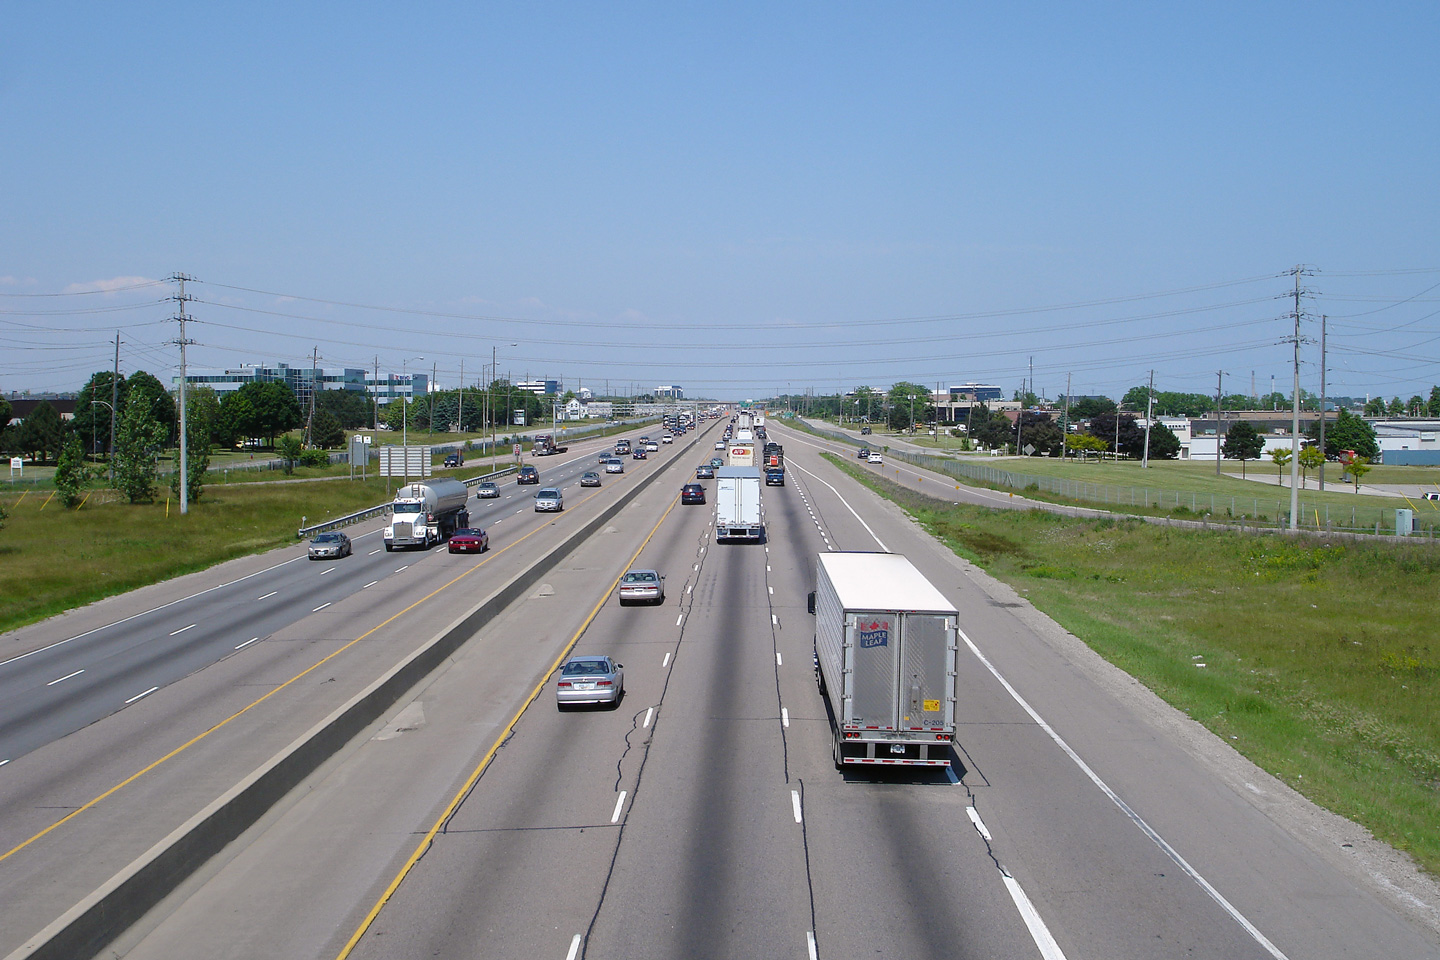
| City of Burlington Regional Municipality of Halton |
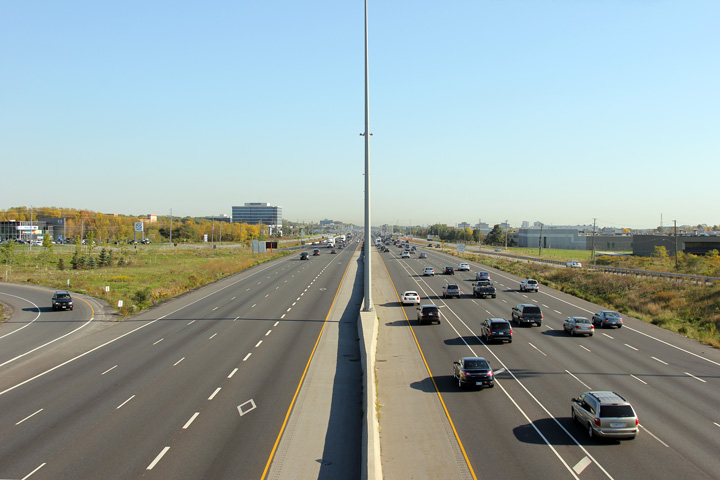
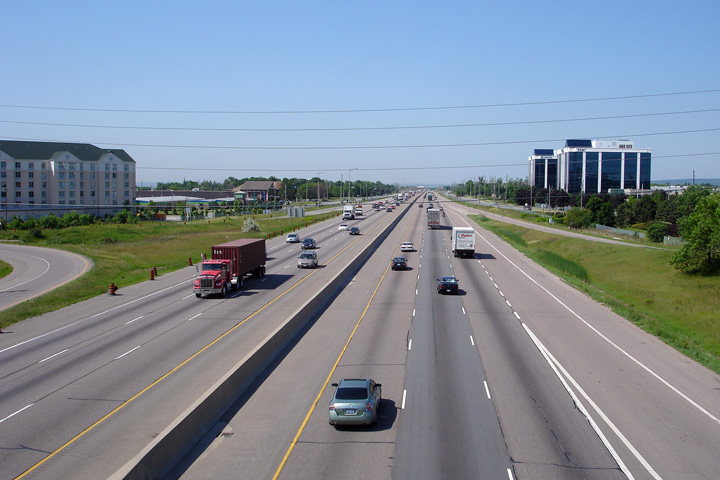
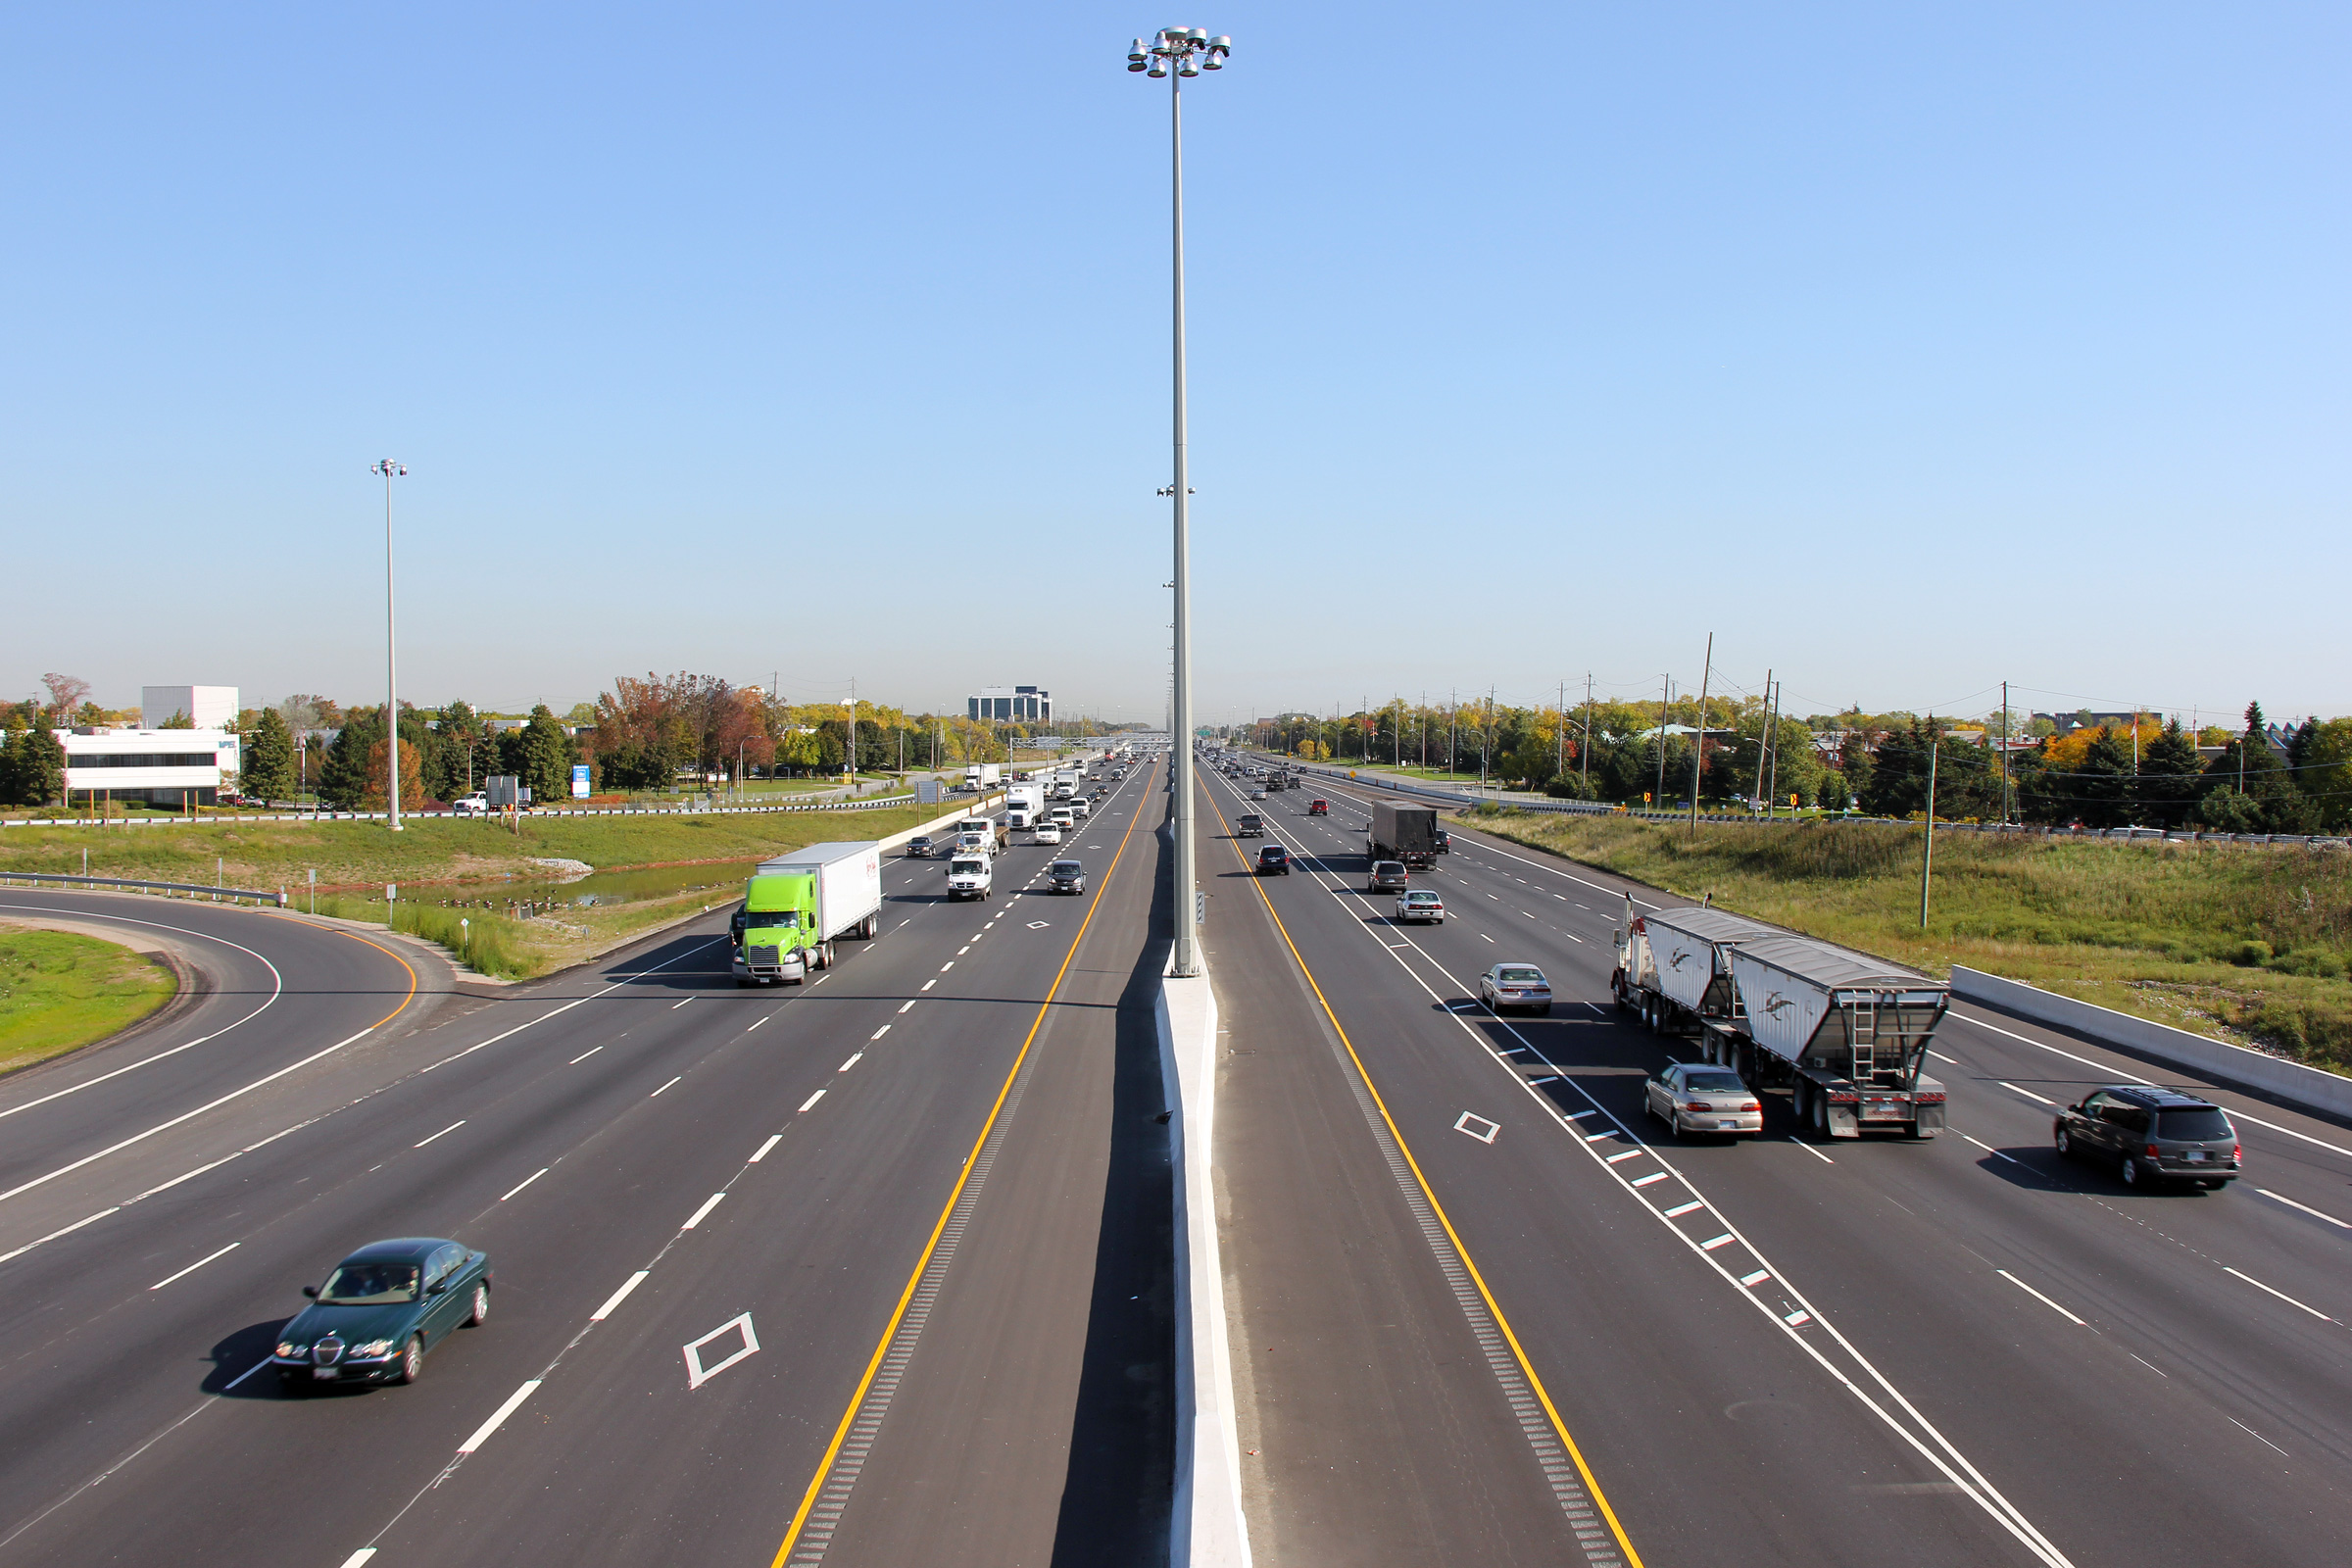
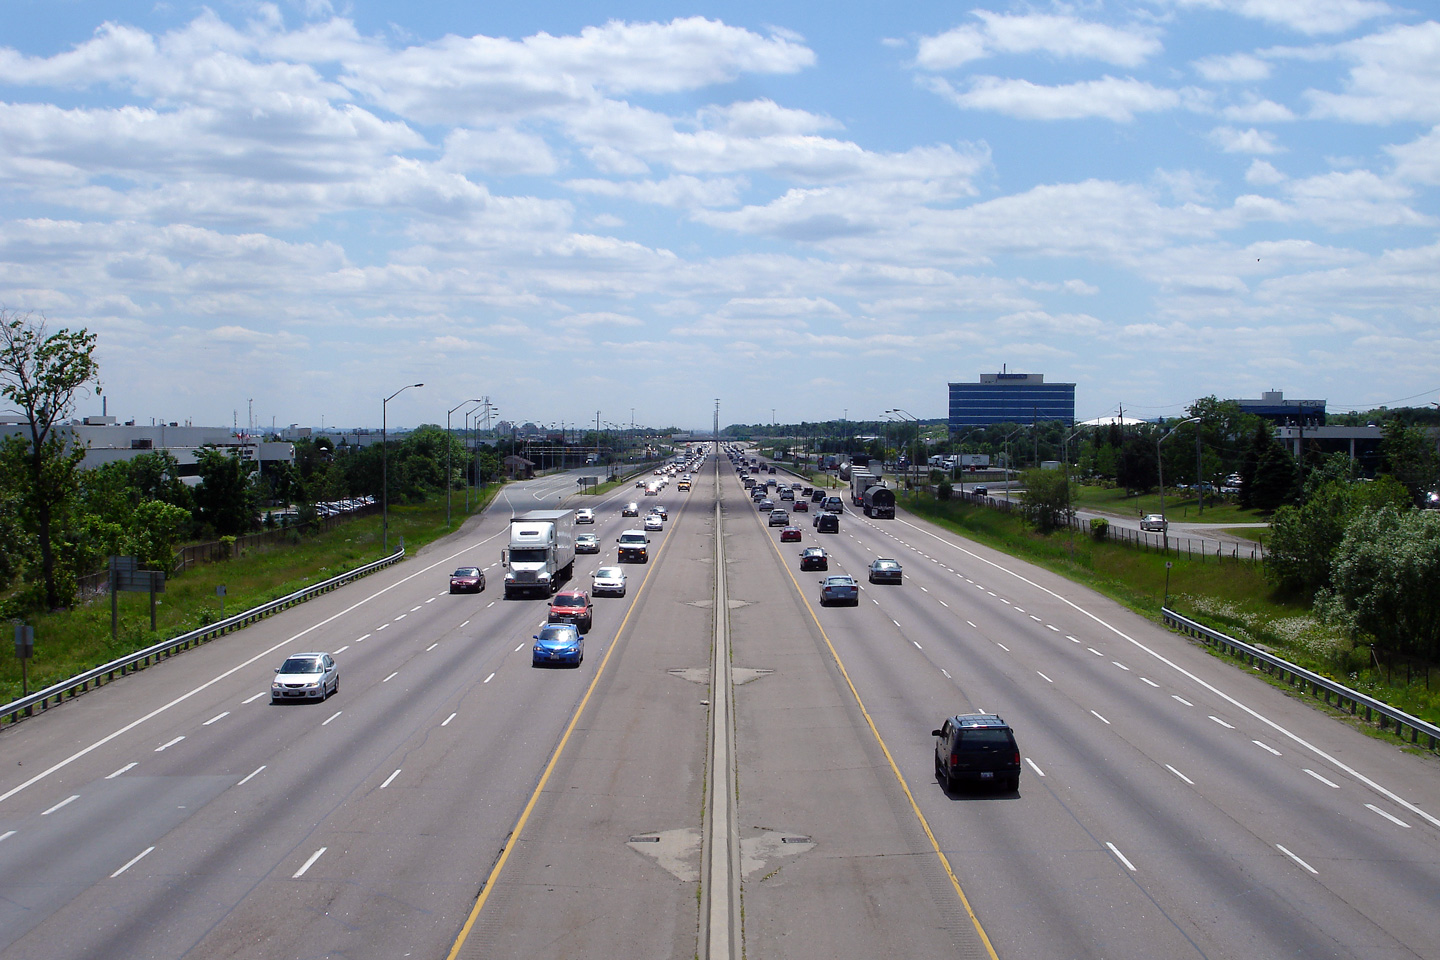
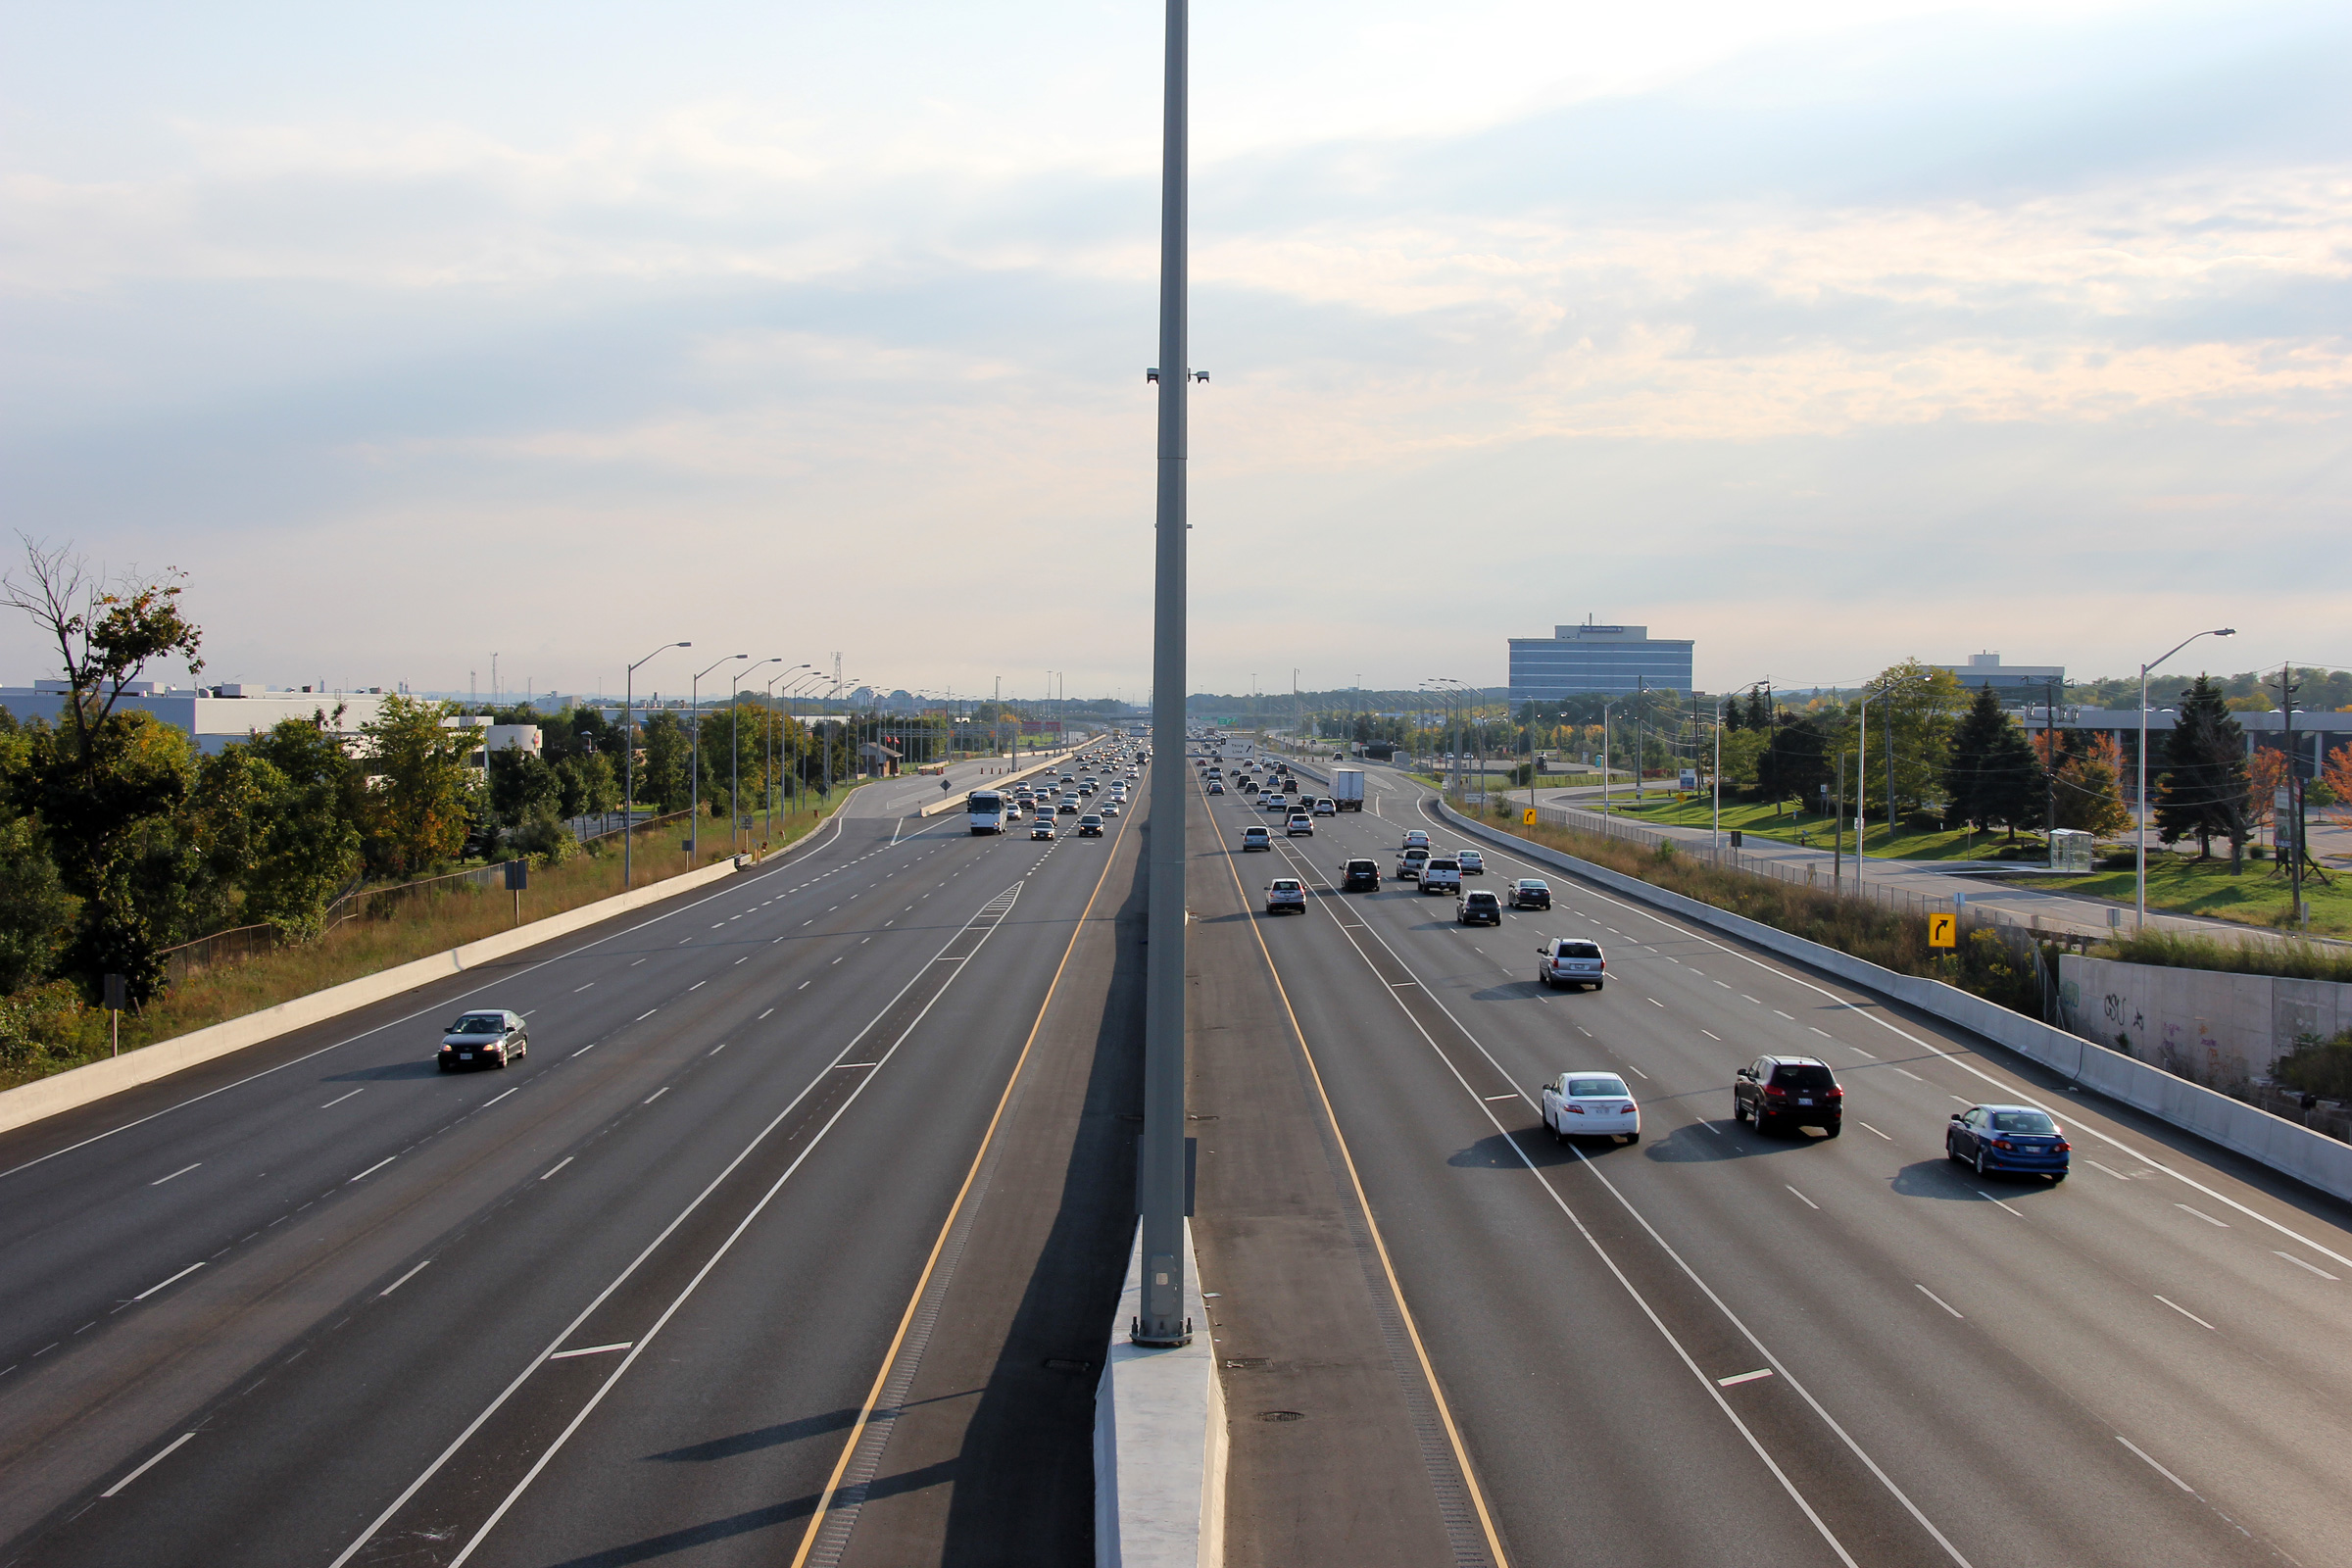
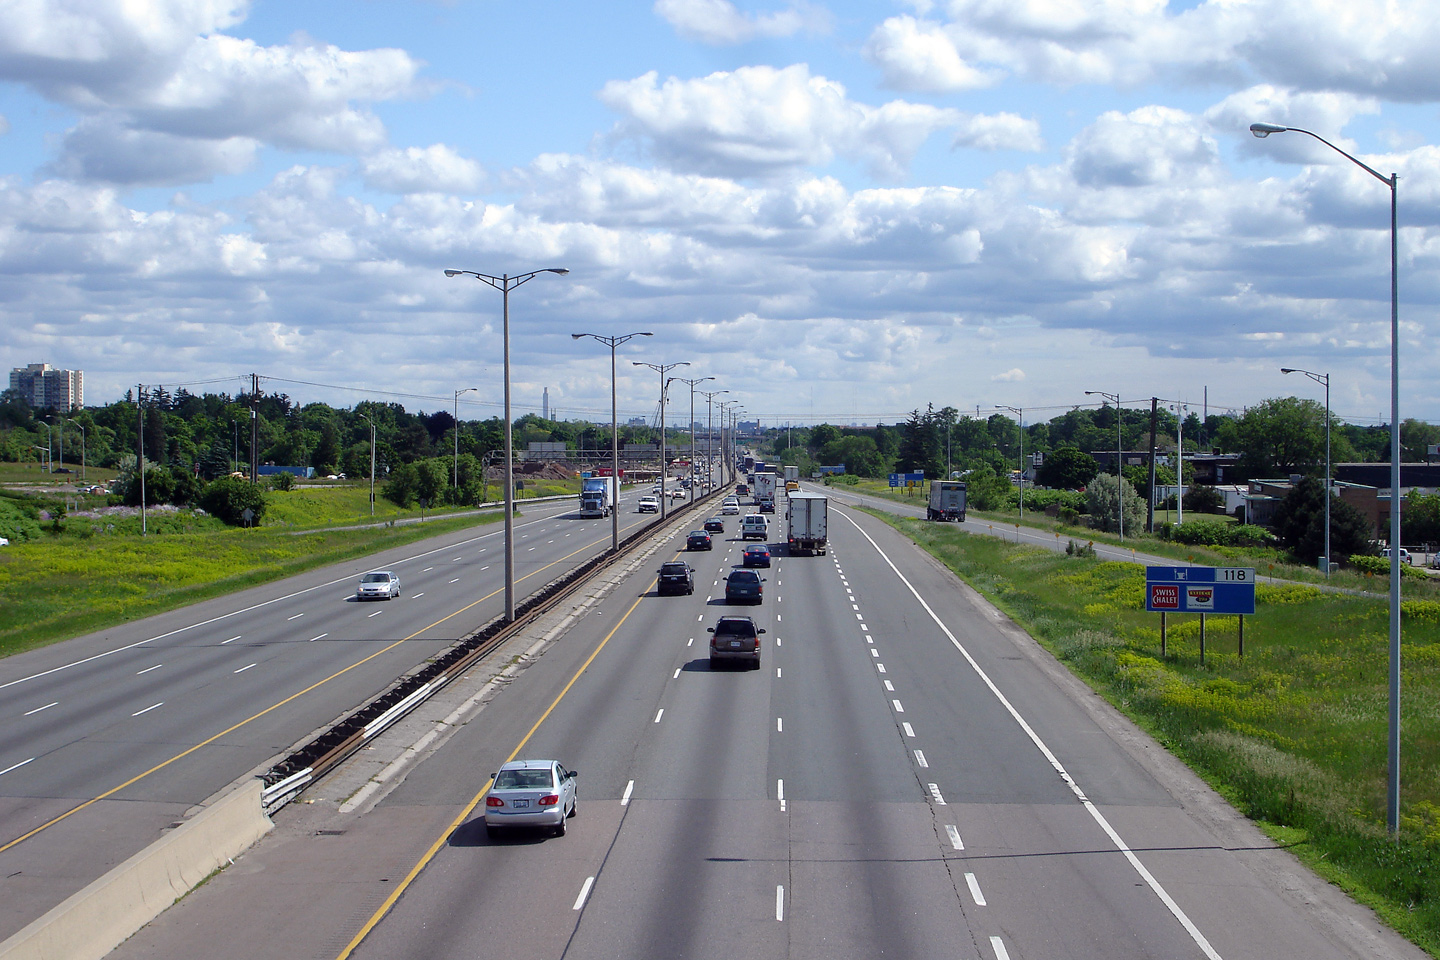
Looking Toronto-bound from the Walkers Line overpass. Upper photo taken: June 11th, 2007. Lower photo taken: October 11th, 2007. |
 |
||
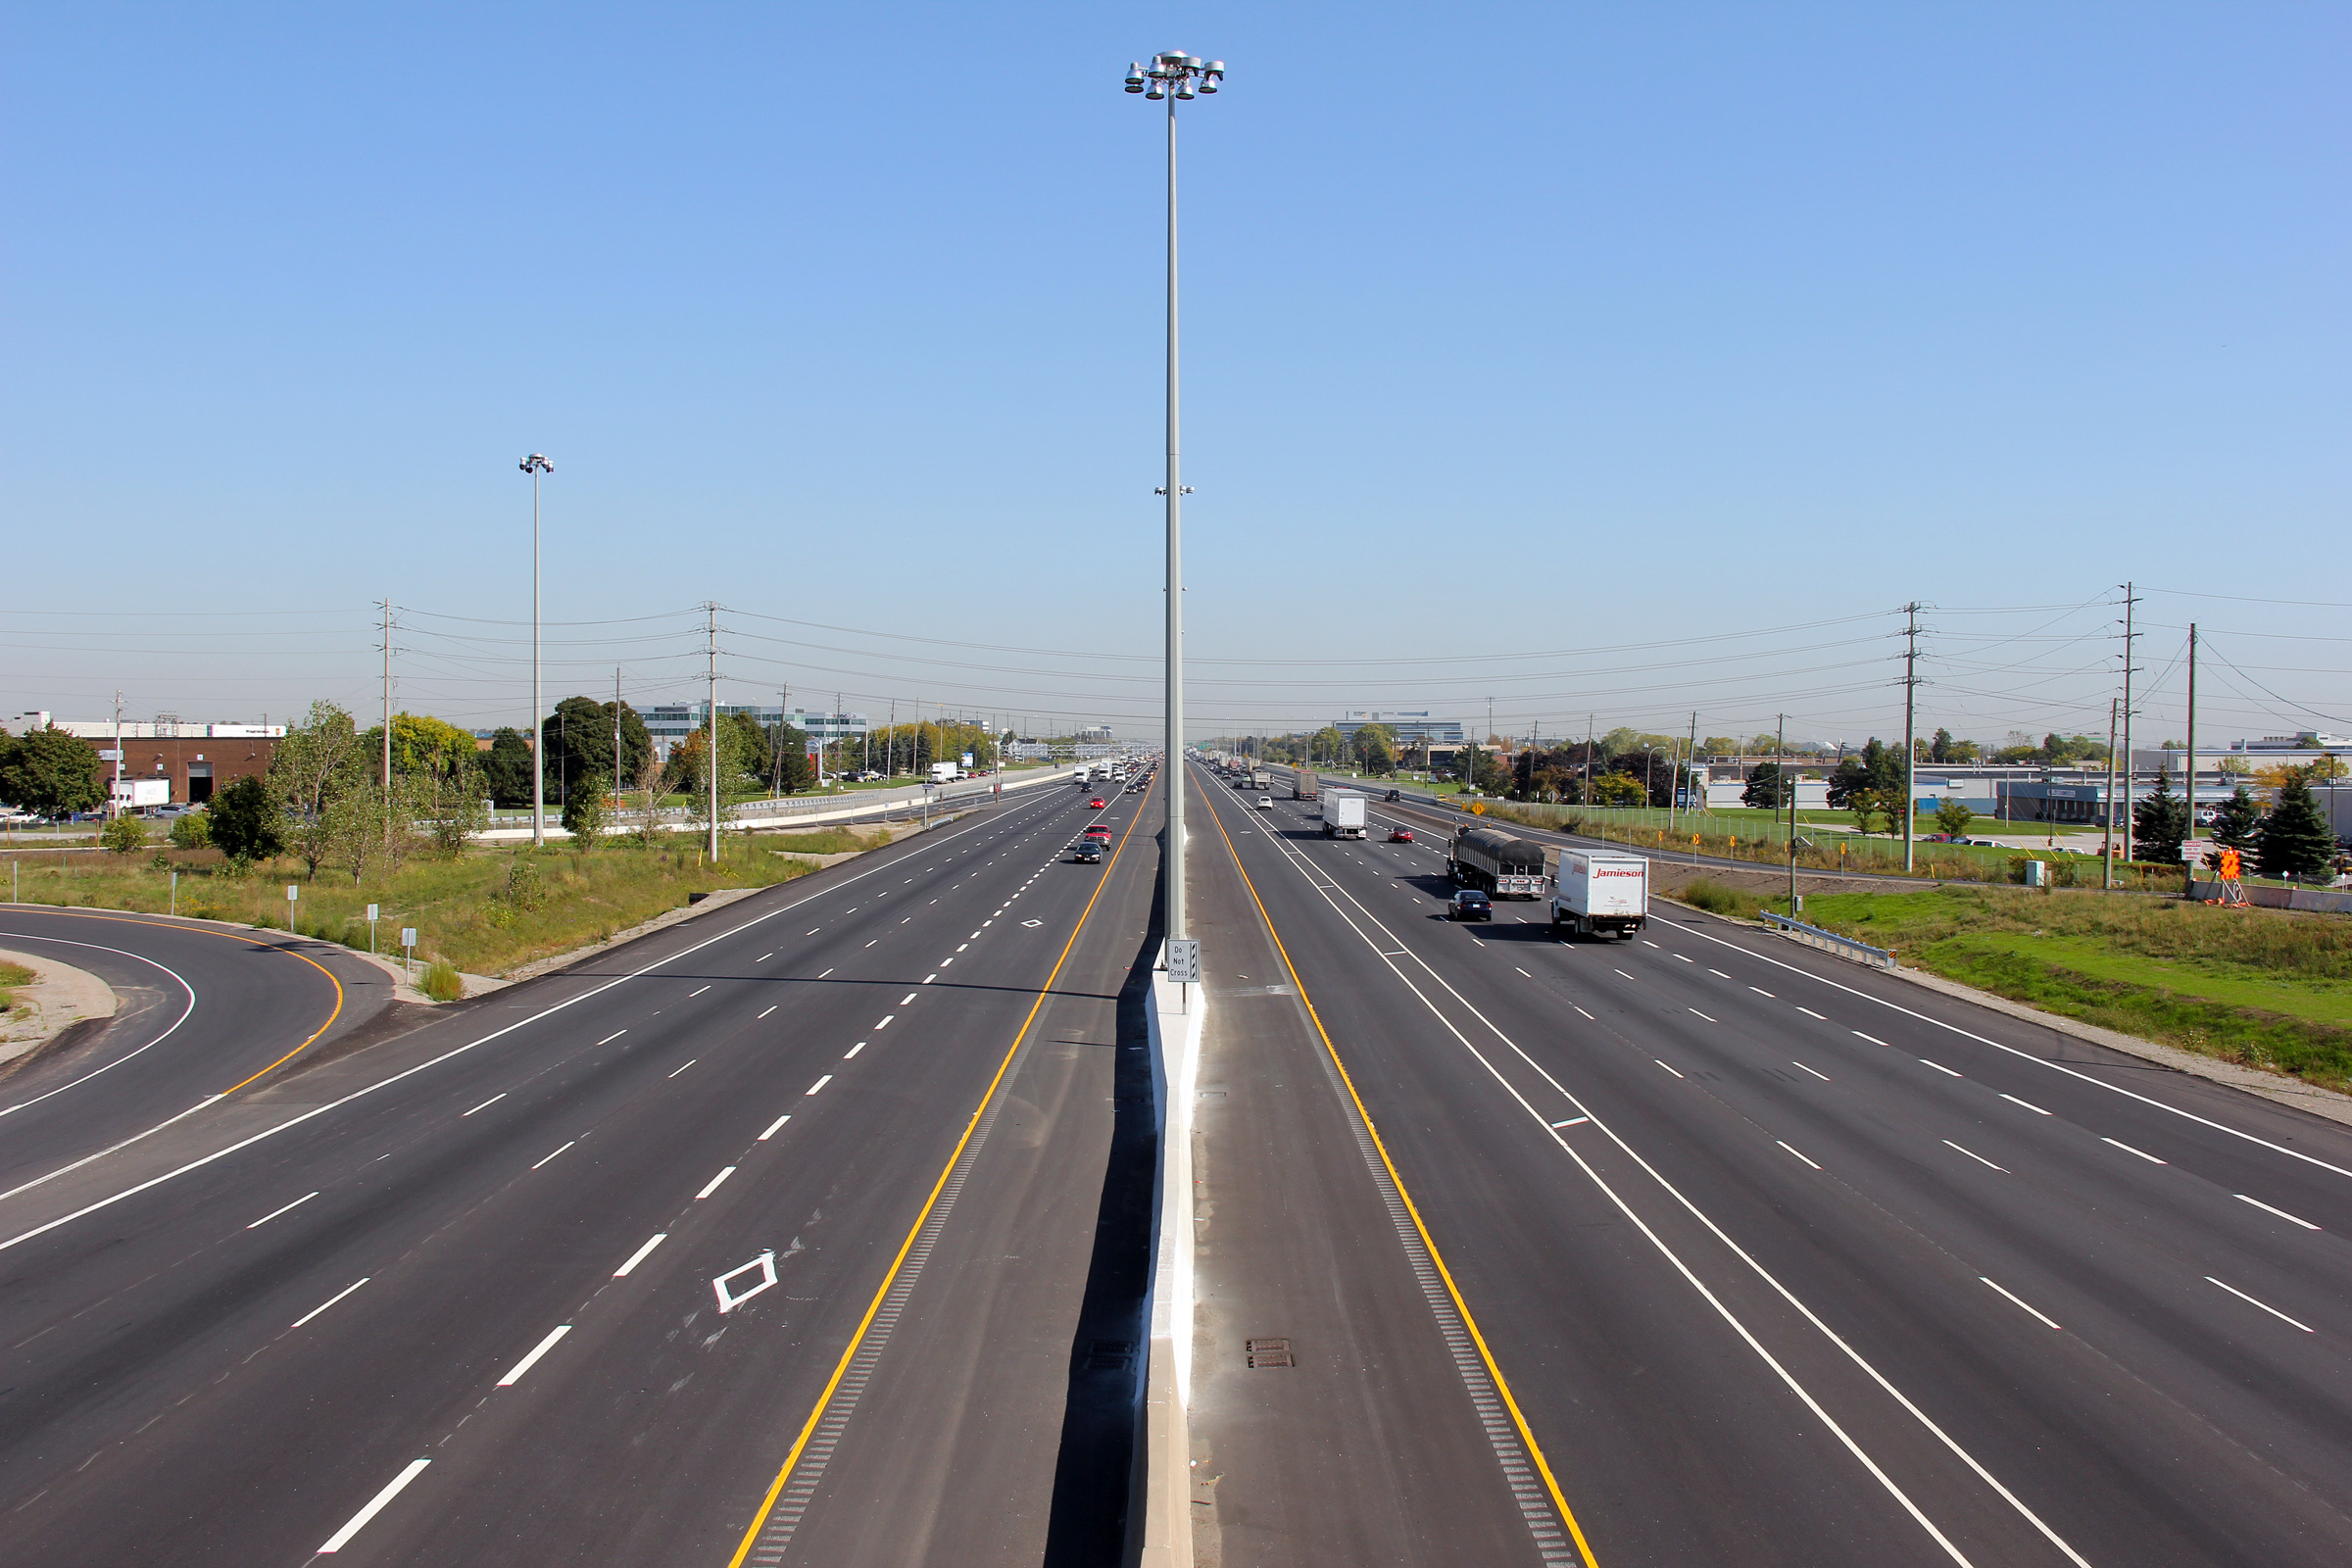
| City of Burlington Regional Municipality of Halton |
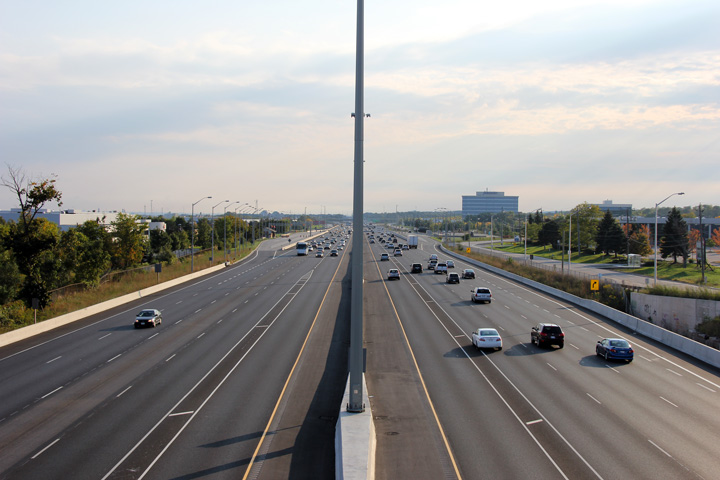
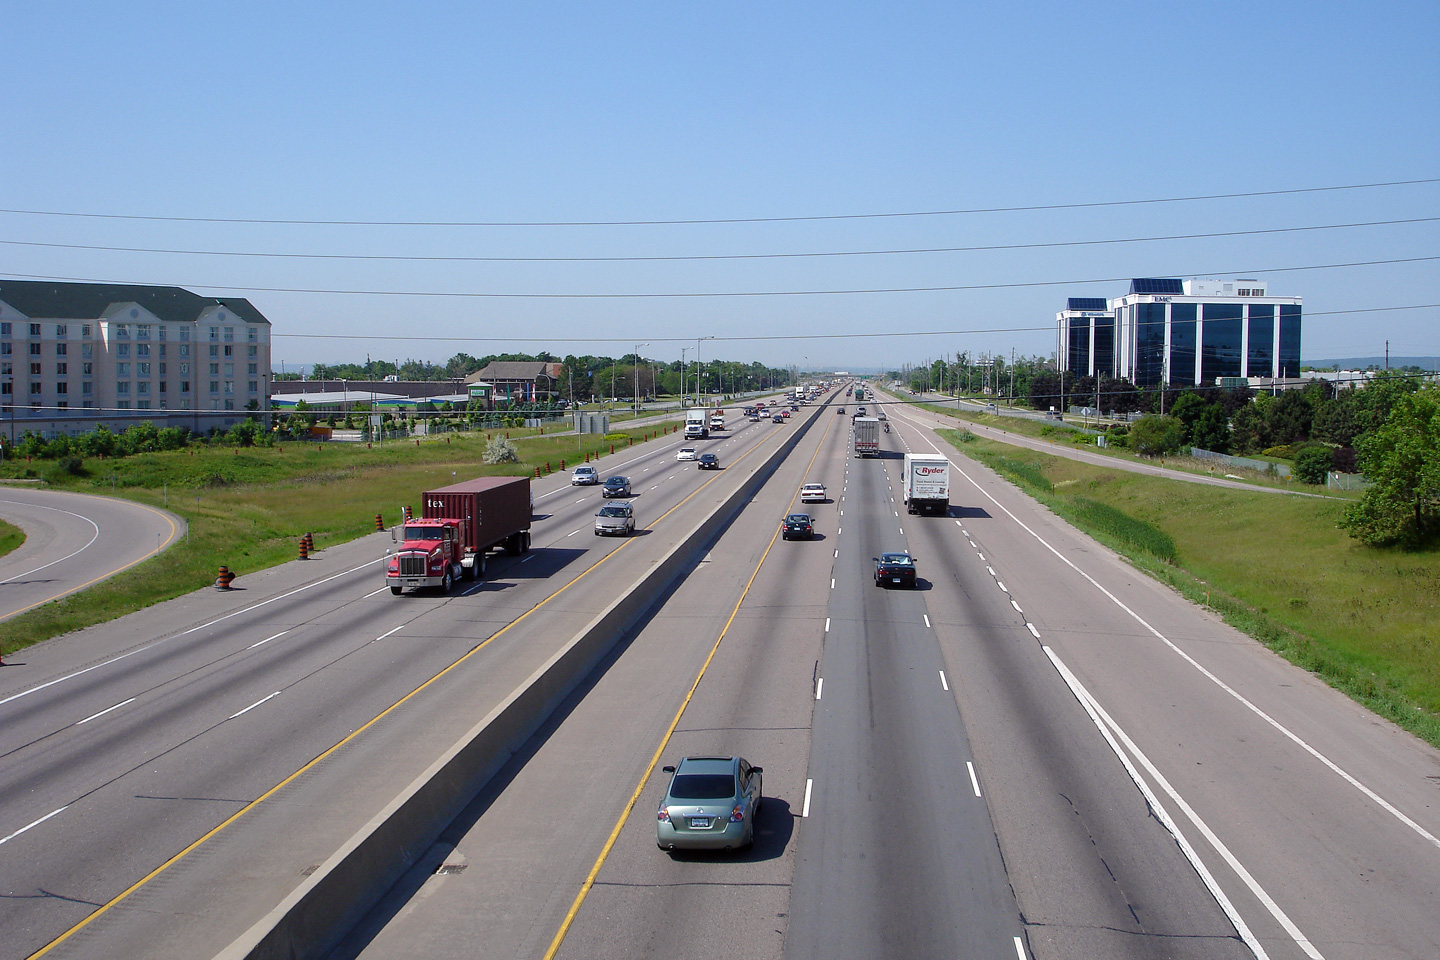
Two views looking towards Hamilton from the Appleby Road overpass. Upper photo taken: June 11th, 2007. Lower photo taken: October 11th, 2007. |
 |
||
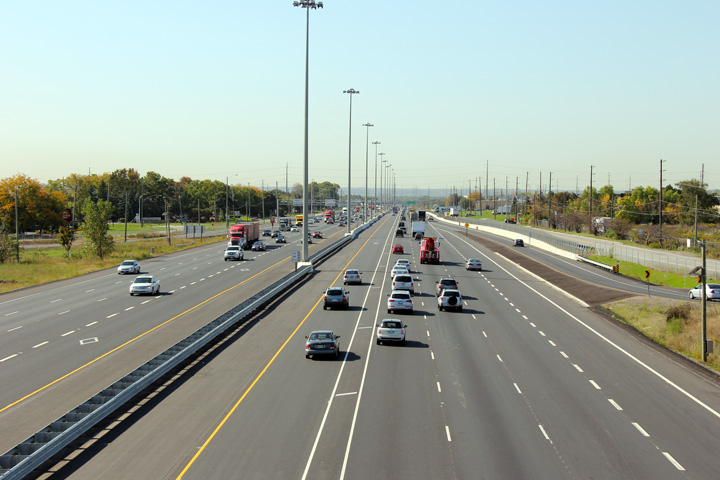
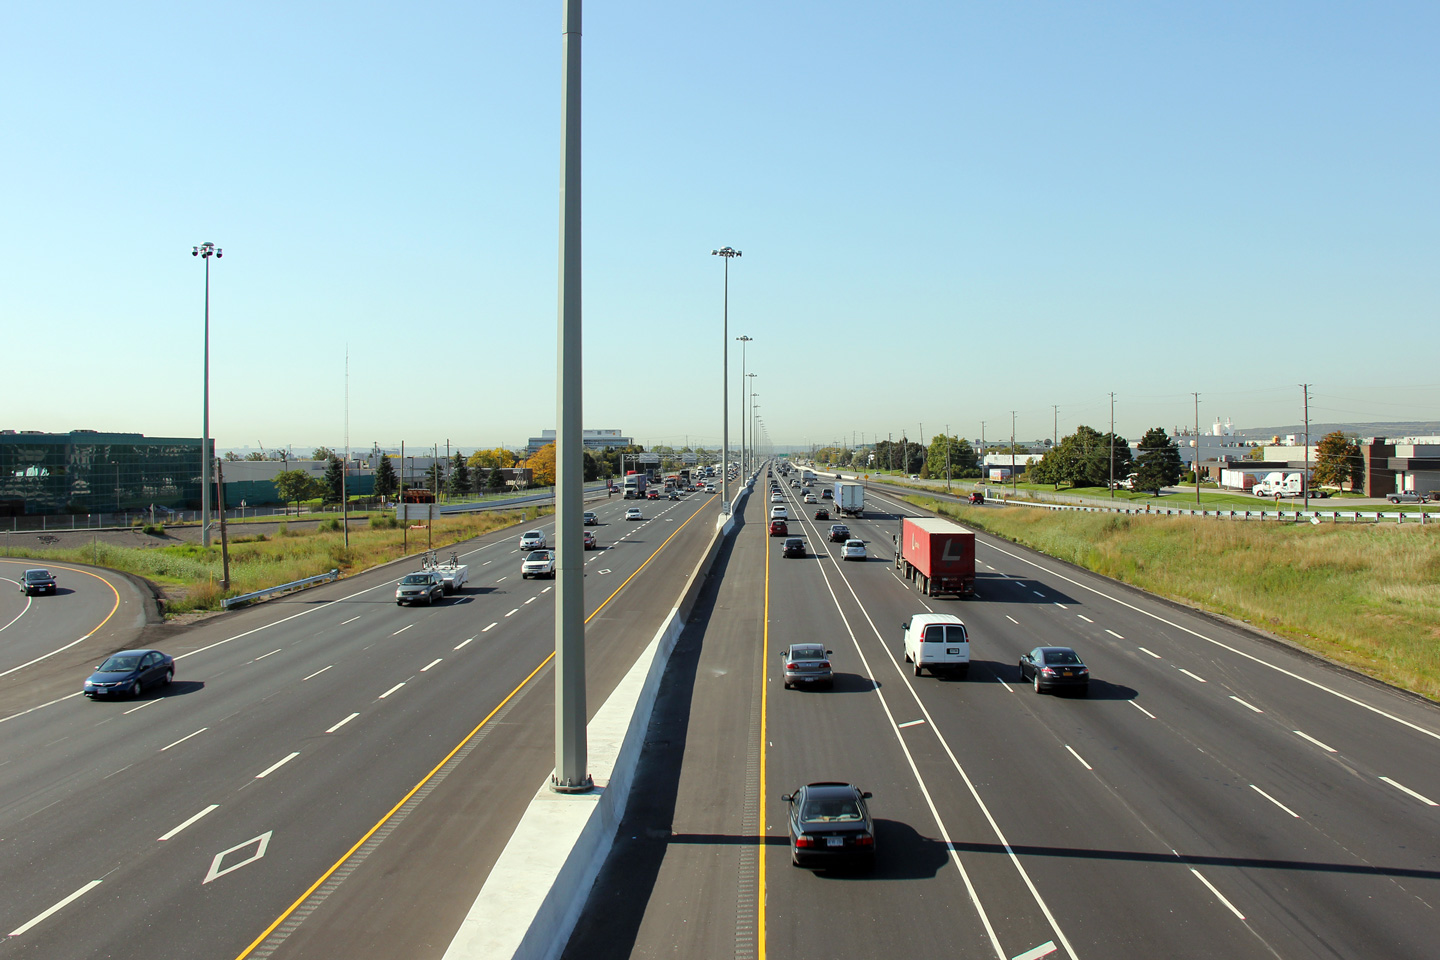
| City of Burlington Regional Municipality of Halton |
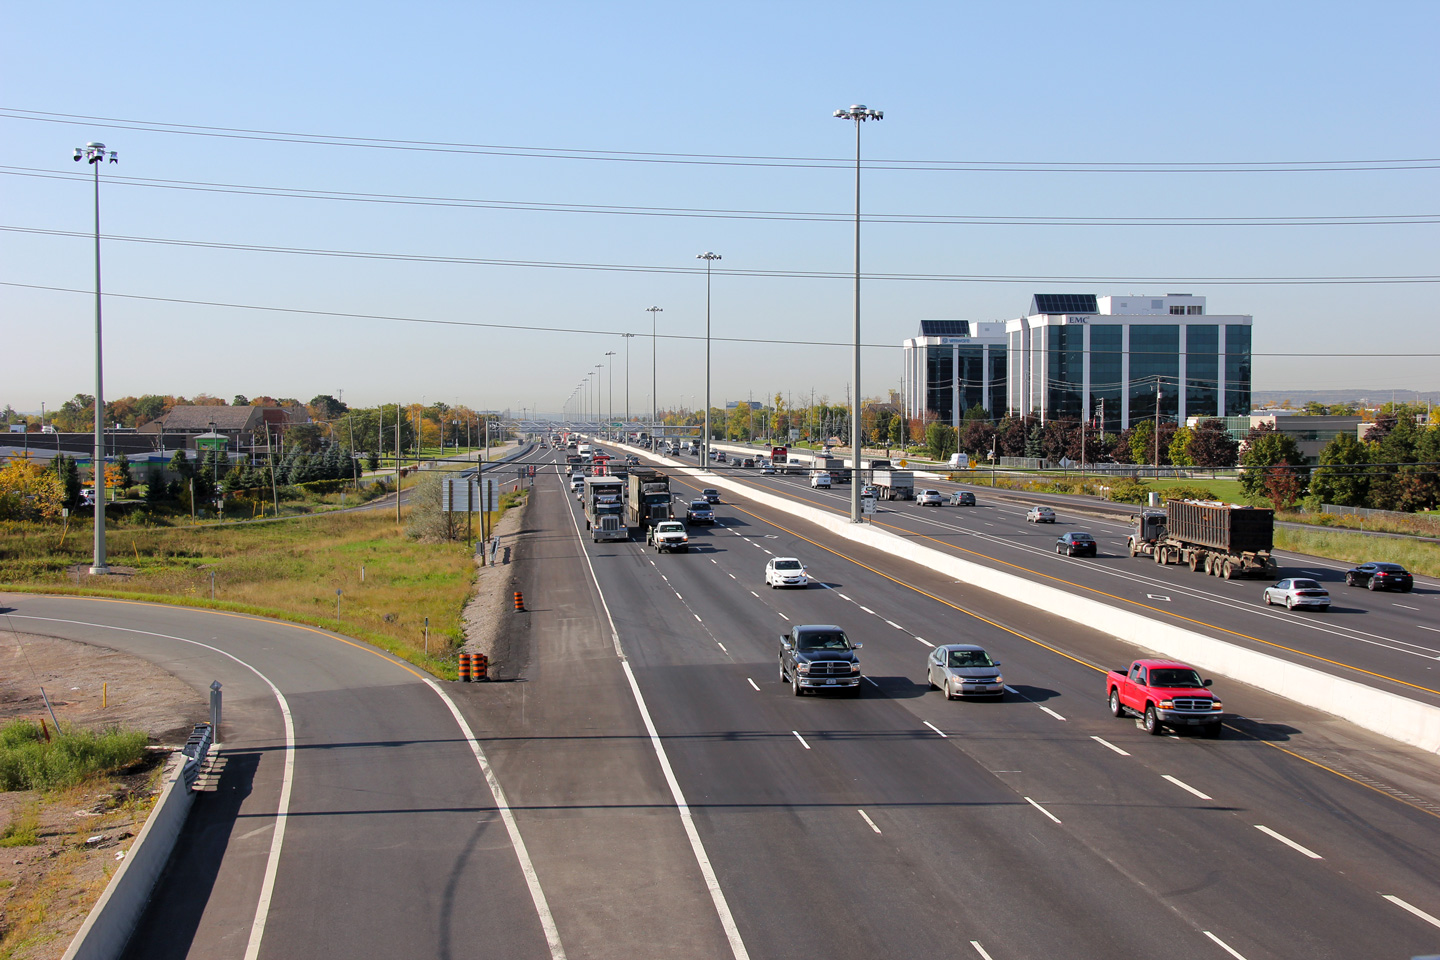
Looking Toronto-bound from the Appleby Road overpass. Upper photo taken: June 11th, 2007. Lower photo taken: October 11th, 2011. |
 |
||
| City of Burlington Regional Municipality of Halton |
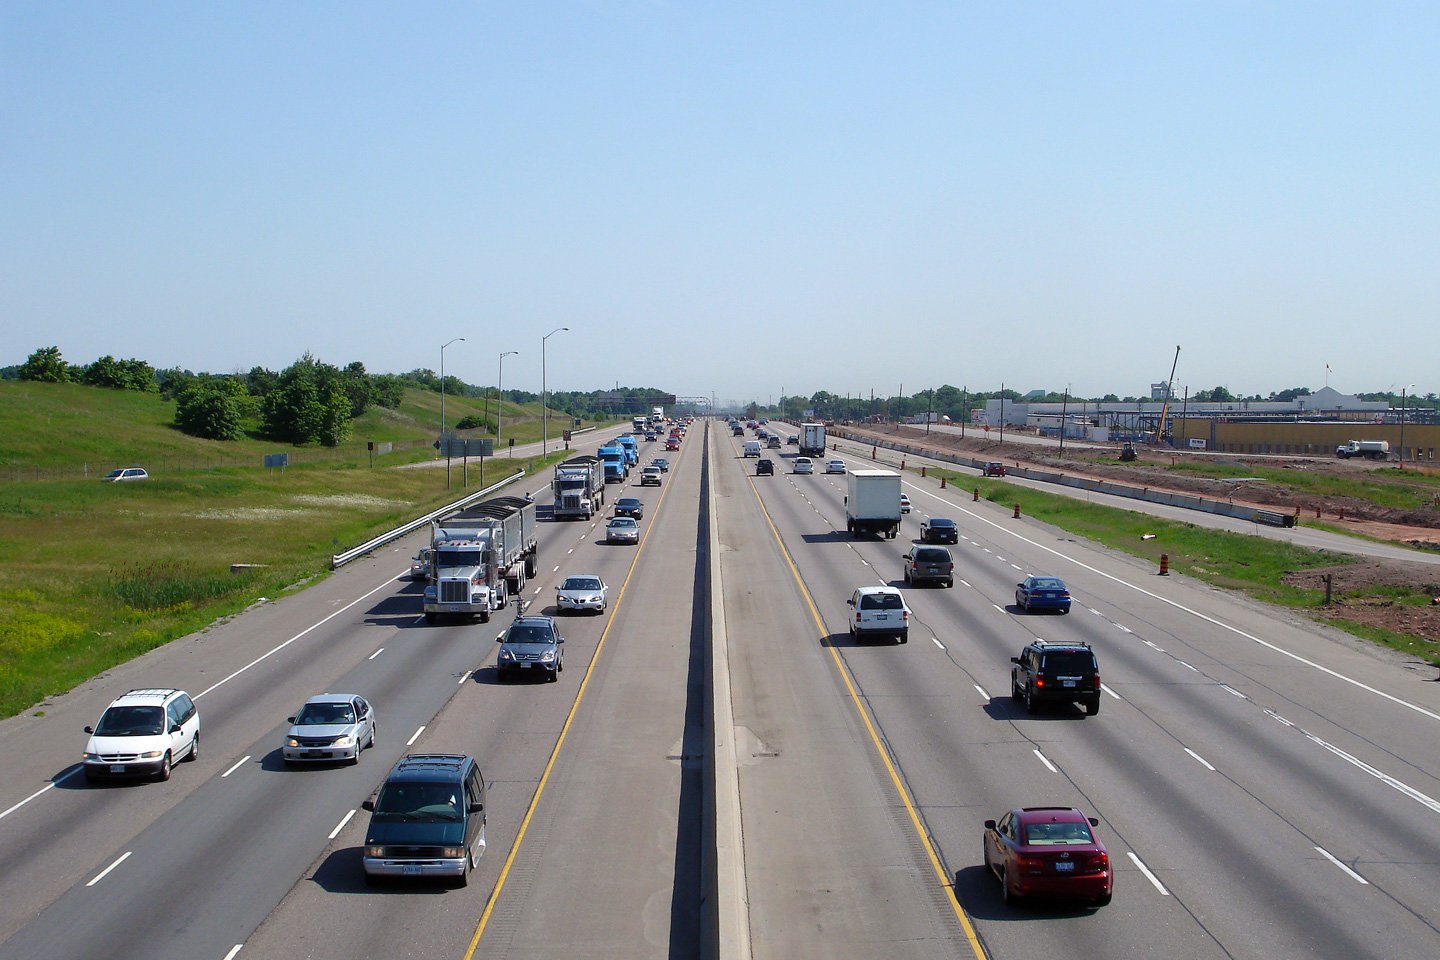
Views of the QEW/403 as it enters Burlington from Burloak Drive. Upper photo taken: June 11th, 2007. Lower photo taken: October 11th, 2011. |
 (720x480) (1440x960) (2400x1600) |
||
| City of Burlington Regional Municipality of Halton |
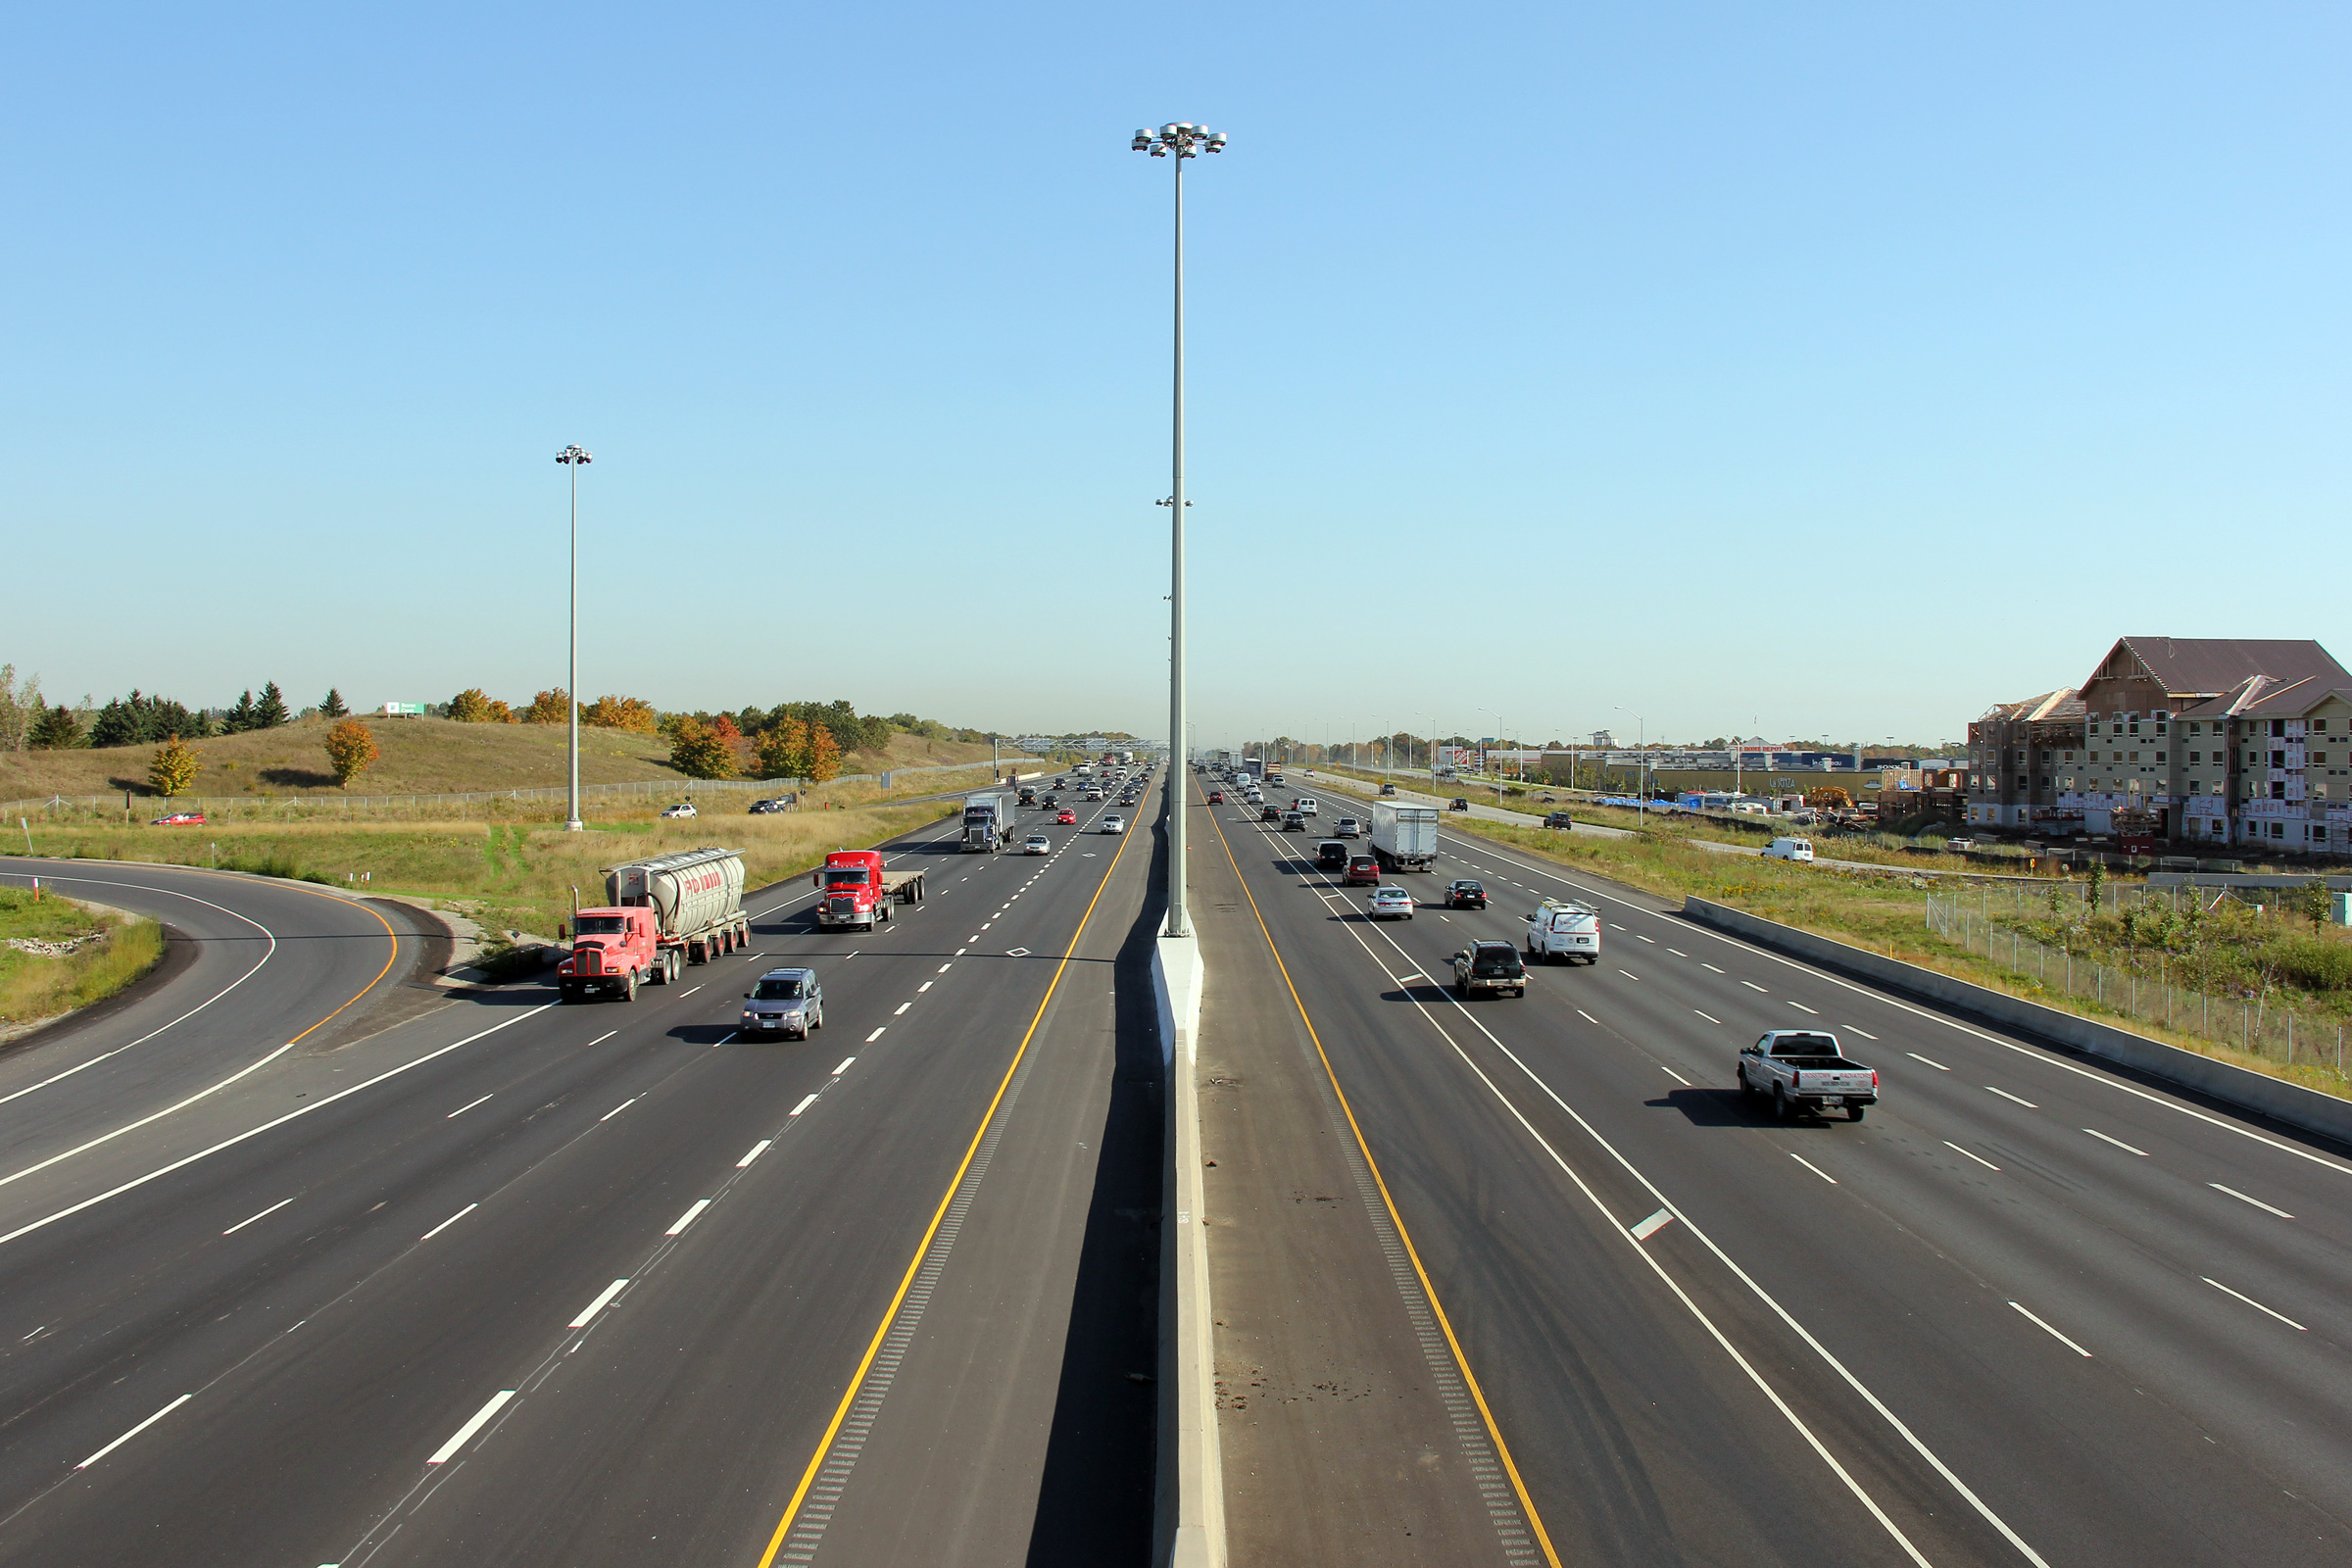
Looking into Oakville from the Burloak Drive overpass. During the 2007
construction season some minor ramp realignments are taking place at this
interchange for a commercial development that is now located to the
southeast of the interchange. This construction is visible in the upper
(2007) photo. Upper photo taken: June 11th, 2007. Lower photo taken: October 11th, 2011. |
 |
||
| Town of Oakville Regional Municipality of Halton |
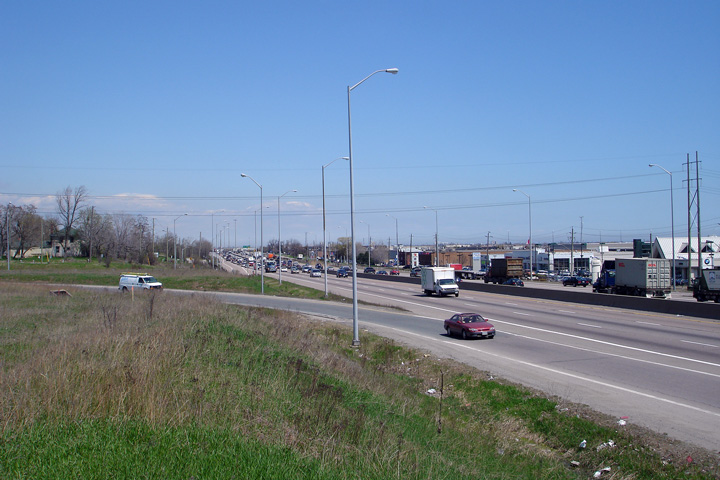
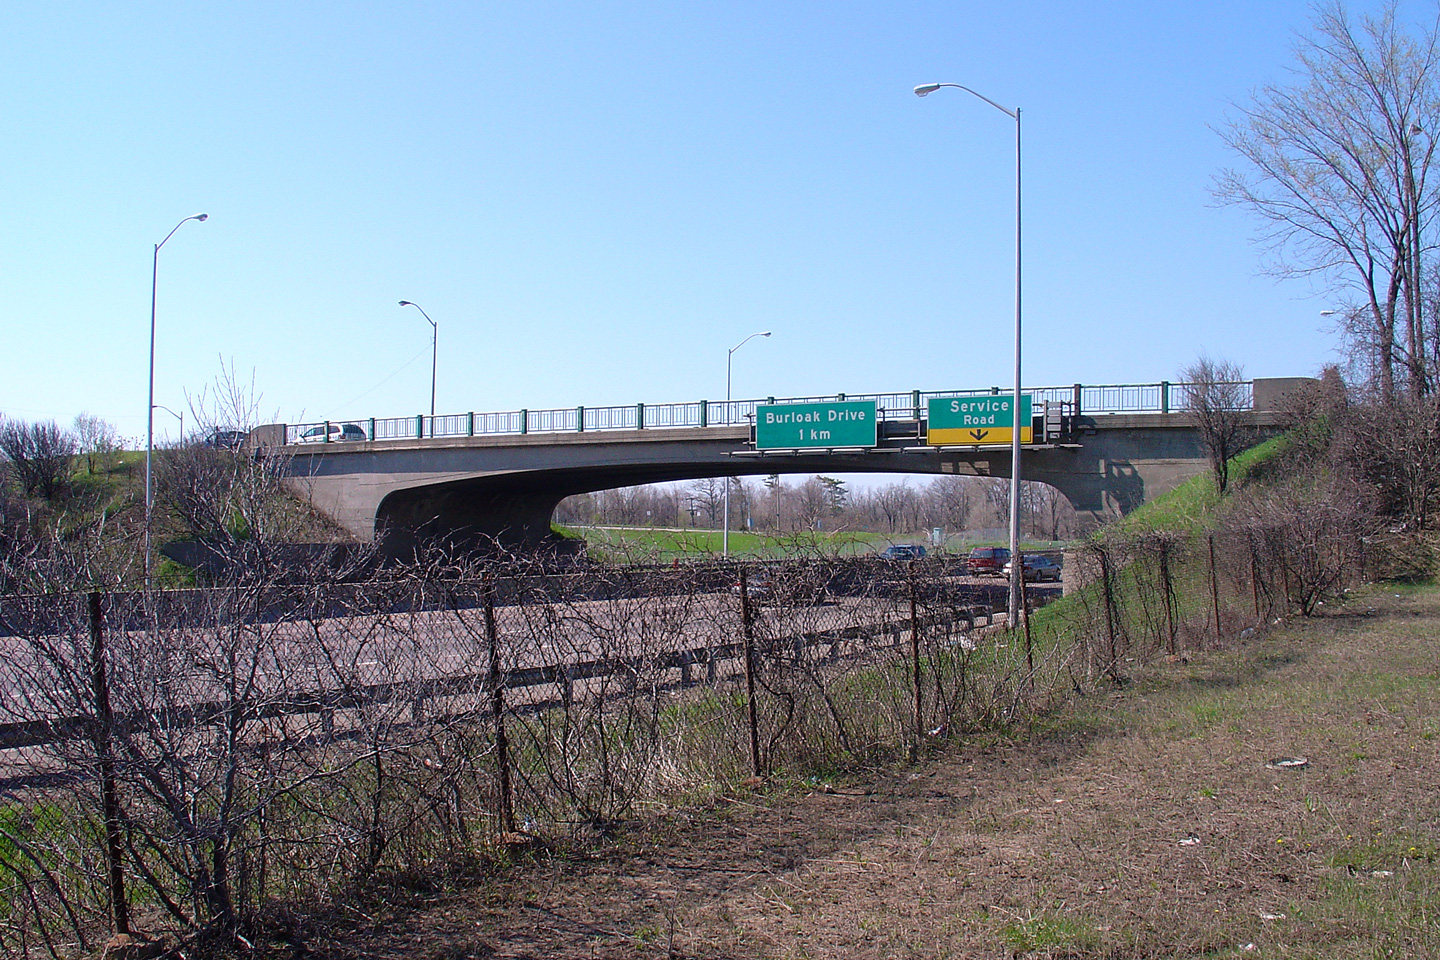
Looking towards Hamilton from the Service Road overpass. In the past, the
Queen Elizabeth Way met the Service Road at a full interchange. Upon
completion of the nearby Burloak Drive interchange, the Service Road
interchange diminished in importance, and subsequently ramps were gradually
removed until the entire interchange was permanently closed in 2008. Photo taken: May 8th, 2005. |
|
||
| Town of Oakville Regional Municipality of Halton |
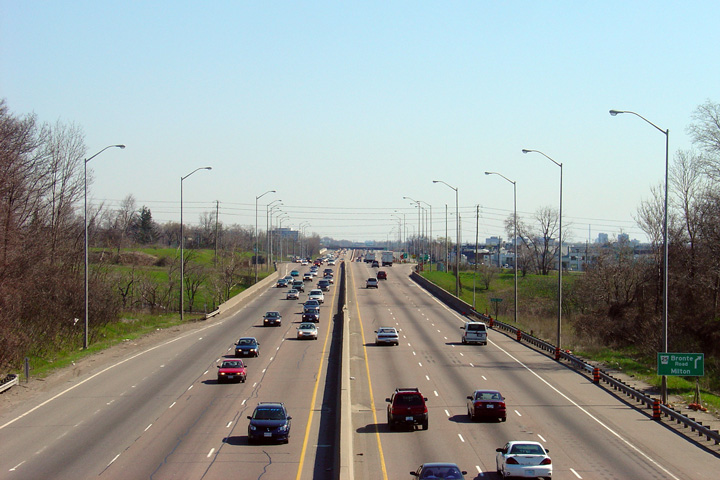
Looking towards Toronto from the Service Road overpass in western Oakville.
The deck of the high-level Bronte Creek structure is shown in this photo.
Since this photo was taken a parallel structure was completed on the south
(right) side of the current bridge. Today, the new bridge carries
Toronto-bound traffic, while the existing structure carries Hamilton-bound
traffic exclusively. Photo taken: May 8th, 2005. |
|
||
| Town of Oakville Regional Municipality of Halton |
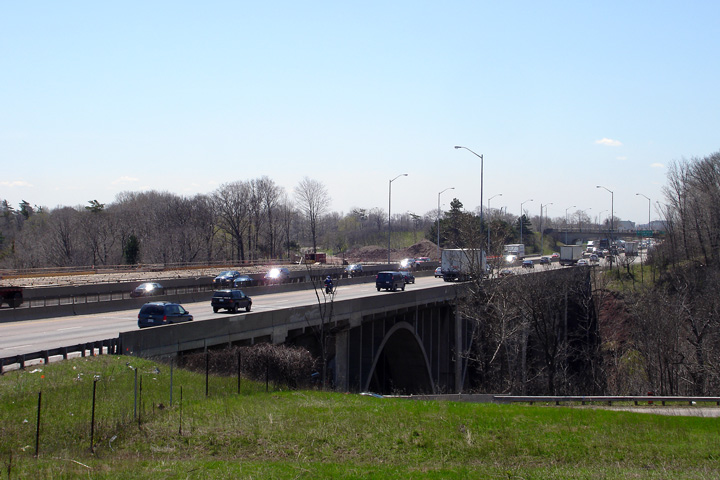
View looking towards Hamilton towards the now defunct Service Road overpass
that was situated immediately southwest of the Bronte Creek bridge.
This structure was demolished and not replaced in 2008. Photo taken: May 8th, 2005. |
|
||
| Town of Oakville Regional Municipality of Halton |
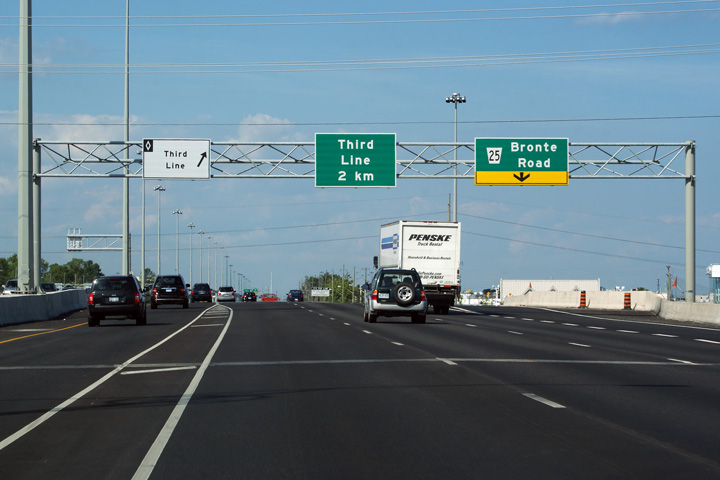
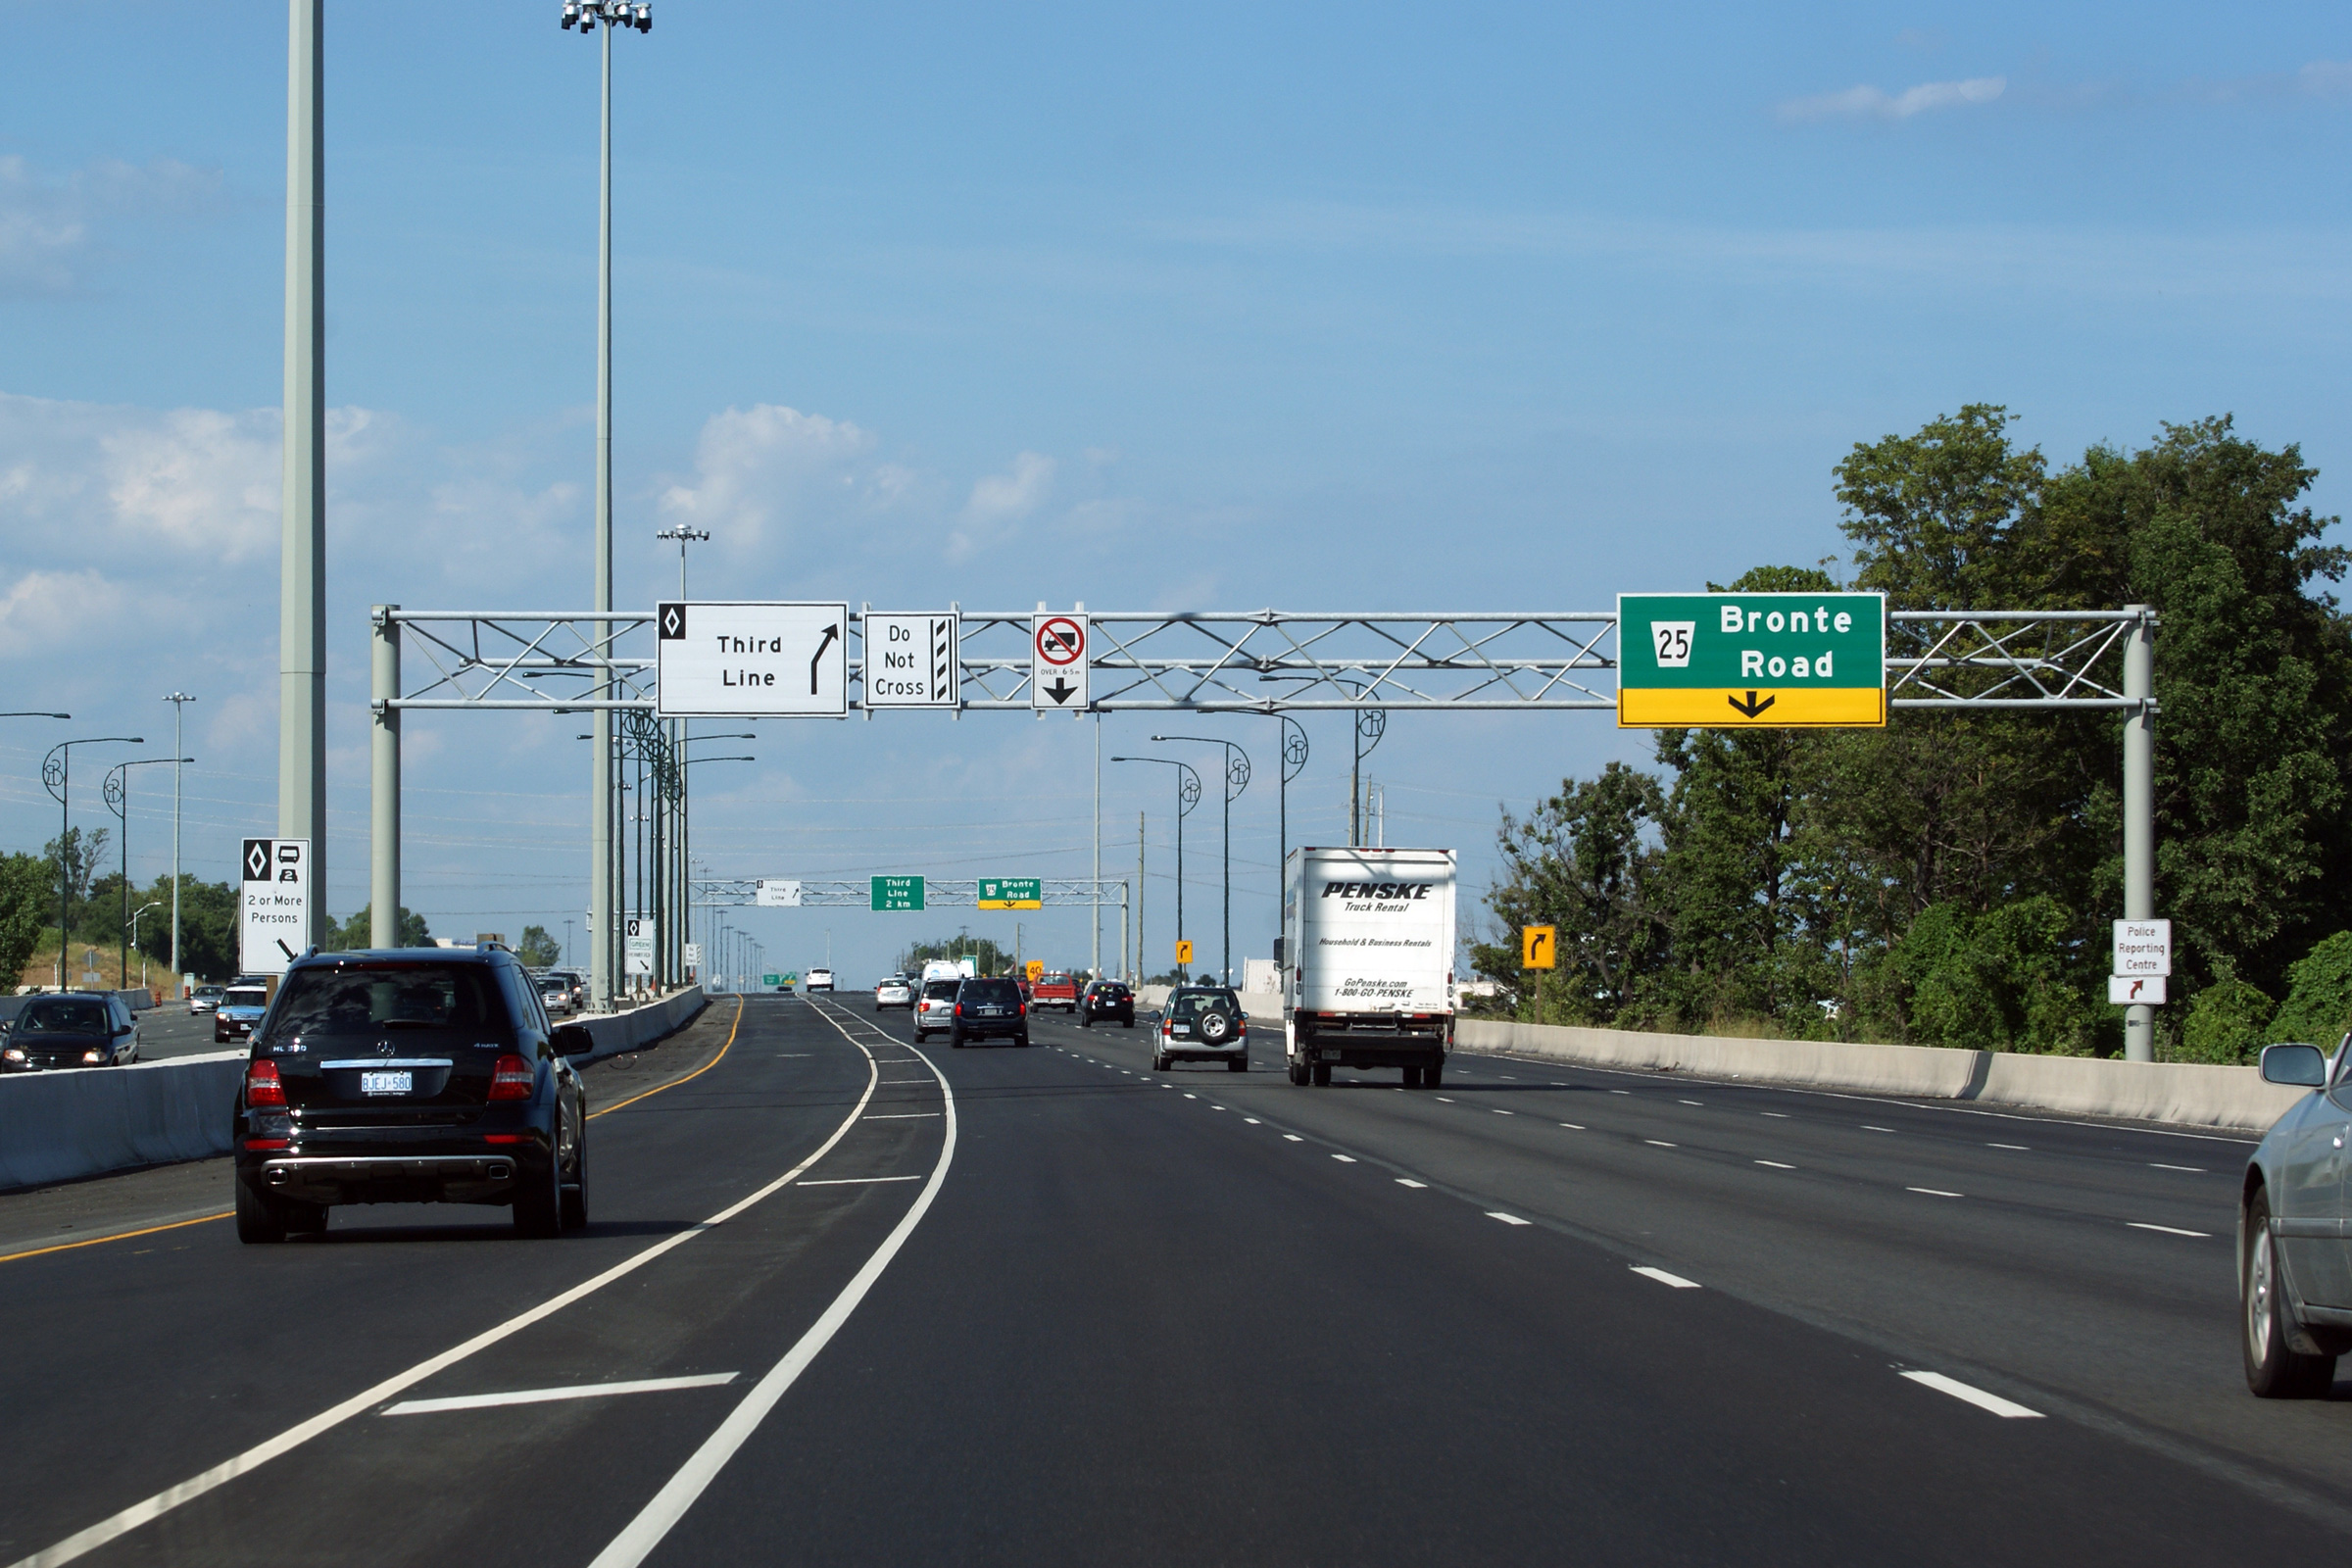
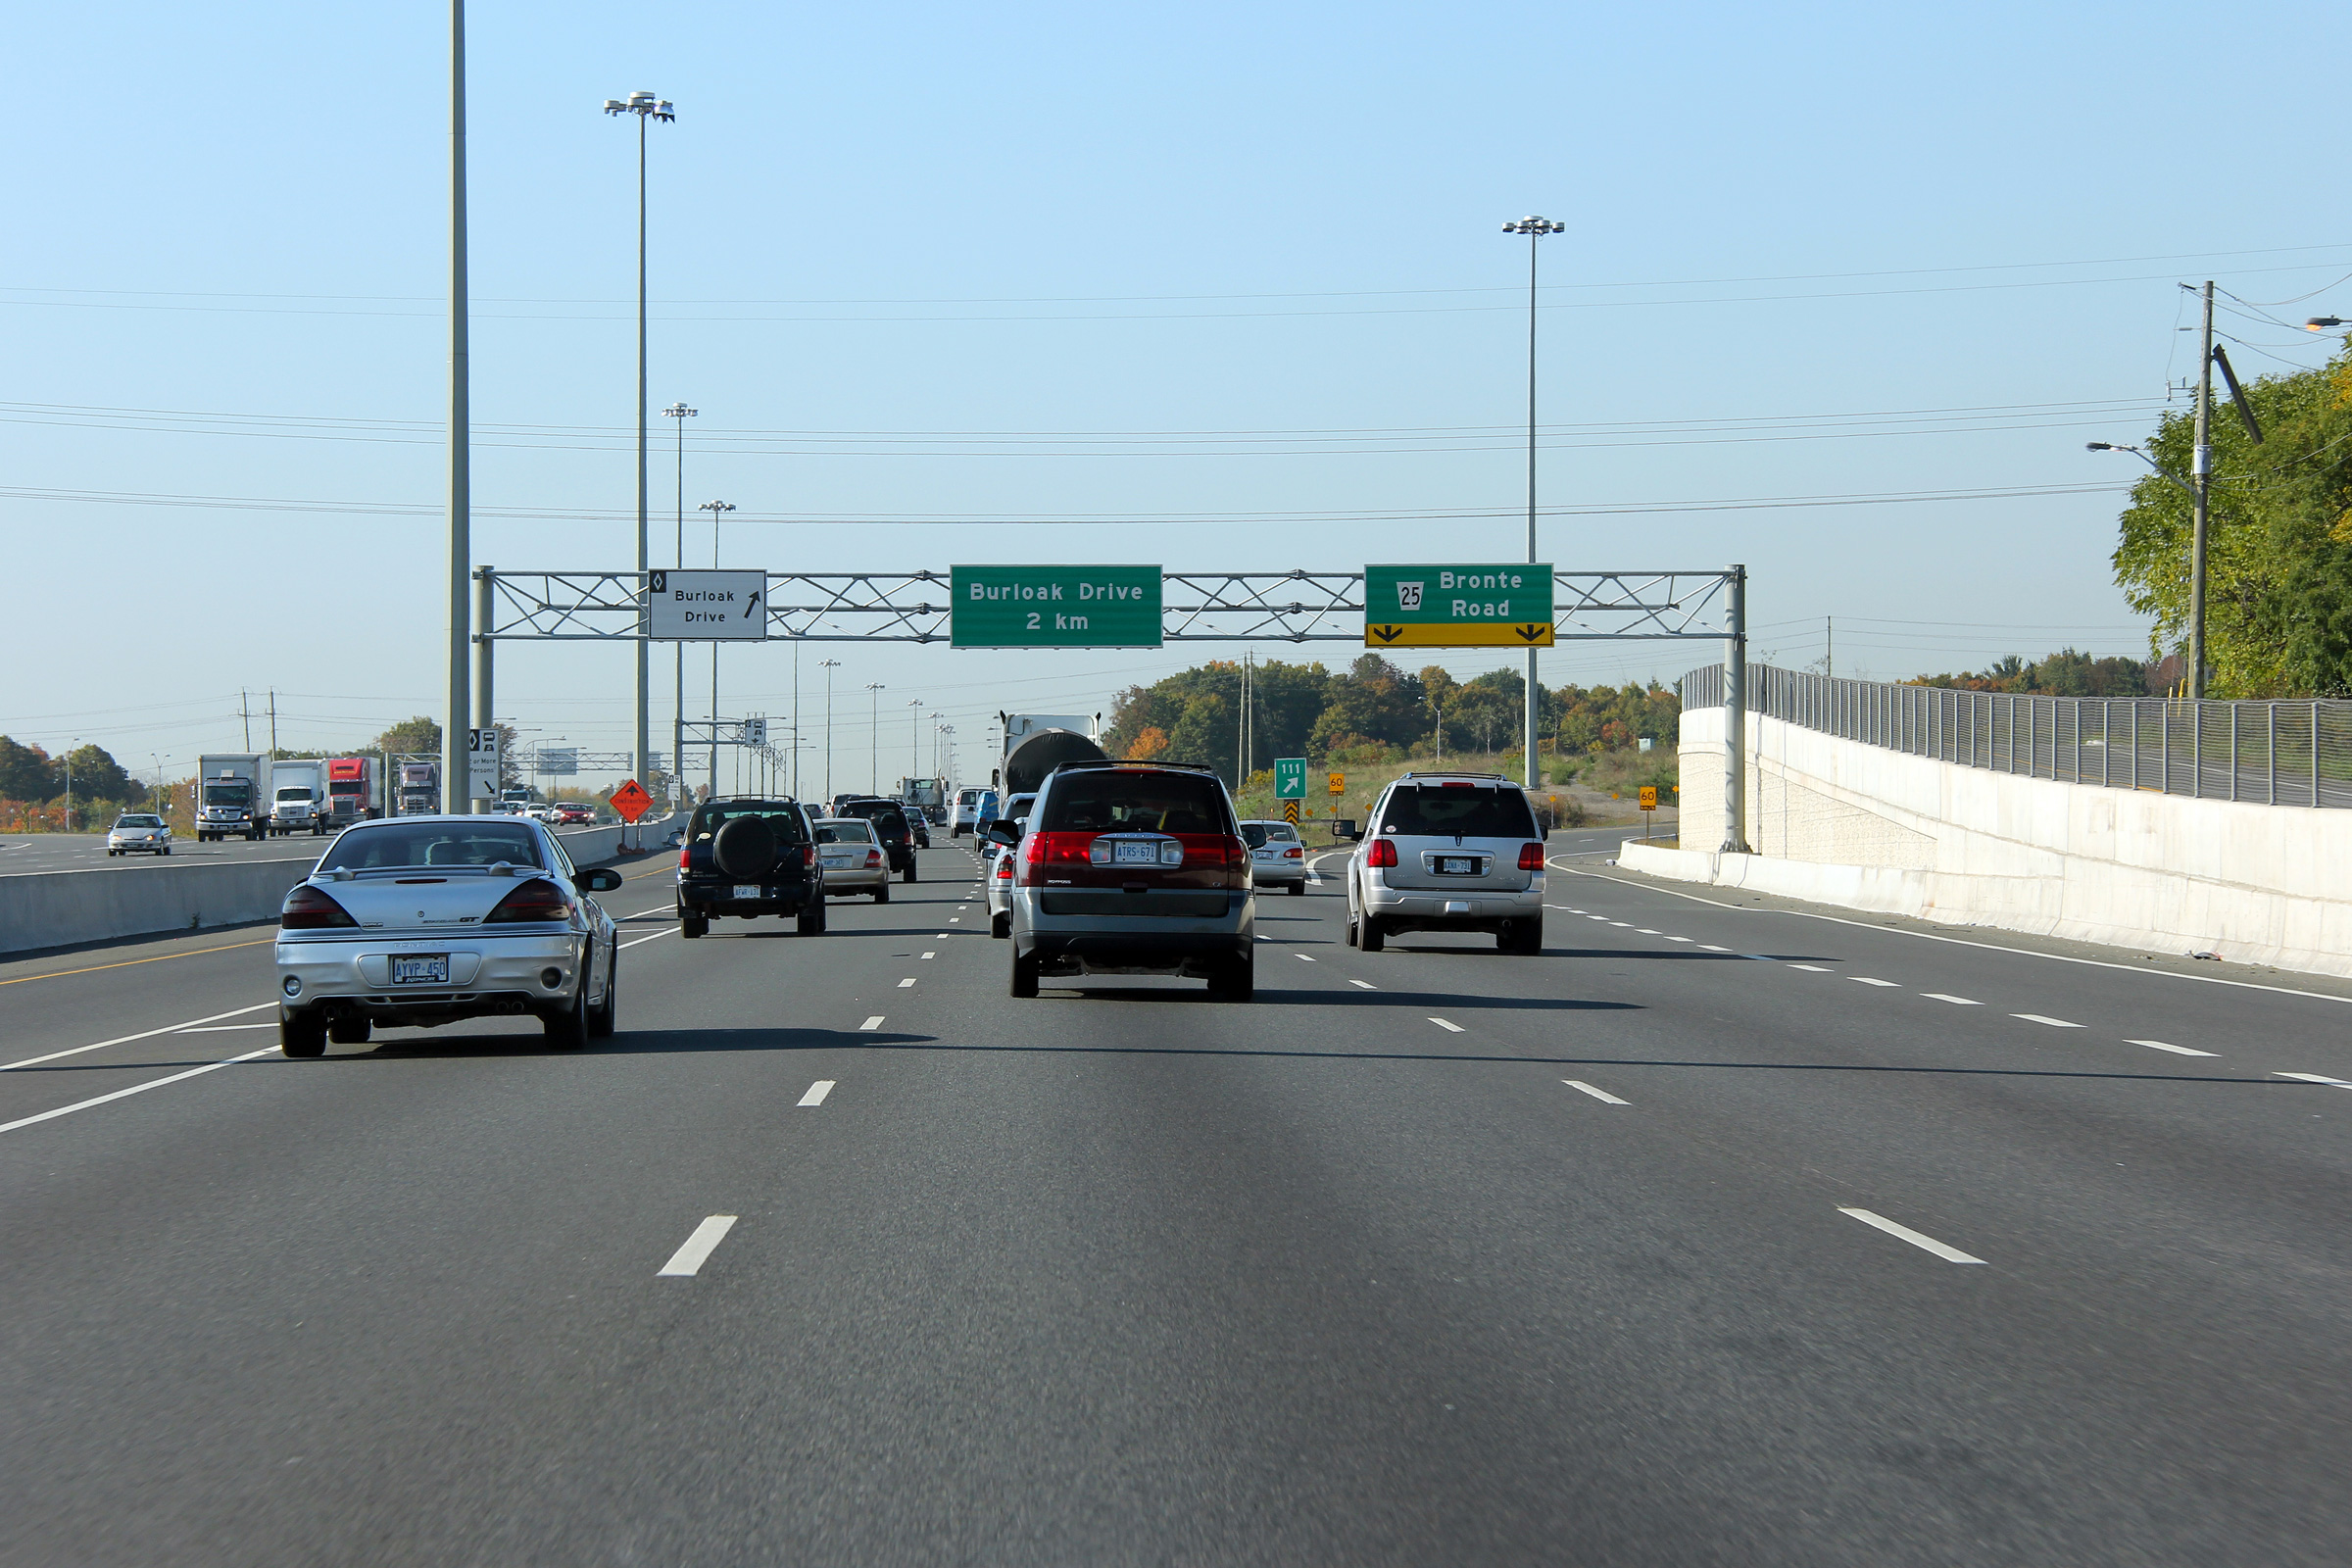
Toronto-bound advanced signage for the ramp to Bronte Road. An
auxiliary
lane was constructed in both directions between Burloak Drive and Bronte
Road as part of the HOV lane widening construction. Photo taken: July 30th, 2011. |
 (720x480) (720x480)(1440x960) (2400x1600) |
||
| Town of Oakville Regional Municipality of Halton |
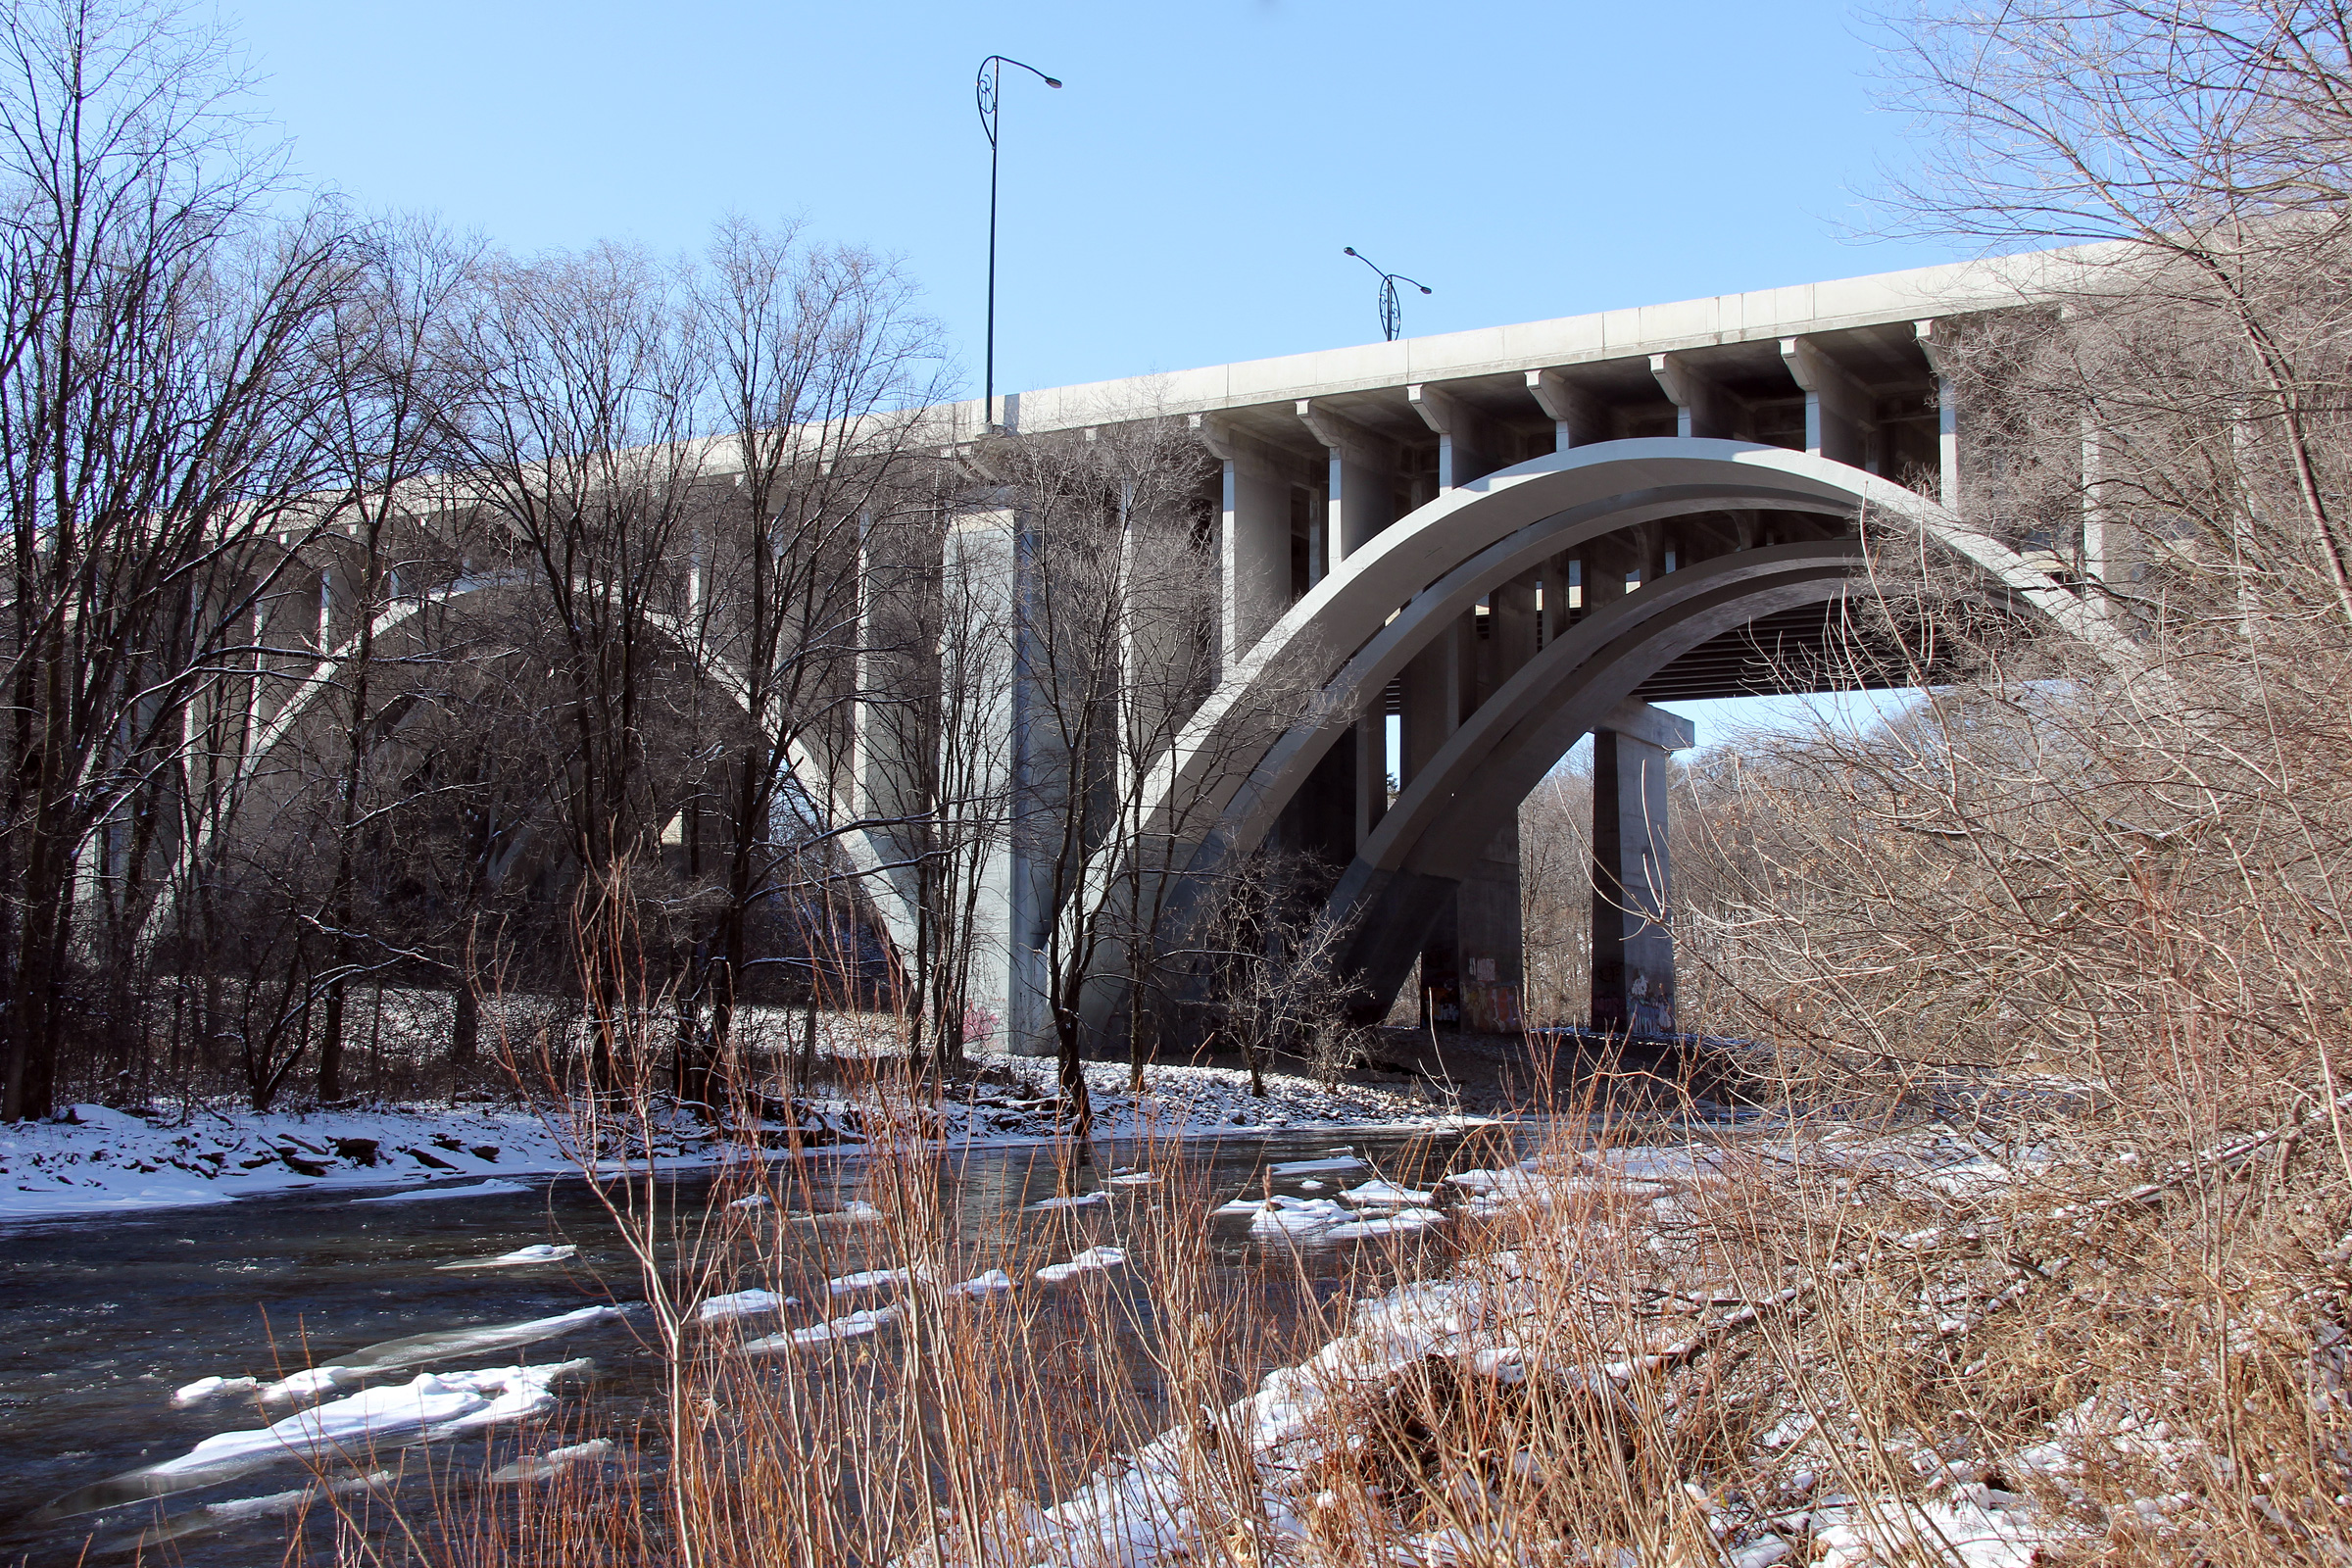
This early 2012 view of the Bronte Creek bridge shows the newly twinned ten
lane structures. The Toronto-bound lanes (the nearer structure) was
completed in 2007, and although is obviously not a twin of the spectacular
open spandrel concrete arch bridge that it compliments -- it is still attractive
in its own right. Decorative elements of the new structure include the
arched pier caps as well as the decorative barrier wall and light standards. Photo taken: January 21st, 2012. |
 |
||
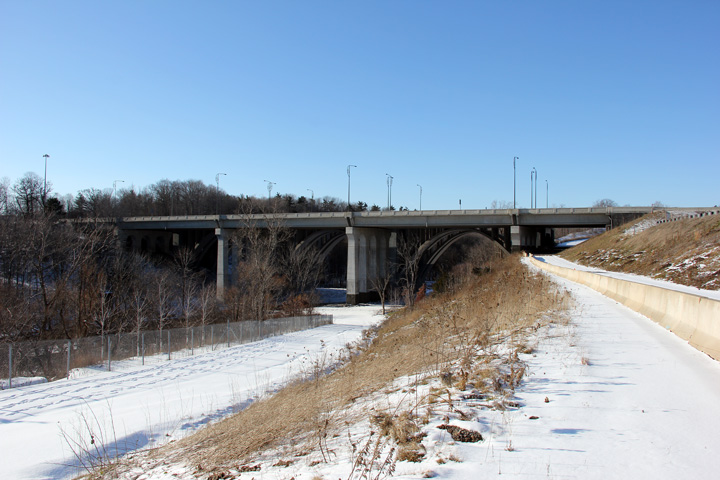
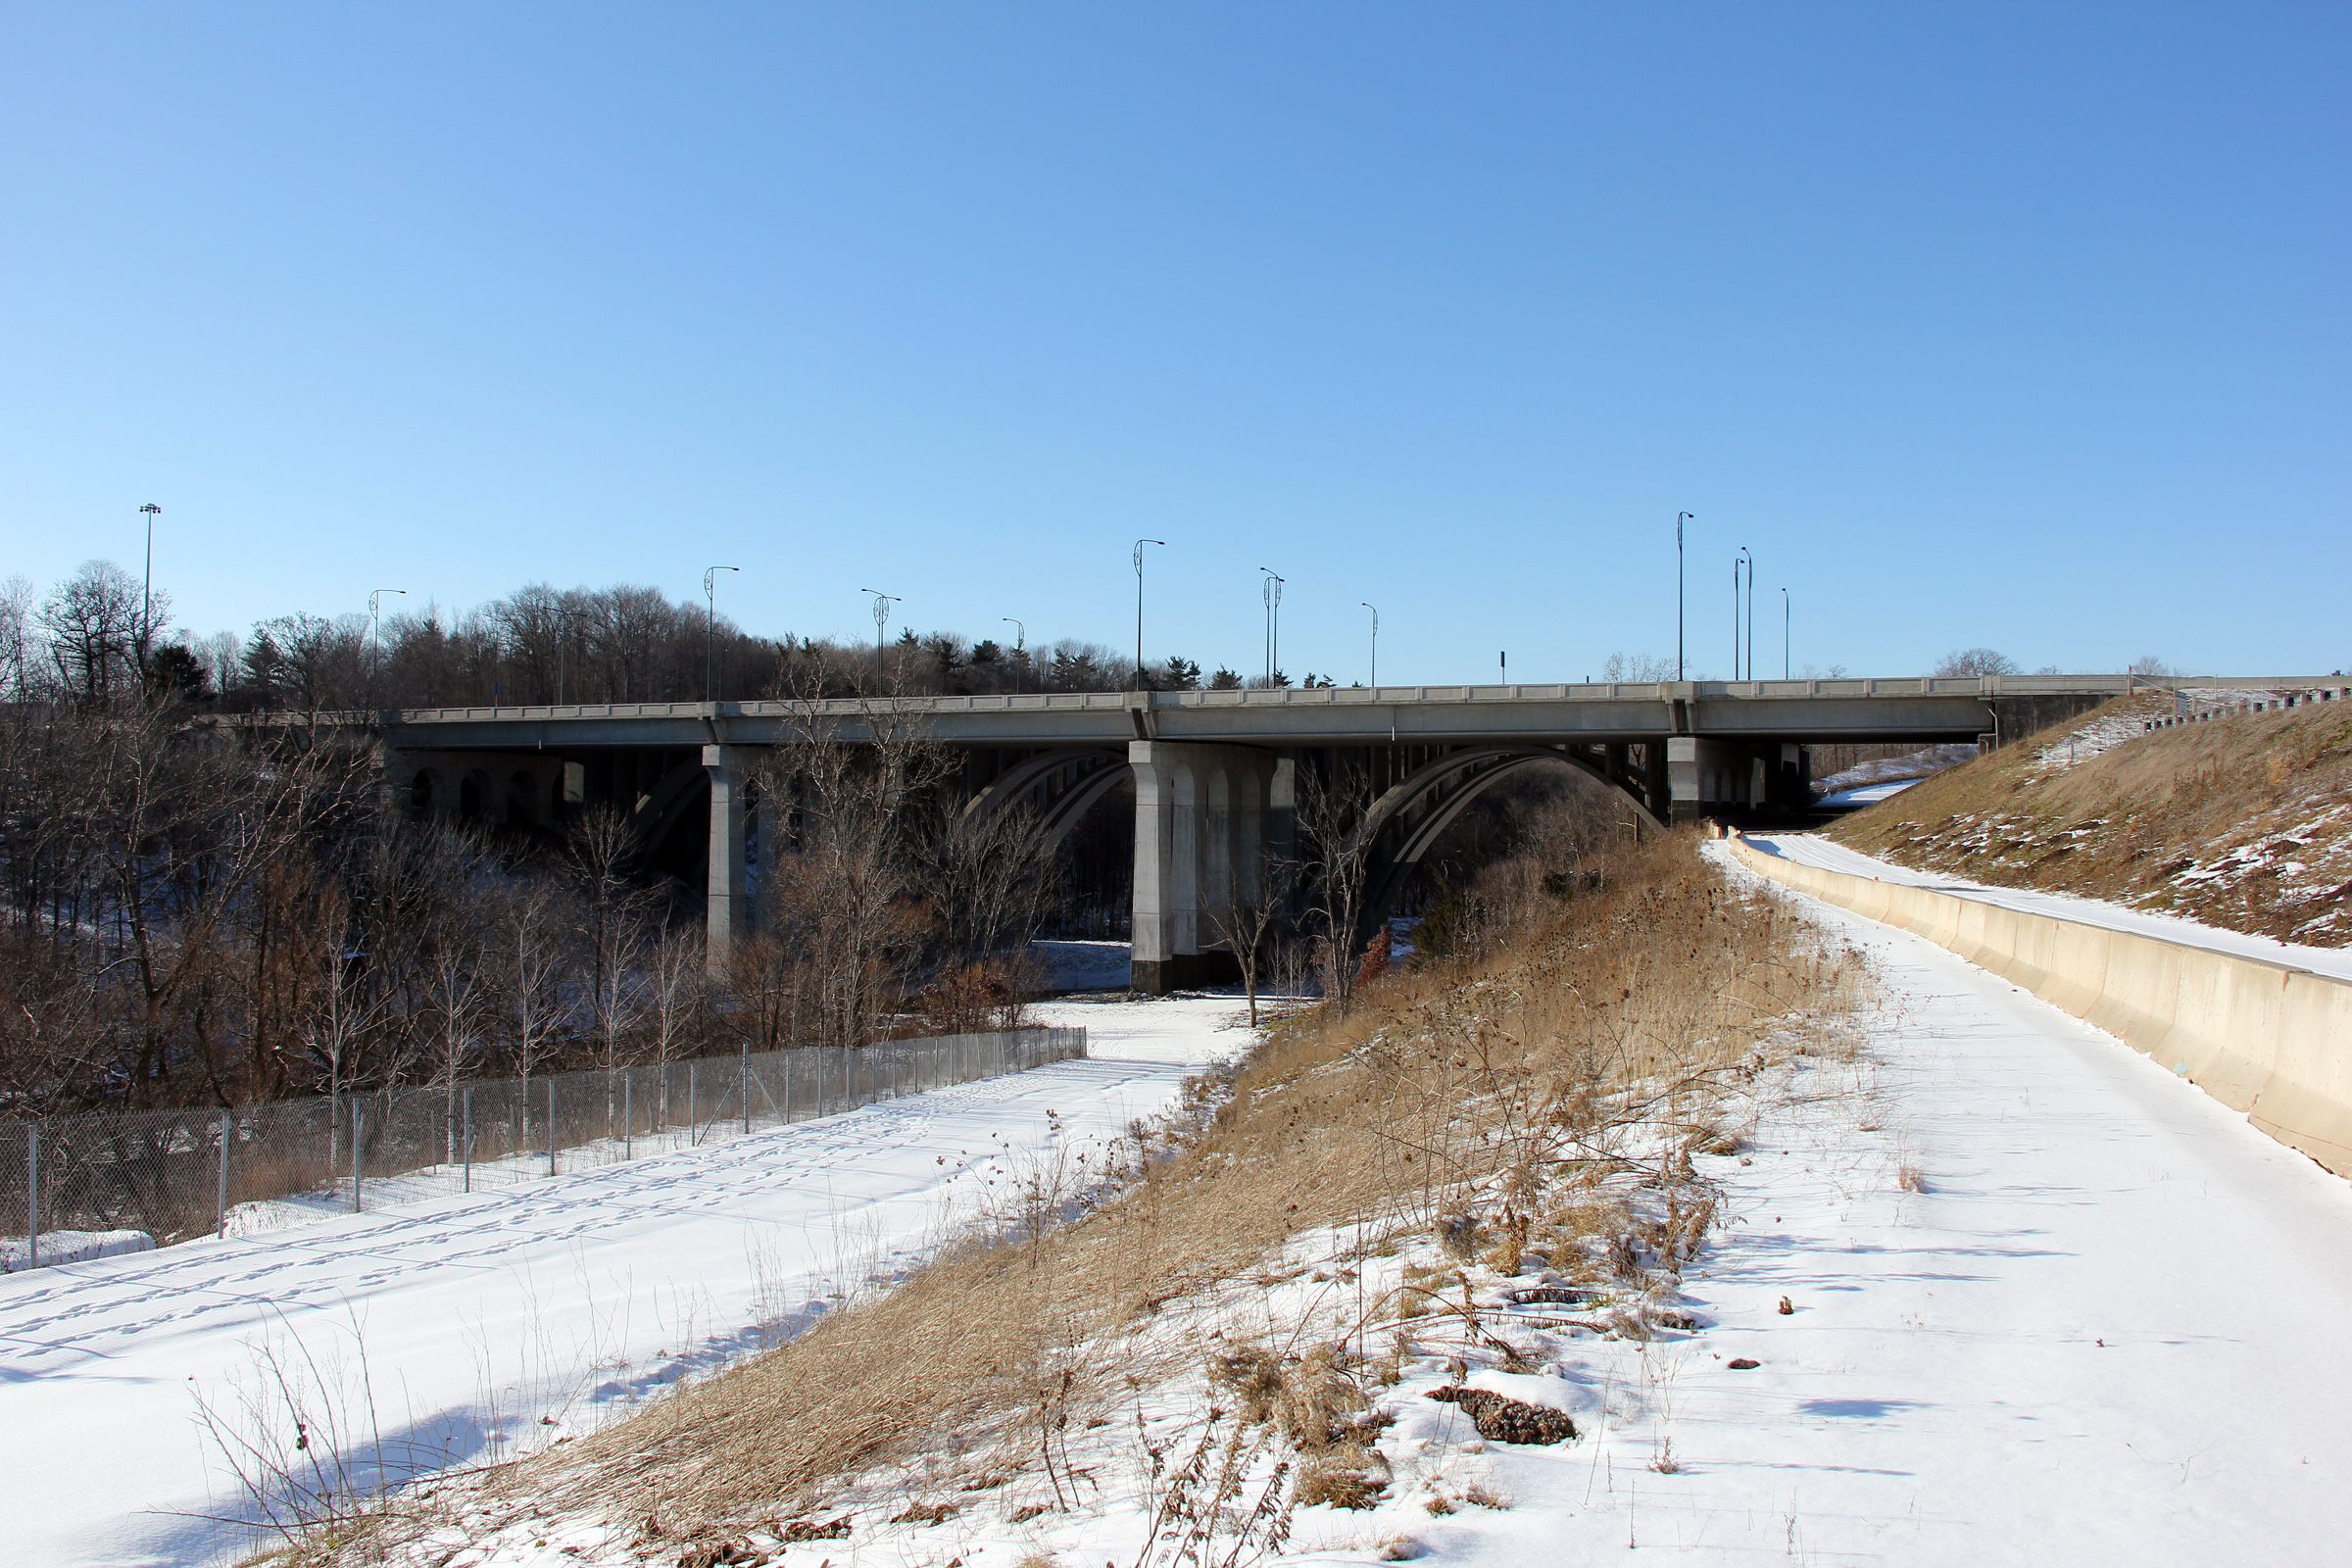
| Town of Oakville Regional Municipality of Halton |
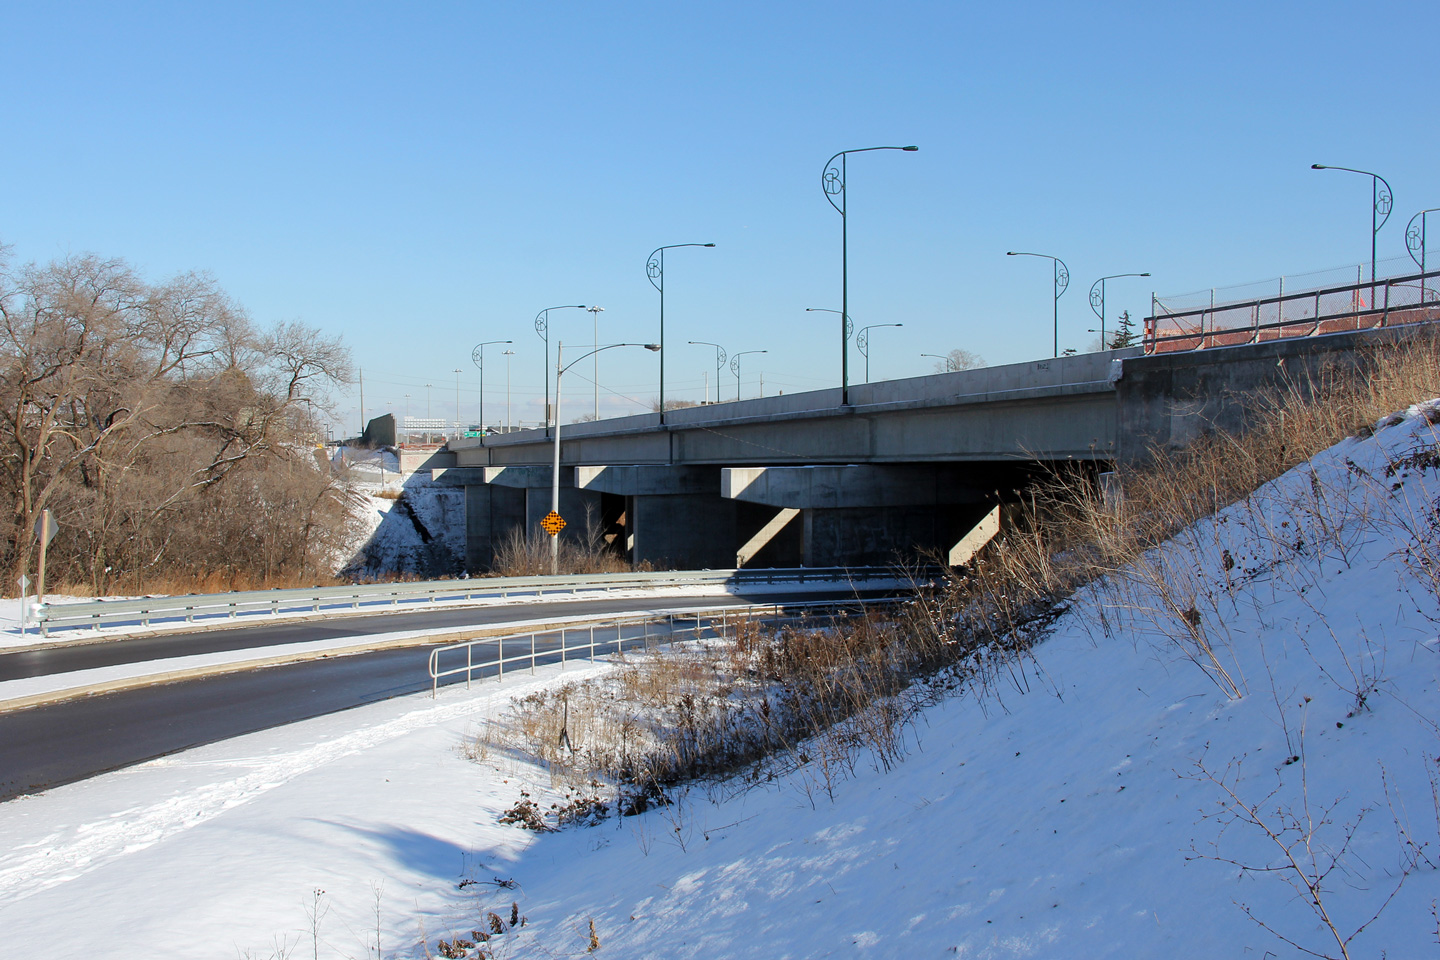
View looking Hamilton-bound as the QEW/403 crosses both
Highway 25 and the
Bronte Creek. The Freeway crosses the large Bronte Creek valley via a
magnificent concrete arch bridge. This arch bridge was originally
completed in 1936, having been widened and upgraded since.
Visit Cameron
Bevers' The History of Ontario's King's Highways Website for more photos of
this structure. Photo taken: May 2nd, 2007. |
|
||
| Town of Oakville Regional Municipality of Halton |
Old style sign in advance of the Service Road interchange just before the
Bronte Creek Bridge. Keep Right and Next Exit signage was quite common on freeways
during the 1960s and1970s but has been phased out almost entirely in recent
years. With the permanent closure of the Service Road interchange,
this sign has since been removed. Photo taken: May 2nd, 2007. |
|
||
| Town of Oakville Regional Municipality of Halton |
View looking towards Toronto at the former low-standard ramps to and from
Bronte Road. The Bronte Road interchange was greatly improved between 2008
and 2011. Photo taken: May 2nd, 2007. |
|
||
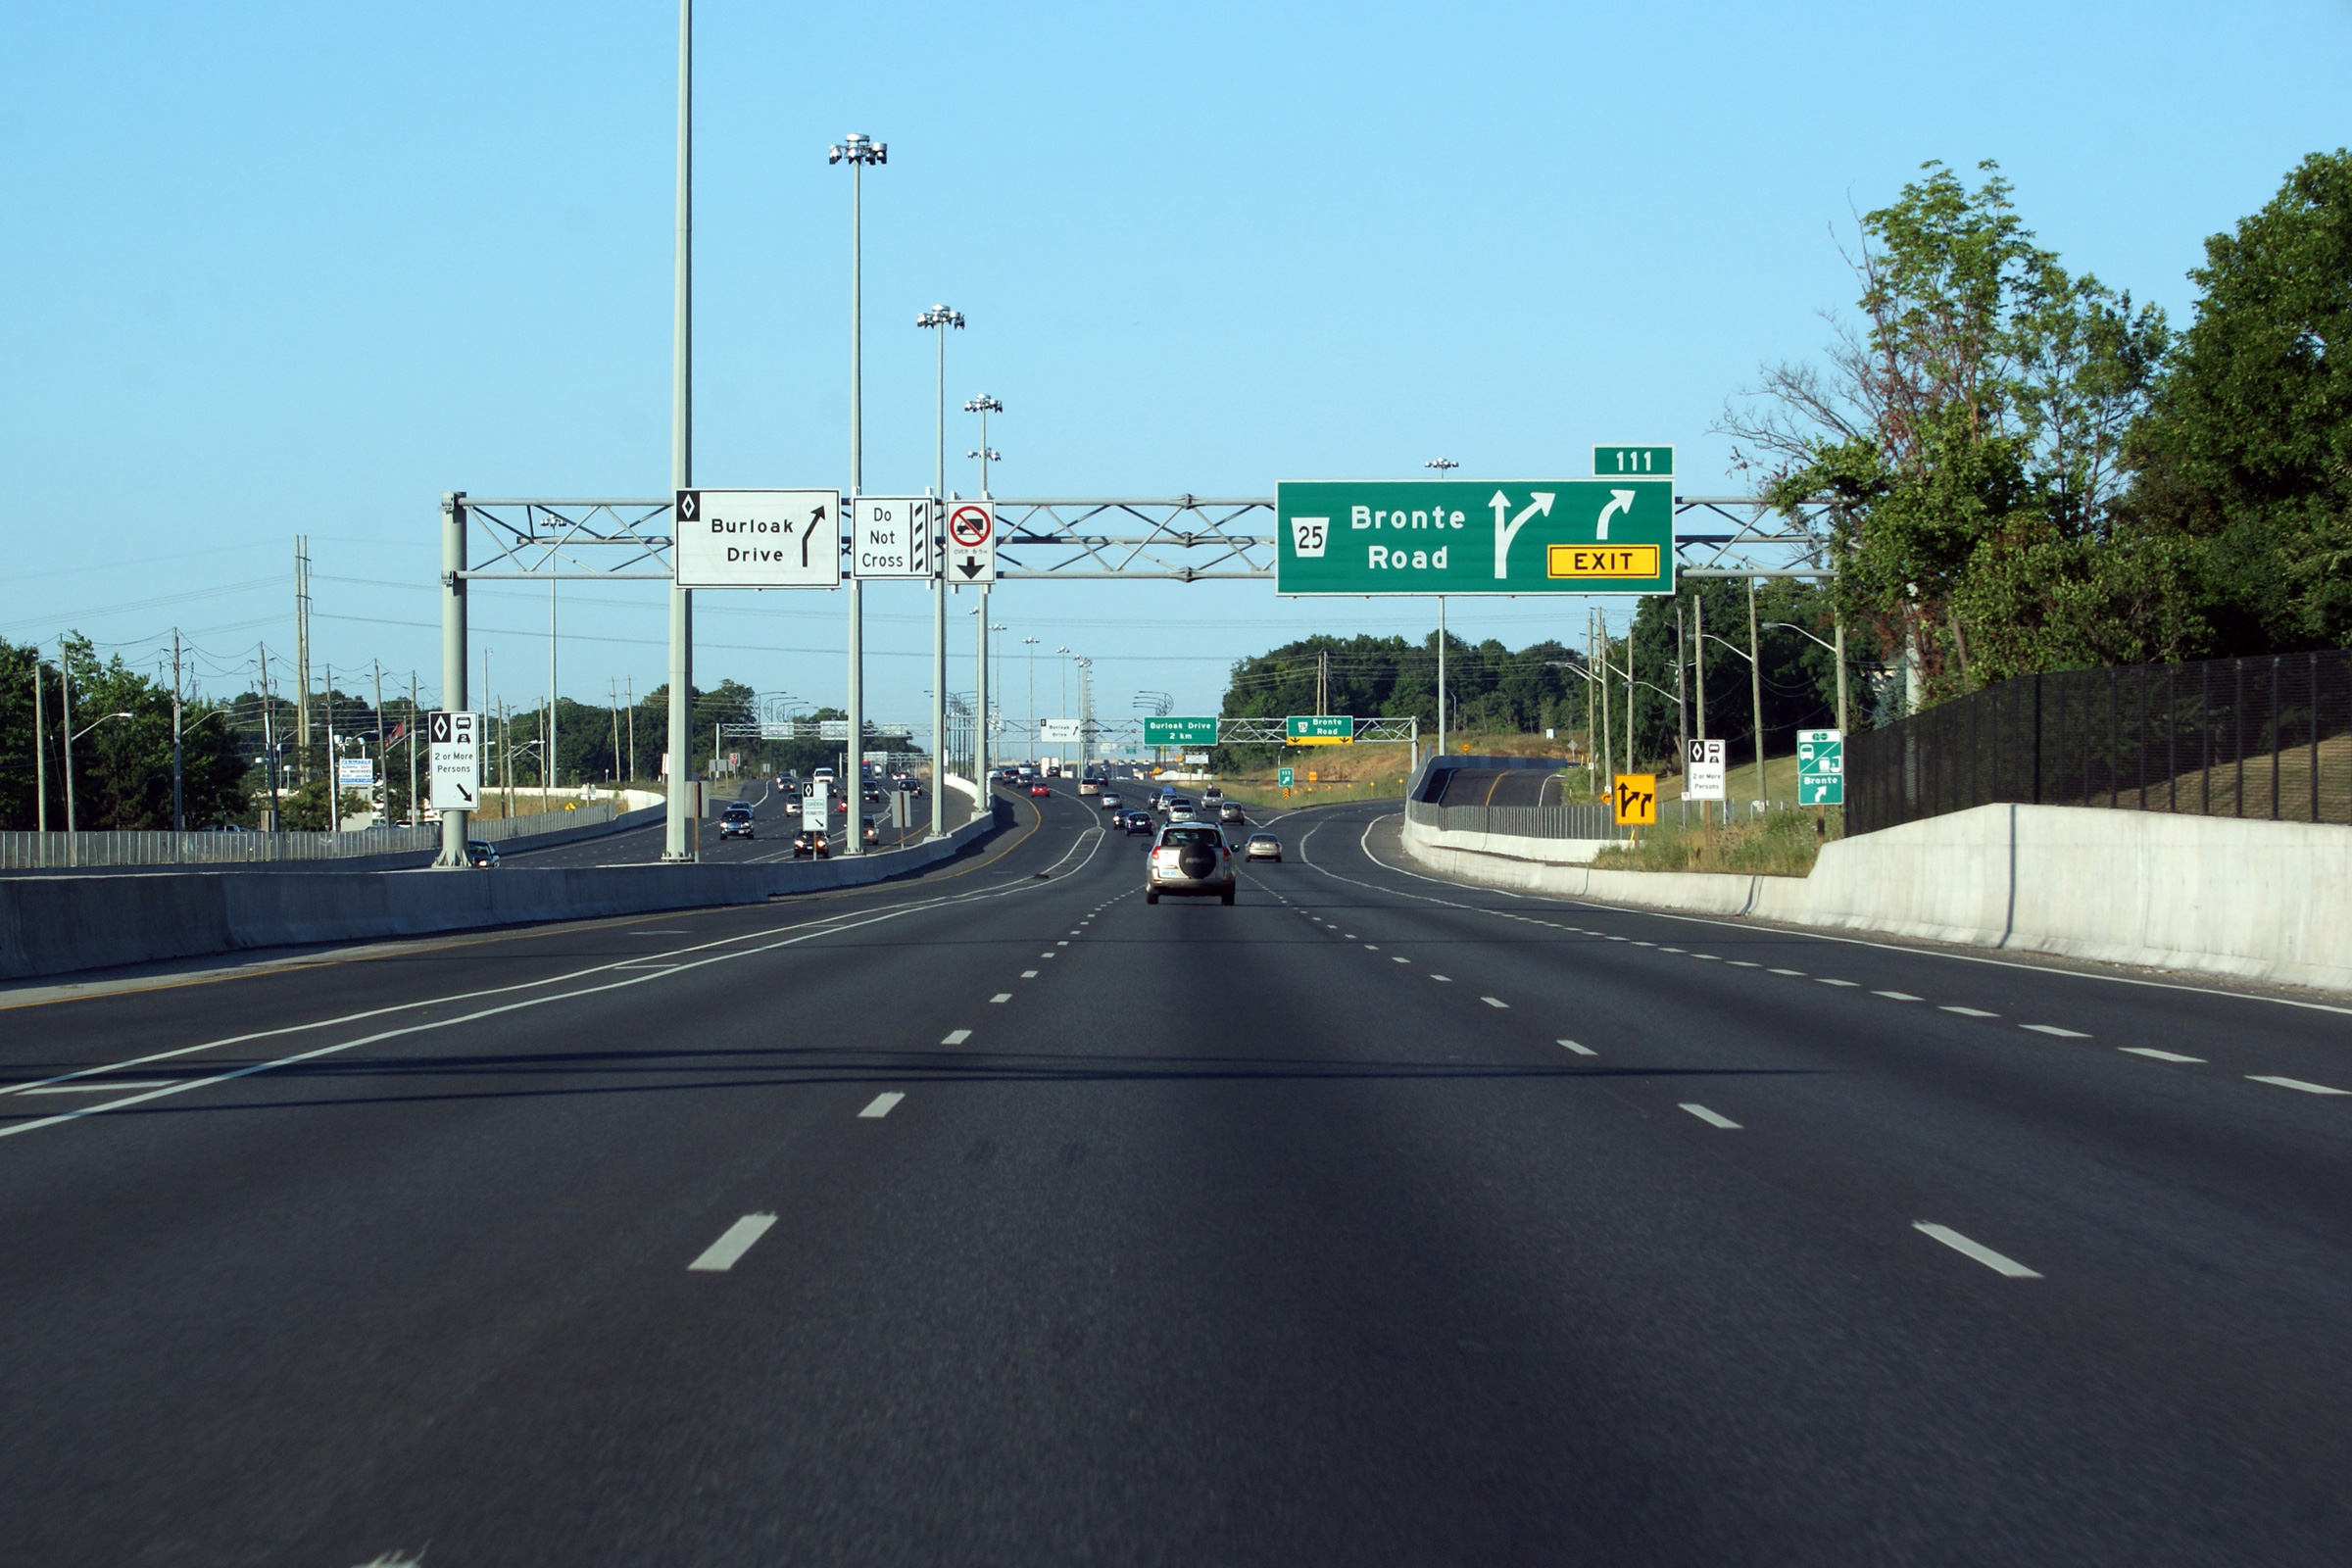
| Town of Oakville Regional Municipality of Hamilton |
Toronto-bound view of the signage at the exit to Bronte Road. Photo taken: July 30th, 2011. |
 (720x480) (720x480)(1440x960) (2400x1600) |
||
| Before it was downloaded, Highway 25 extended northerly from the QEW towards Milton and beyond. Click here for Highway 25 images. | ||||
| Town of Oakville Regional Municipality of Hamilton |
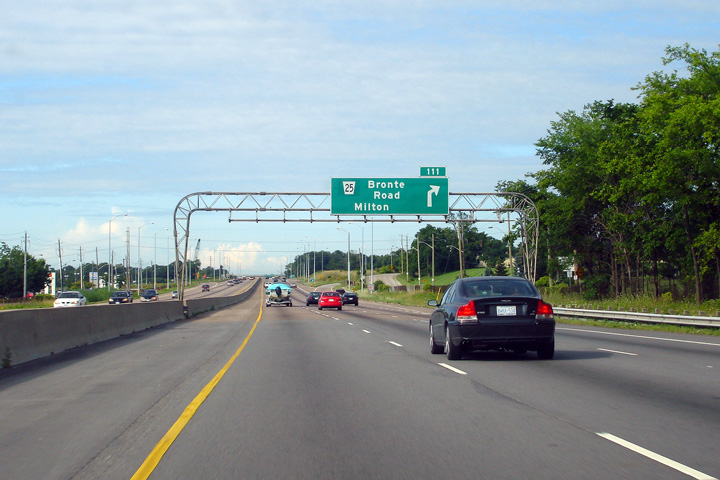
View taken from the driver's seat along the Hamilton-bound QEW at the exit
to Bronte Road. Photo taken: October 11th, 2011. |
 (720x480) (720x480)(1440x960) (2400x1600) |
||
| Town of Oakville Regional Municipality of Hamilton |
Two versions of the Hamilton-bound advanced signage in advance of the Bronte
Road (former Highway 25) interchange. Upper photo taken: July 23rd, 2006. Lower photo taken: July 30th, 2011. |
|
||
| Town of Oakville Regional Municipality of Halton |
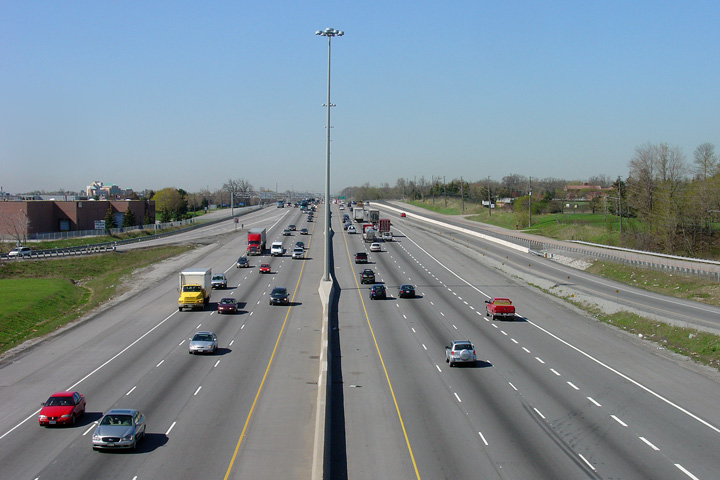
Looking towards Hamilton and Fort Erie from the Third Line Road overpass in
Oakville. The Third Line Road interchange was reconstructed during
2004 and 2005 from a rather dated diamond configuration into a standard
(albeit somewhat tight) parclo A-4 configuration. Upper photo taken: May 7th, 2007. |
 |
||
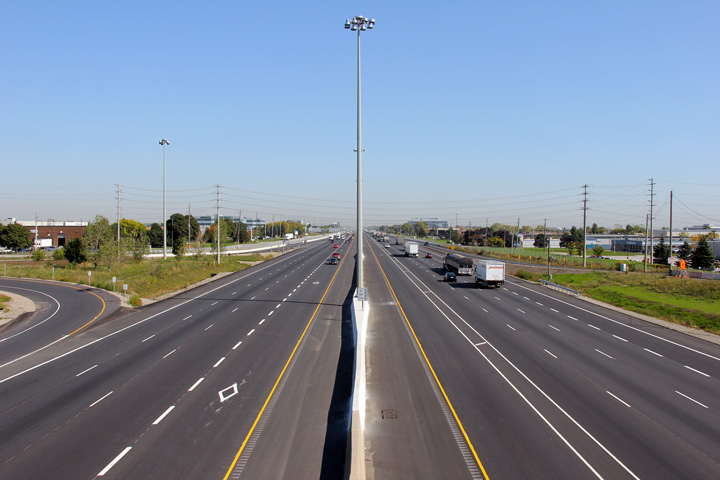
| Town of Oakville Regional Municipality of Halton |
Looking towards Toronto from the Third Line Road overpass. Upper photo taken: May 7th, 2007. Lower photo taken: October 11th, 2011. |
 (720x480) (1440x960) (2400x1600) |
||
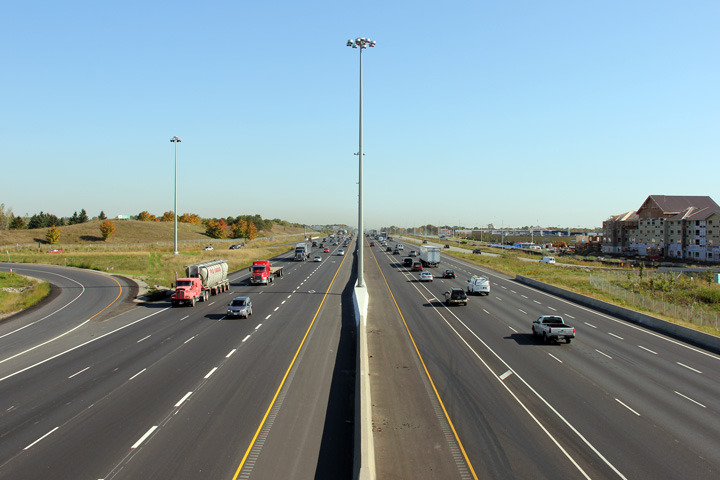
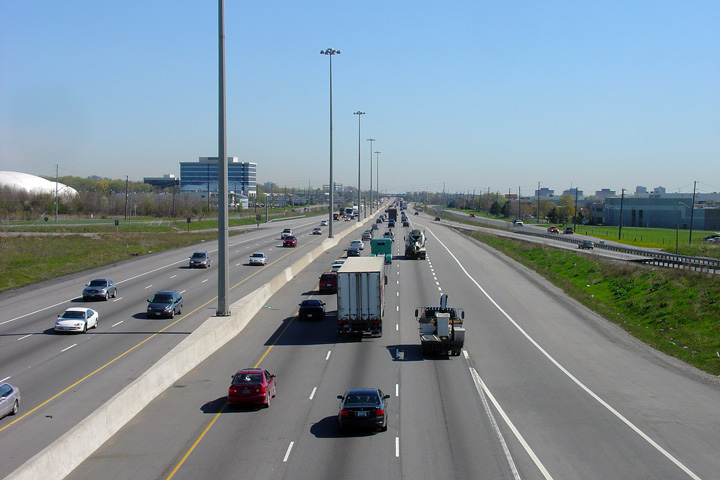
| Town of Oakville Regional Municipality of Halton |
Looking towards Fort Erie along Highway QEW/403
from the 4th Line Road overpass. Upper photo taken: June 6th, 2007. Lower photo taken: September 25th, 2011. |
 (720x480) (1440x960) (2400x1600) |
||
| Town of Oakville Regional Municipality of Halton |
Looking towards Toronto from the 4th Line Road overpass. 4th Line Road
is located roughly at kilometre marker 115. Upper photo taken: June 6th, 2007. Lower photos taken: September 25th, 2011. |

(720x480)
(1440x960)
(2400x1600) |
||
| Town of Oakville Regional Municipality of Halton |
Photo of the now replaced single span rigid frame bridge that carried Forth
Line overtop of the QEW/403. This structure was replaced by a two-span
concrete beam bridge in 2009-2010 as part of the freeway widening through
Halton Region. Photo taken: June 6th, 2007. |
|
||
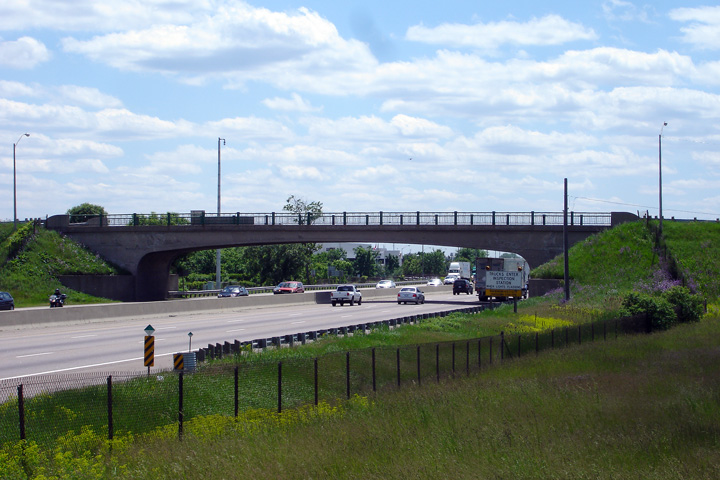
| Town of Oakville Regional Municipality of Halton |
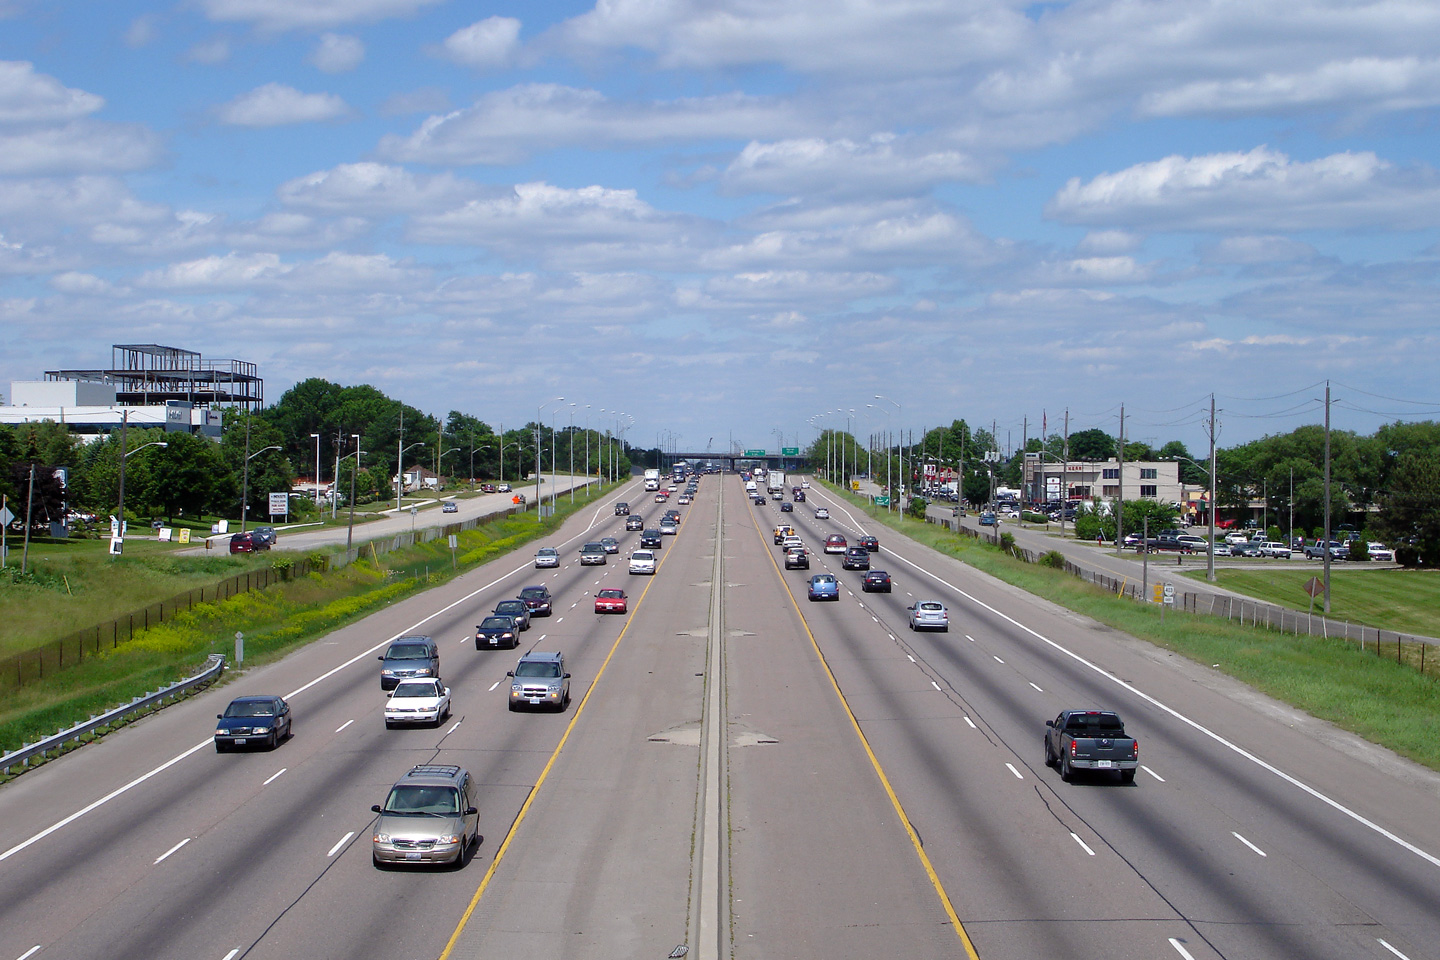
Looking Fort Erie bound from the Dorval Drive overpass in central Oakville. Upper photo taken: June 6th, 2007. Lower photo taken: September 25th, 2011 |
 |
||
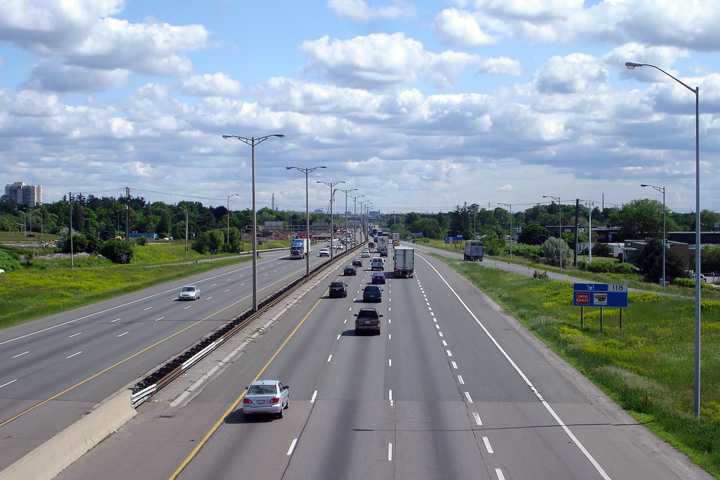
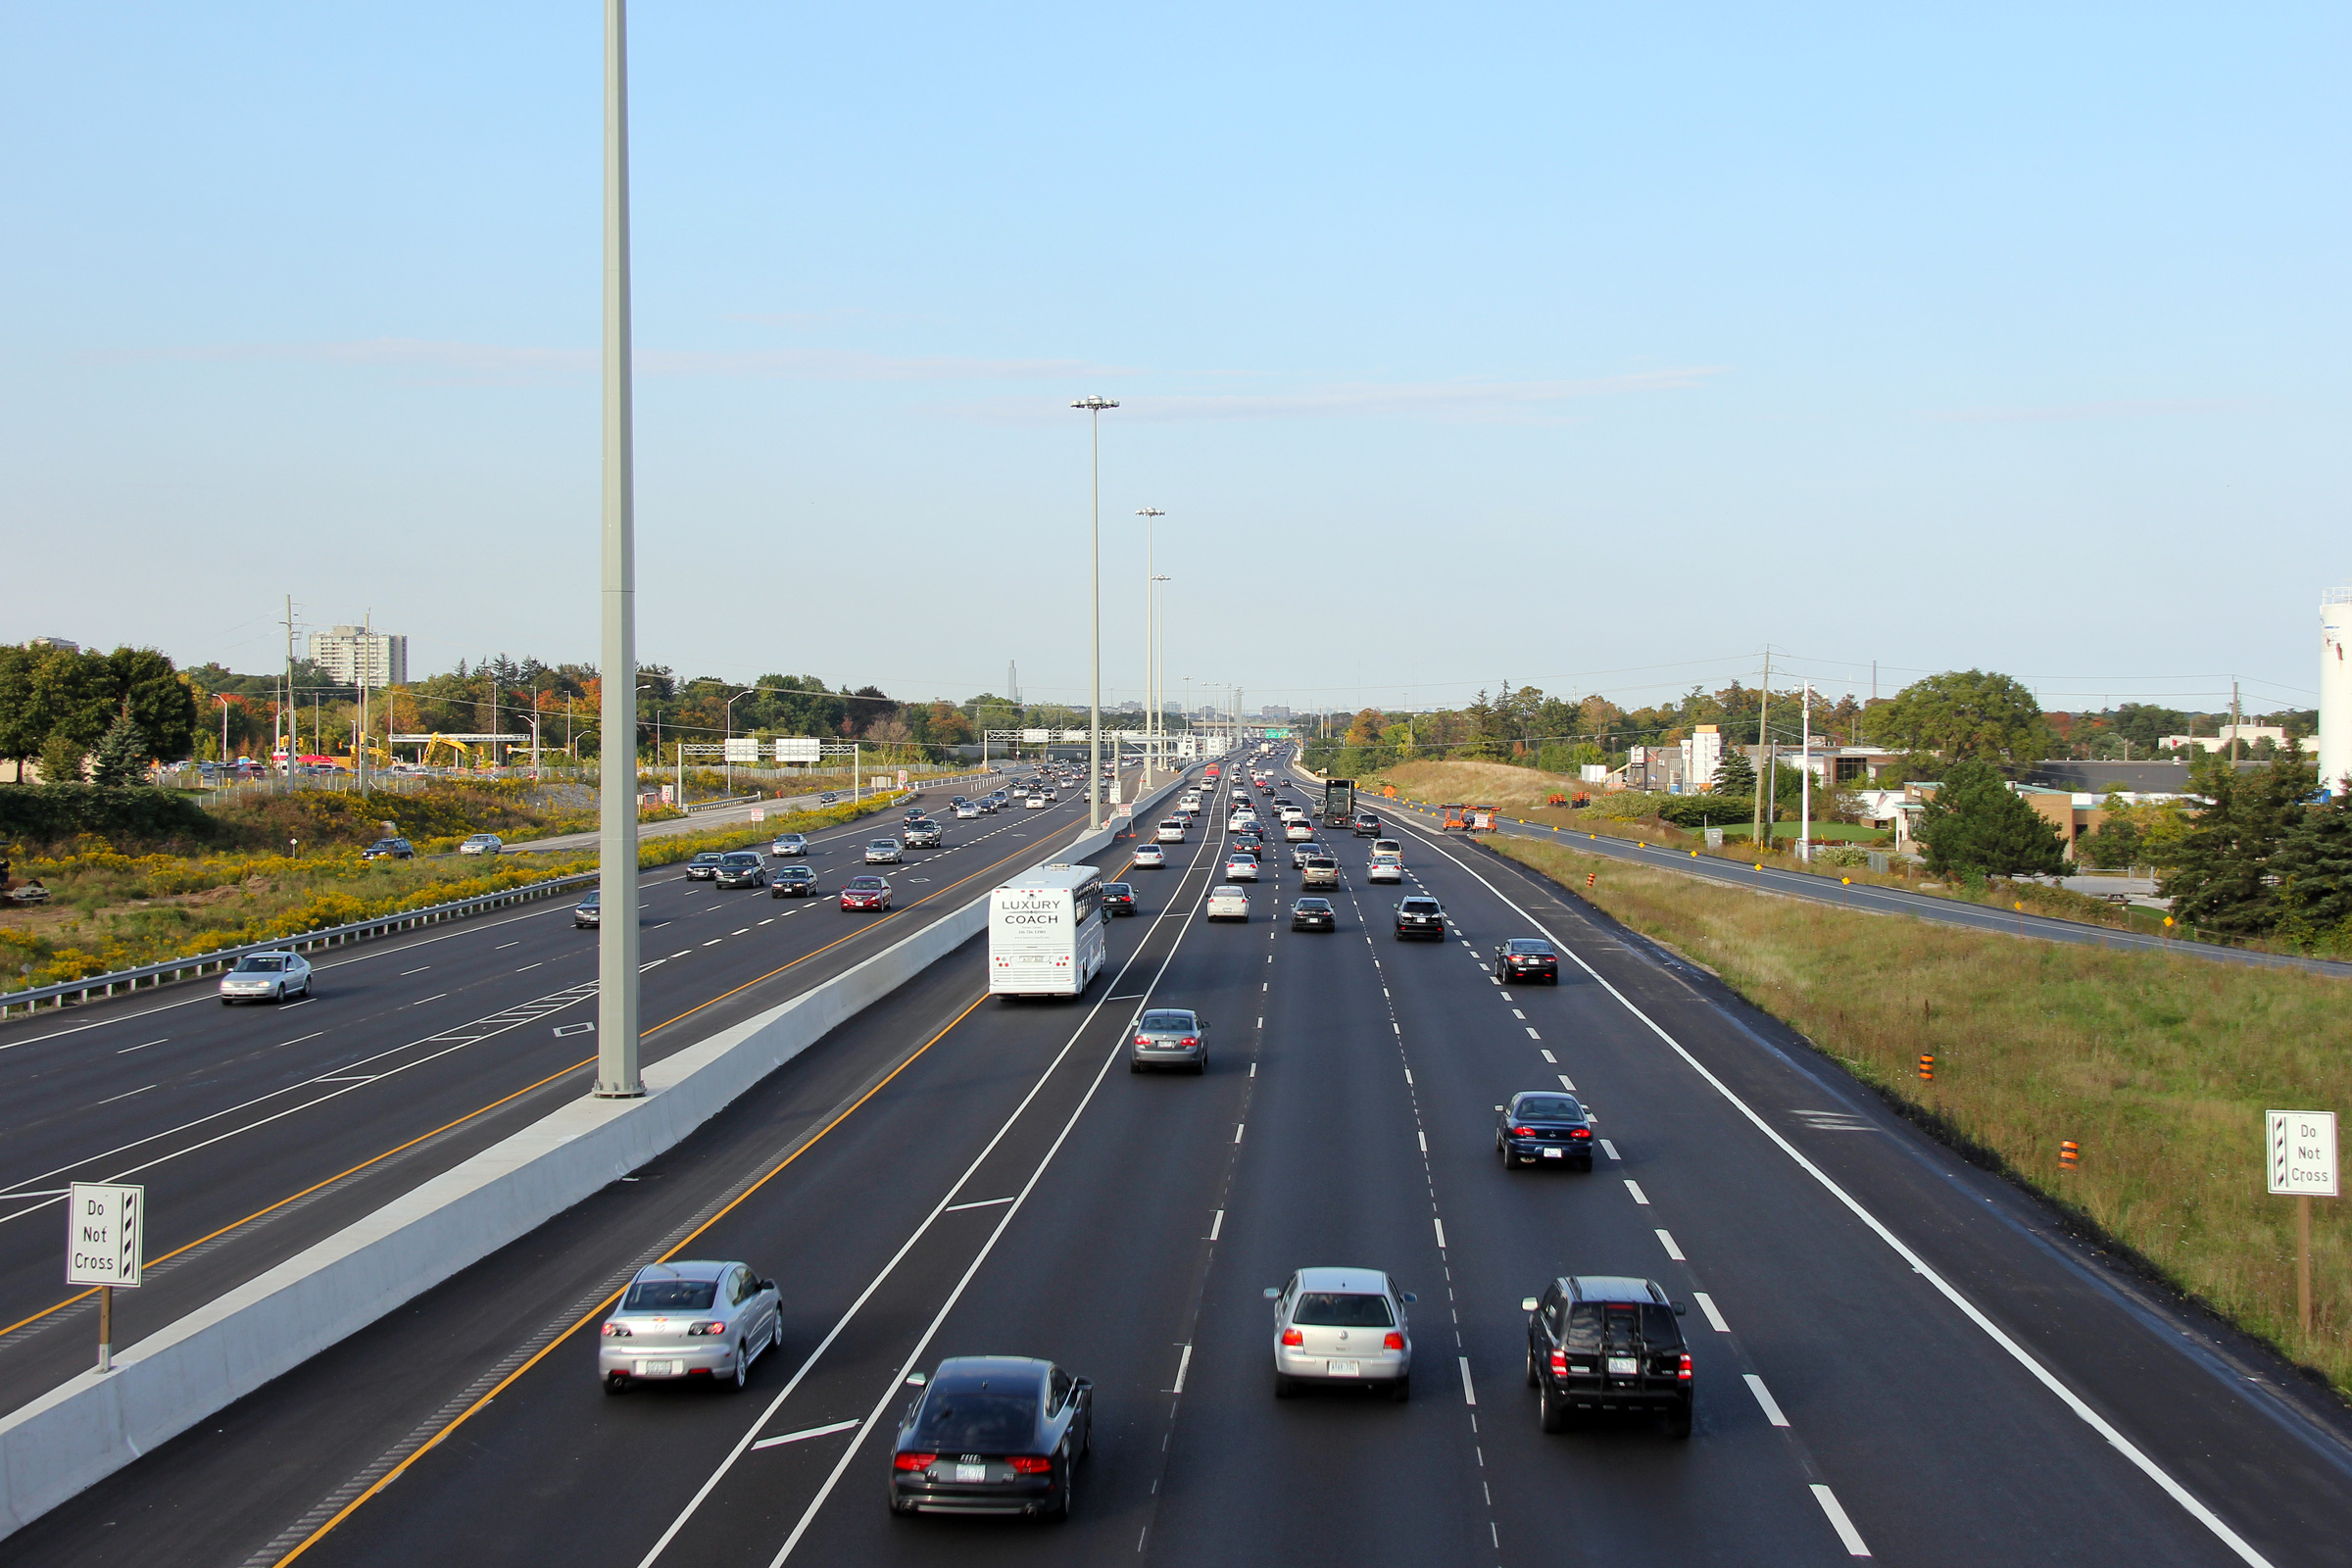
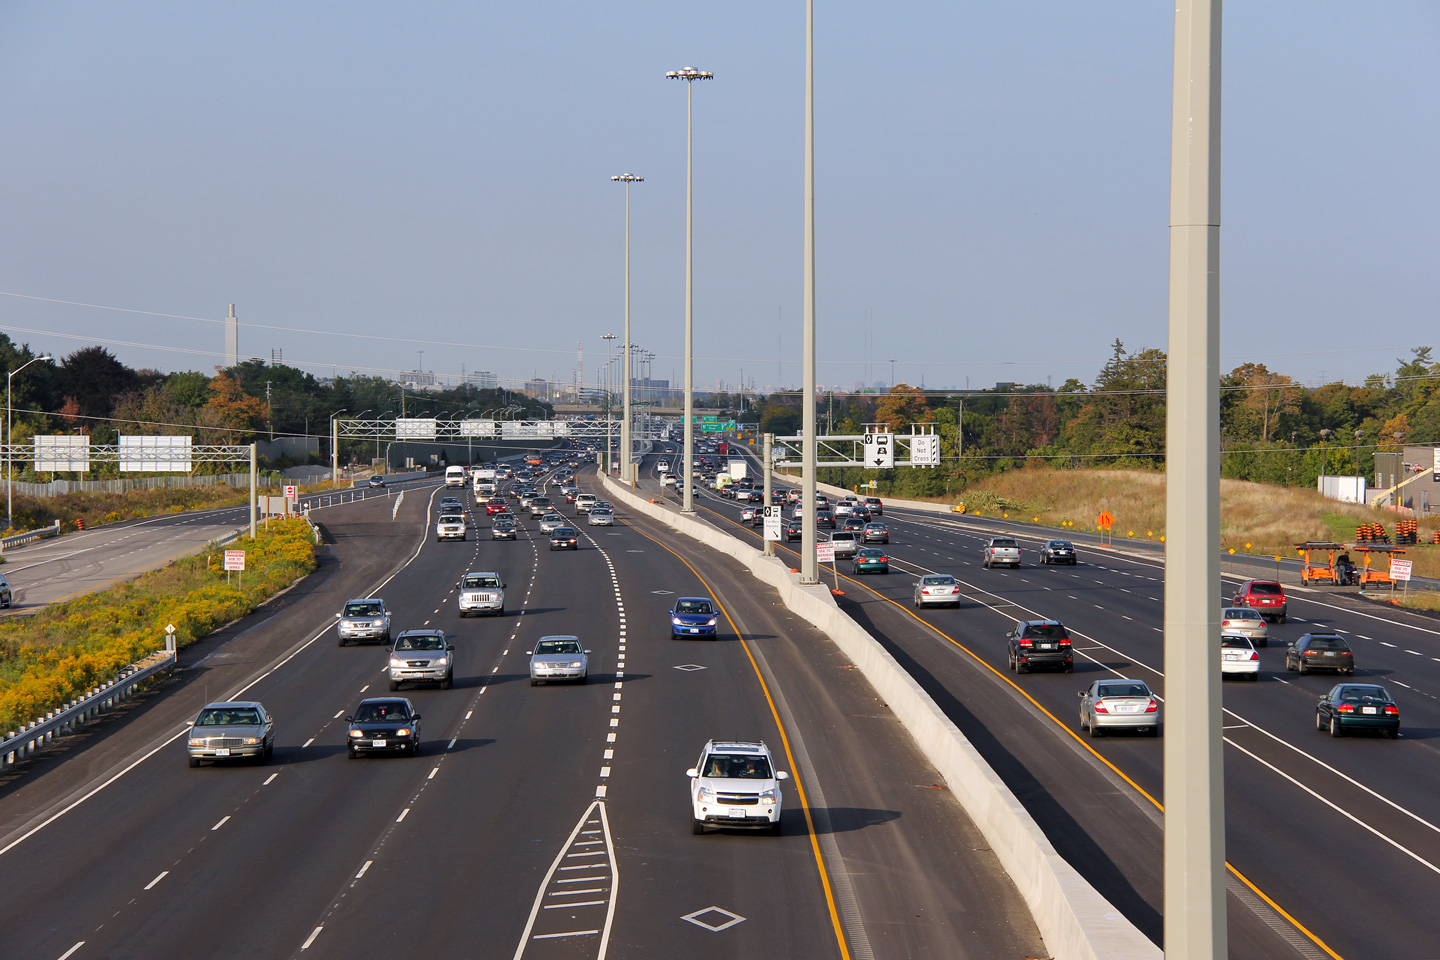
| Town of Oakville Regional Municipality of Halton |
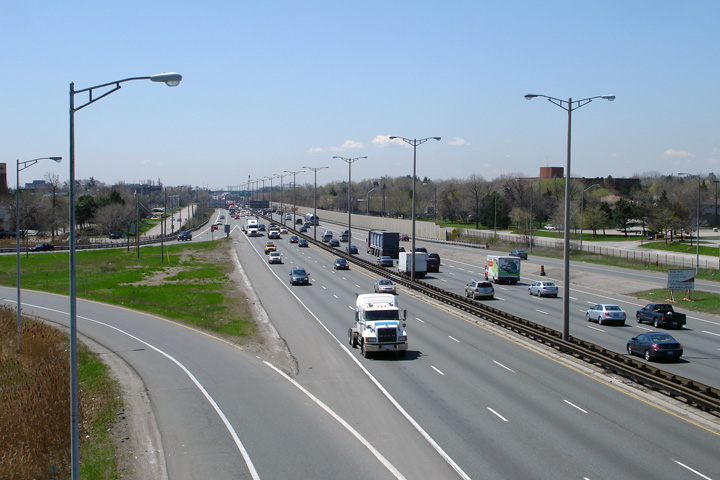
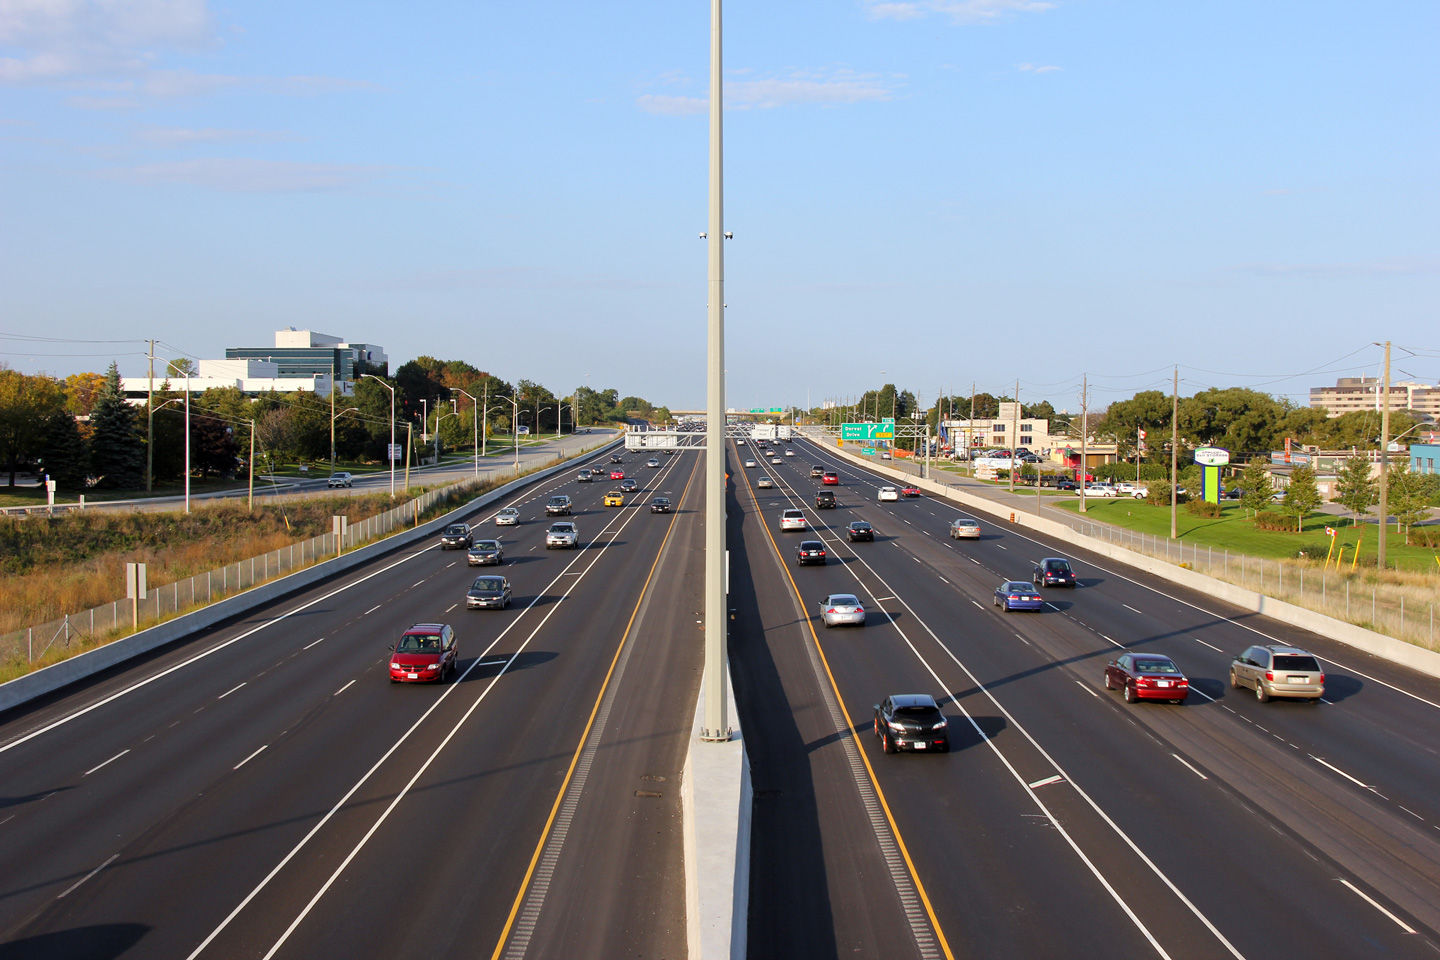
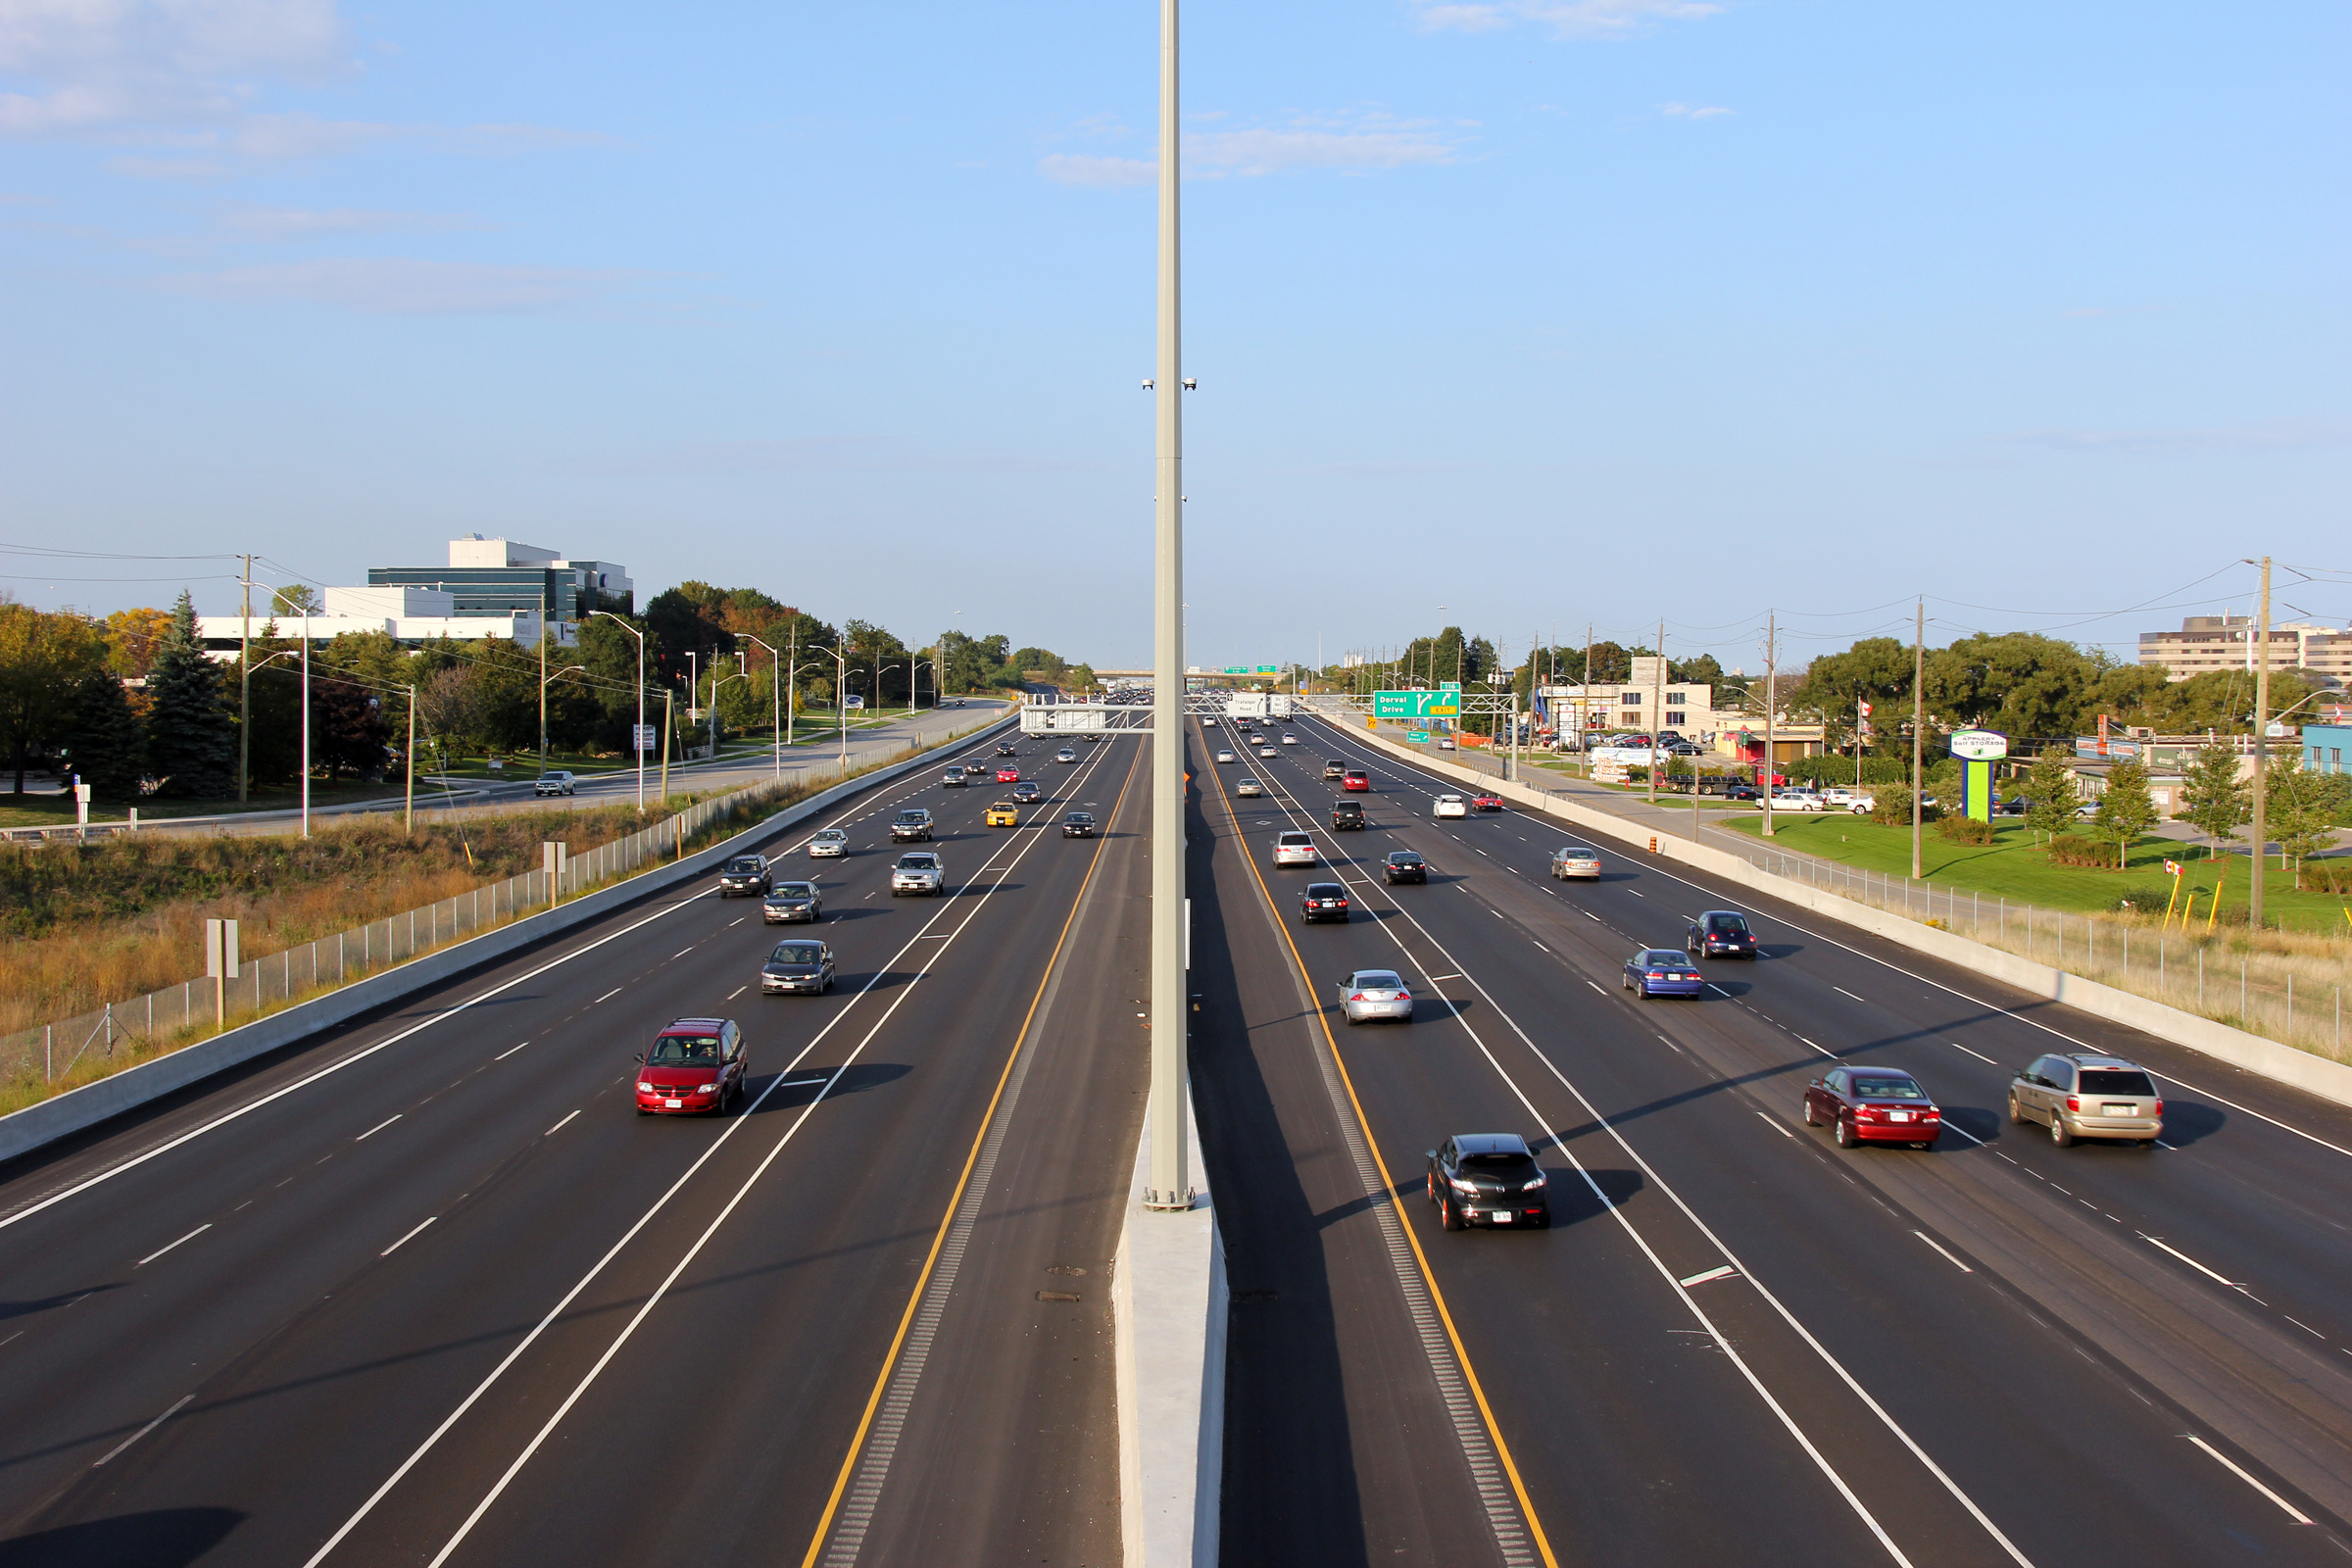
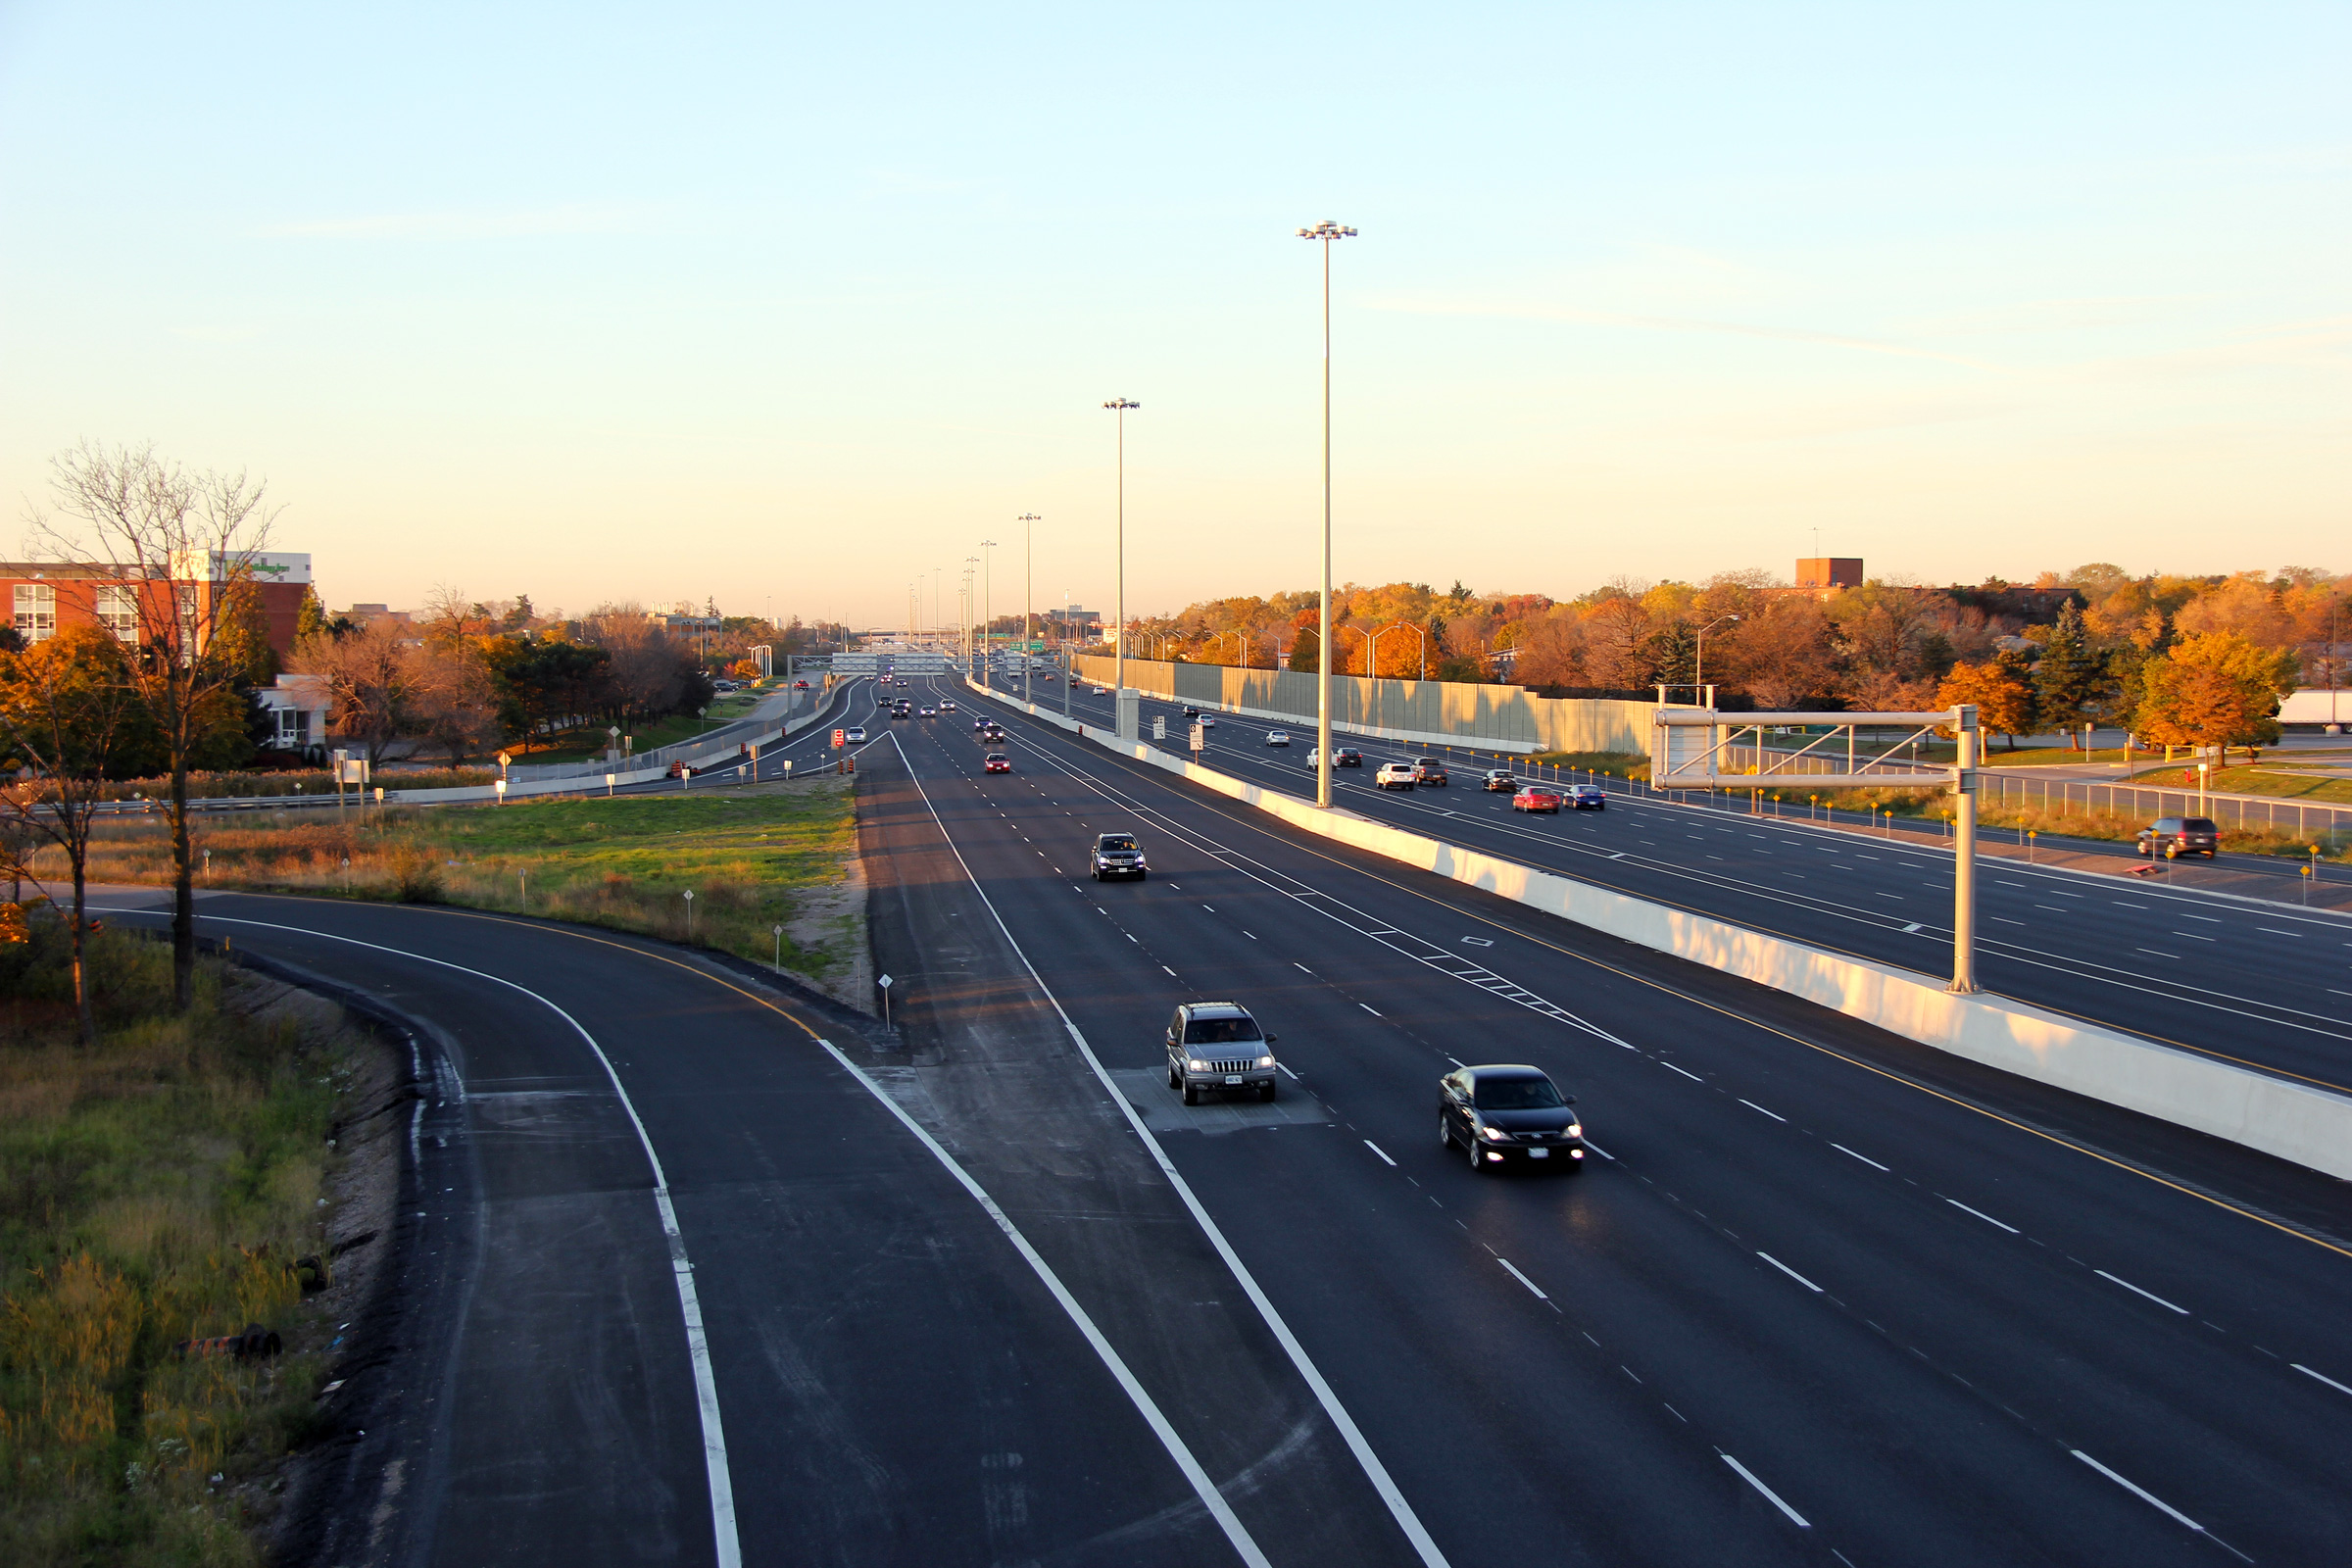
Looking towards Toronto from the Dorval Drive overpass. In the distance of
this photo the Sixteen Mile Creek overpass is visible. Upper photo taken: June 6th, 2007. Lower photos taken: September 25th, 2011. |
 (720x480) (1440x960) (2400x1600) 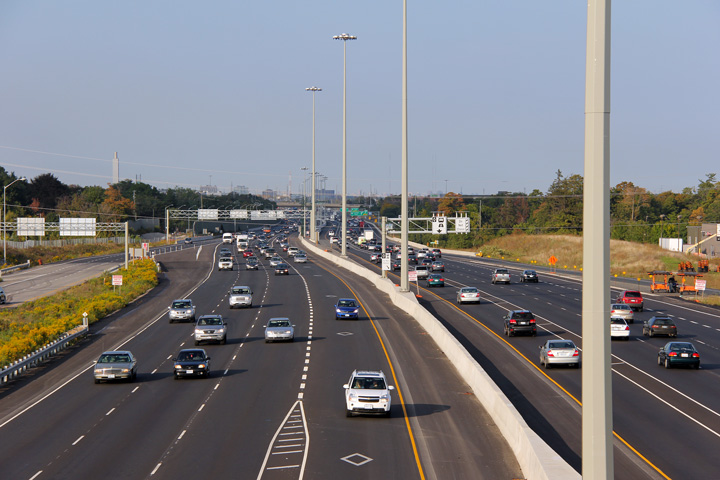 (720x480) (1440x960) (2400x1600) |
||
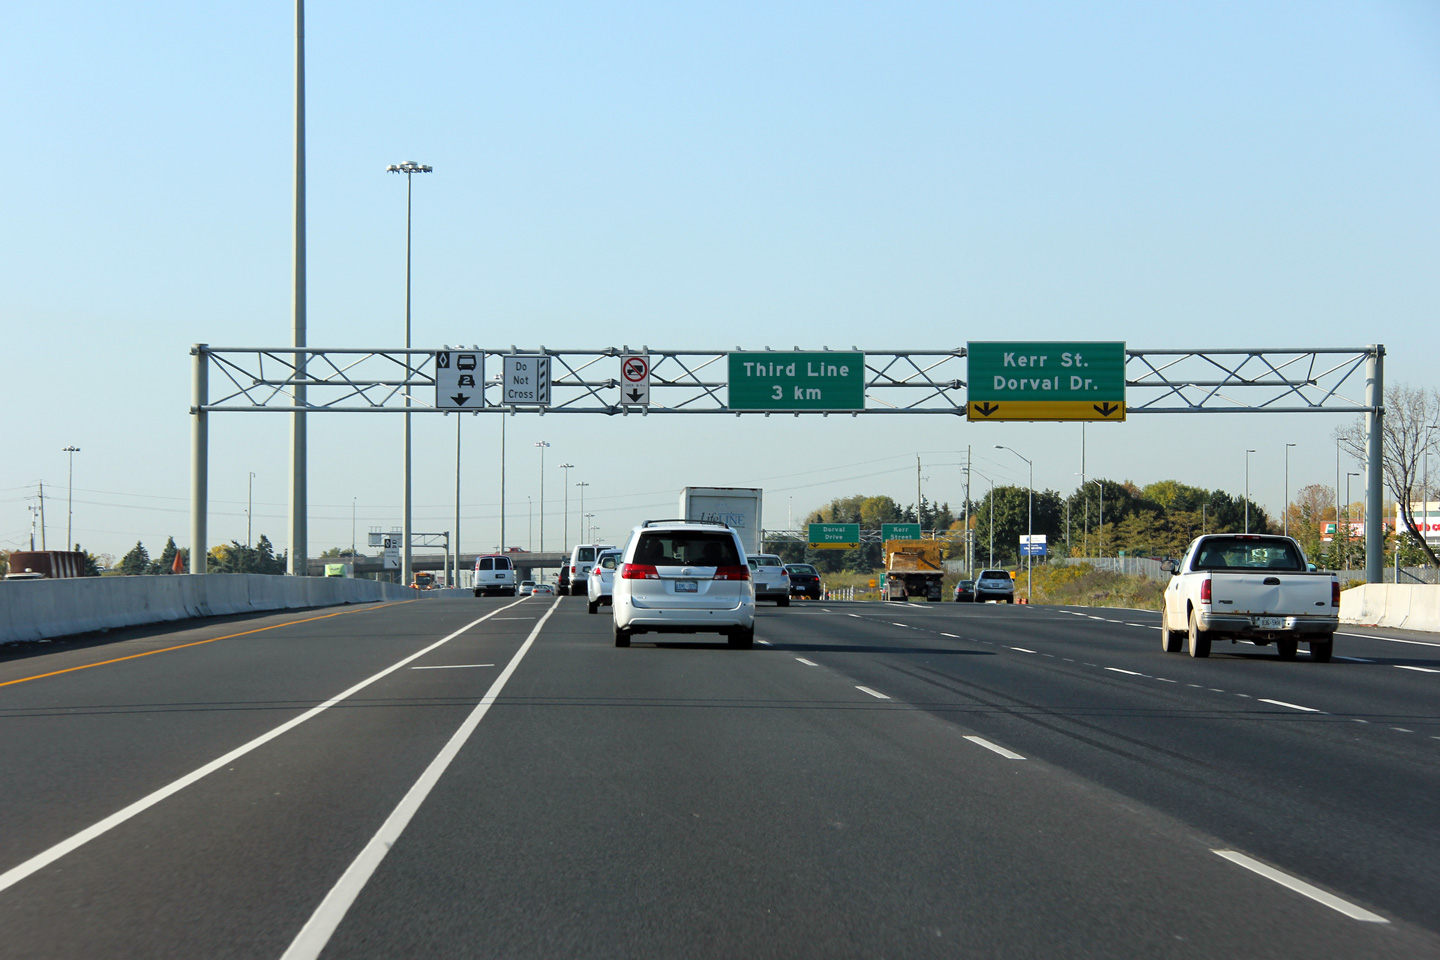
| Town of Oakville Regional Municipality of Halton |
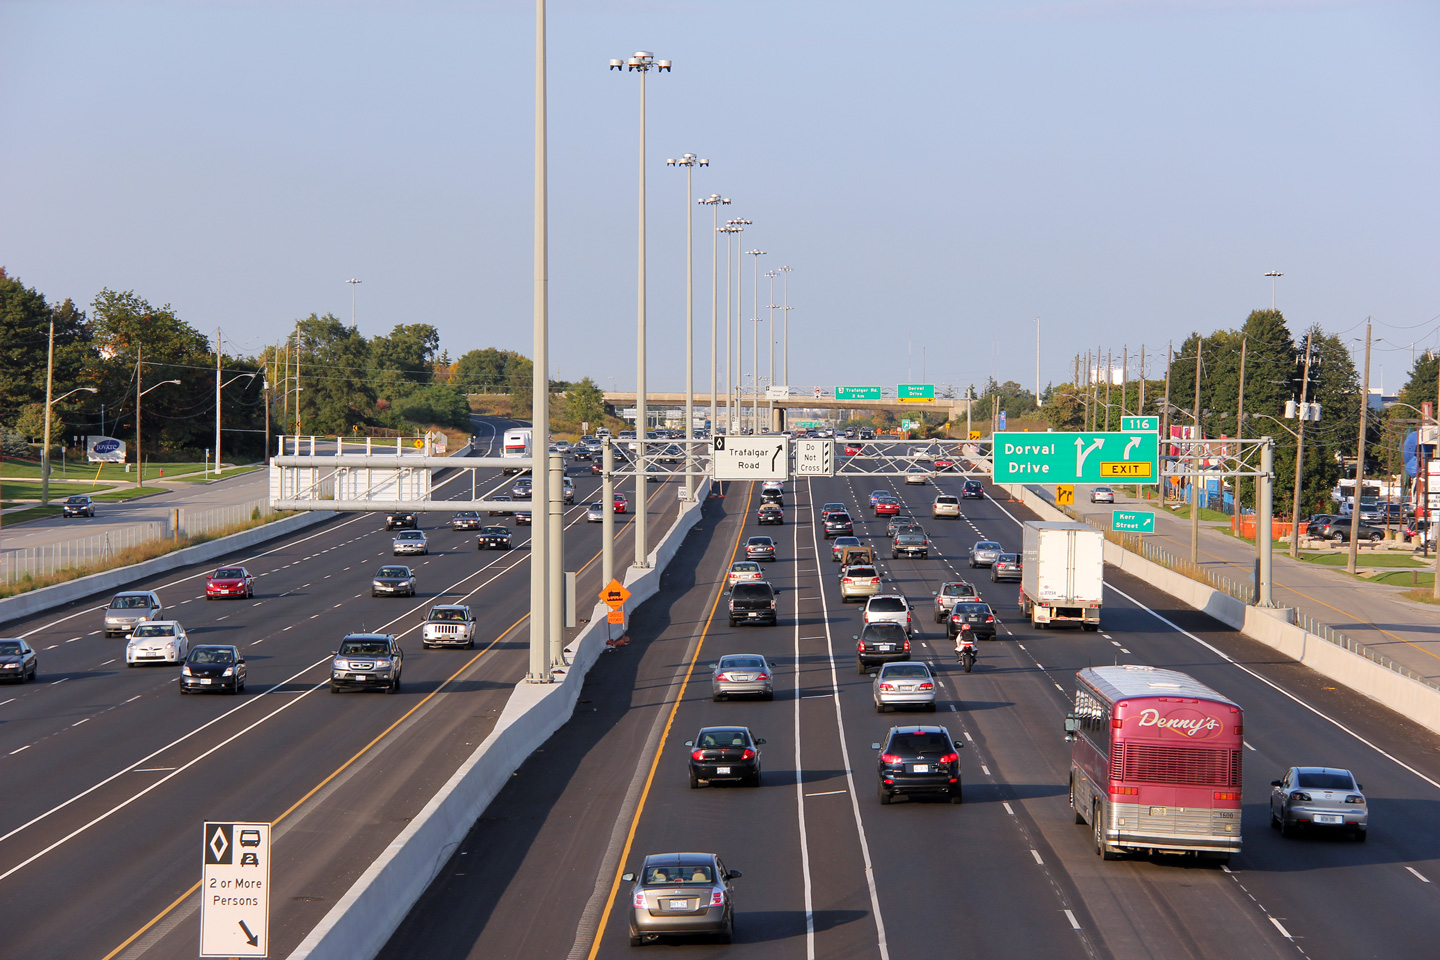
Signage for the ramp to Kerr Street. Kerr Street is only accessible
from the Hamilton-bound QEW. During the widening project for the HOV lanes, the
ramps to Dorval Drive and Kerr Street were consolidated and now depart the
Hamilton-bound QEW at a single bullnose before later splitting. Upper photo taken: May 2nd, 2007. Lower photo taken: October 11th, 2011. |
|
||
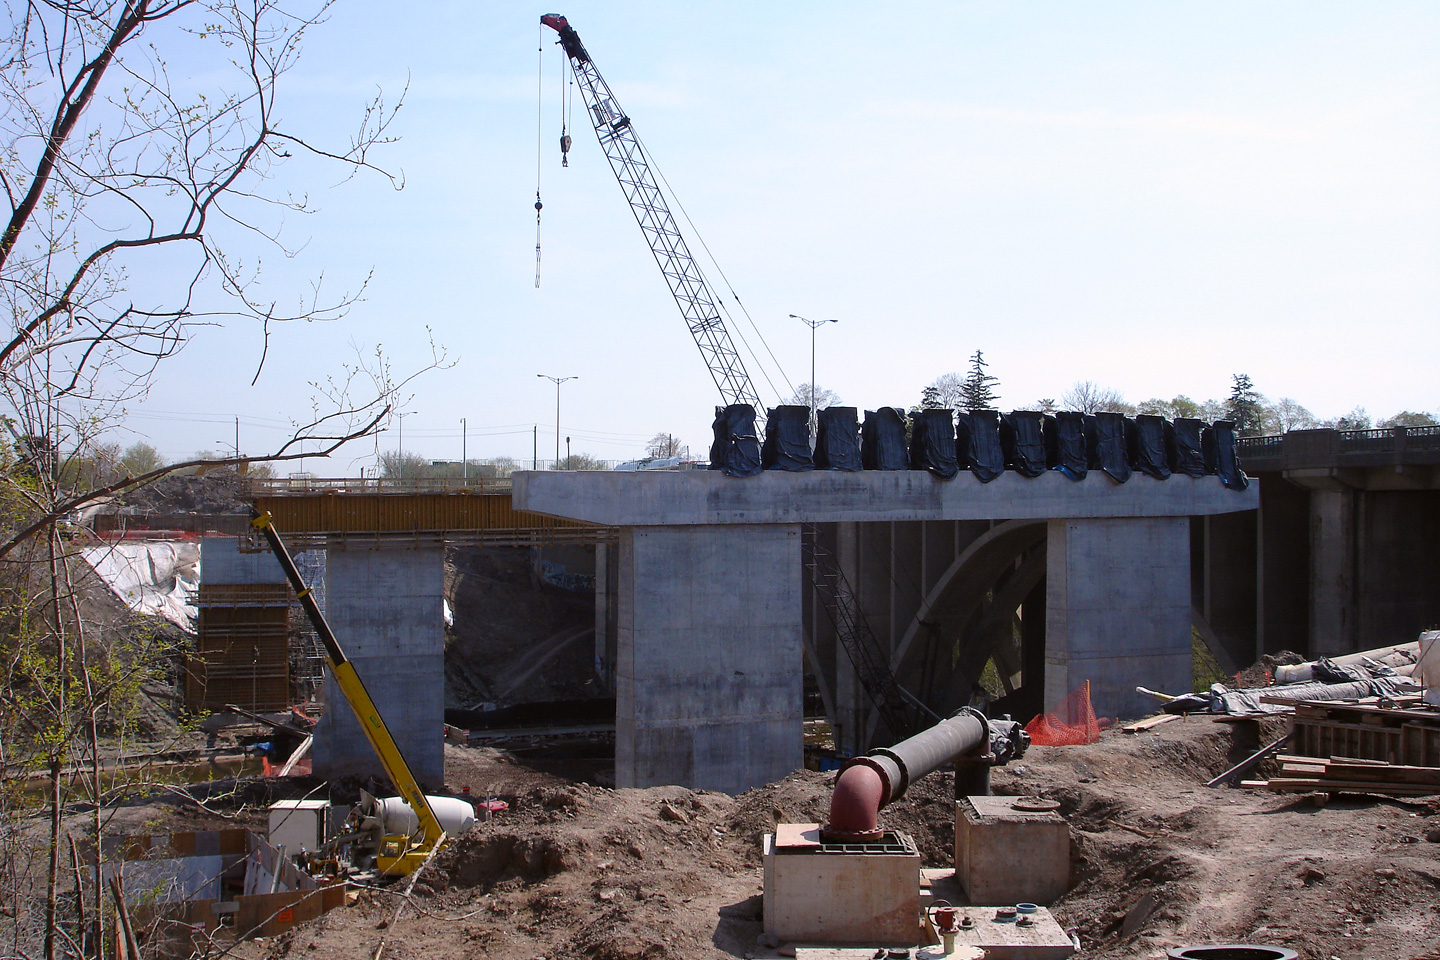
| Town of Oakville Regional Municipality of Halton |
Two views looking southeasterly towards the new Hamilton-bound Sixteen Mile
Creek bridge. Work on the new structure commenced in 2006 and was
substantially completed by the fall of 2007. Once work was completed
on the new structure, attention was then focused on the existing Sixteen
Mile Creek Bridge. All lanes were shifted onto the new bridge while
the deck was replaced on the existing structure. The piers of the new
structure were designed to support a future deck widening to accommodate all
lanes of the QEW/403 in the future for when the vintage 1936 structure needs to be replaced. Upper photo taken: May 8th, 2005. Lower photo taken: January 21st, 2012. |
 |
||
| Town of Oakville Regional Municipality of Halton |
The southern side of the magnificent 1936 vintage Sixteen Mile Creek Bridge. Photo taken: January 21st, 2012. |
 |
||
| Town of Oakville Regional Municipality of Halton |
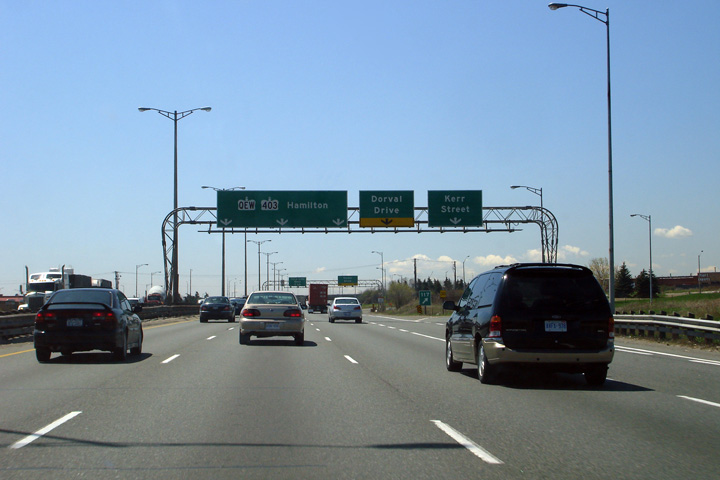
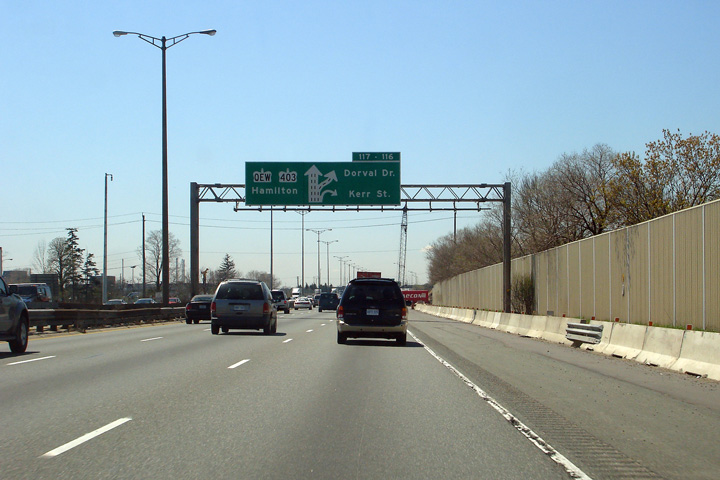
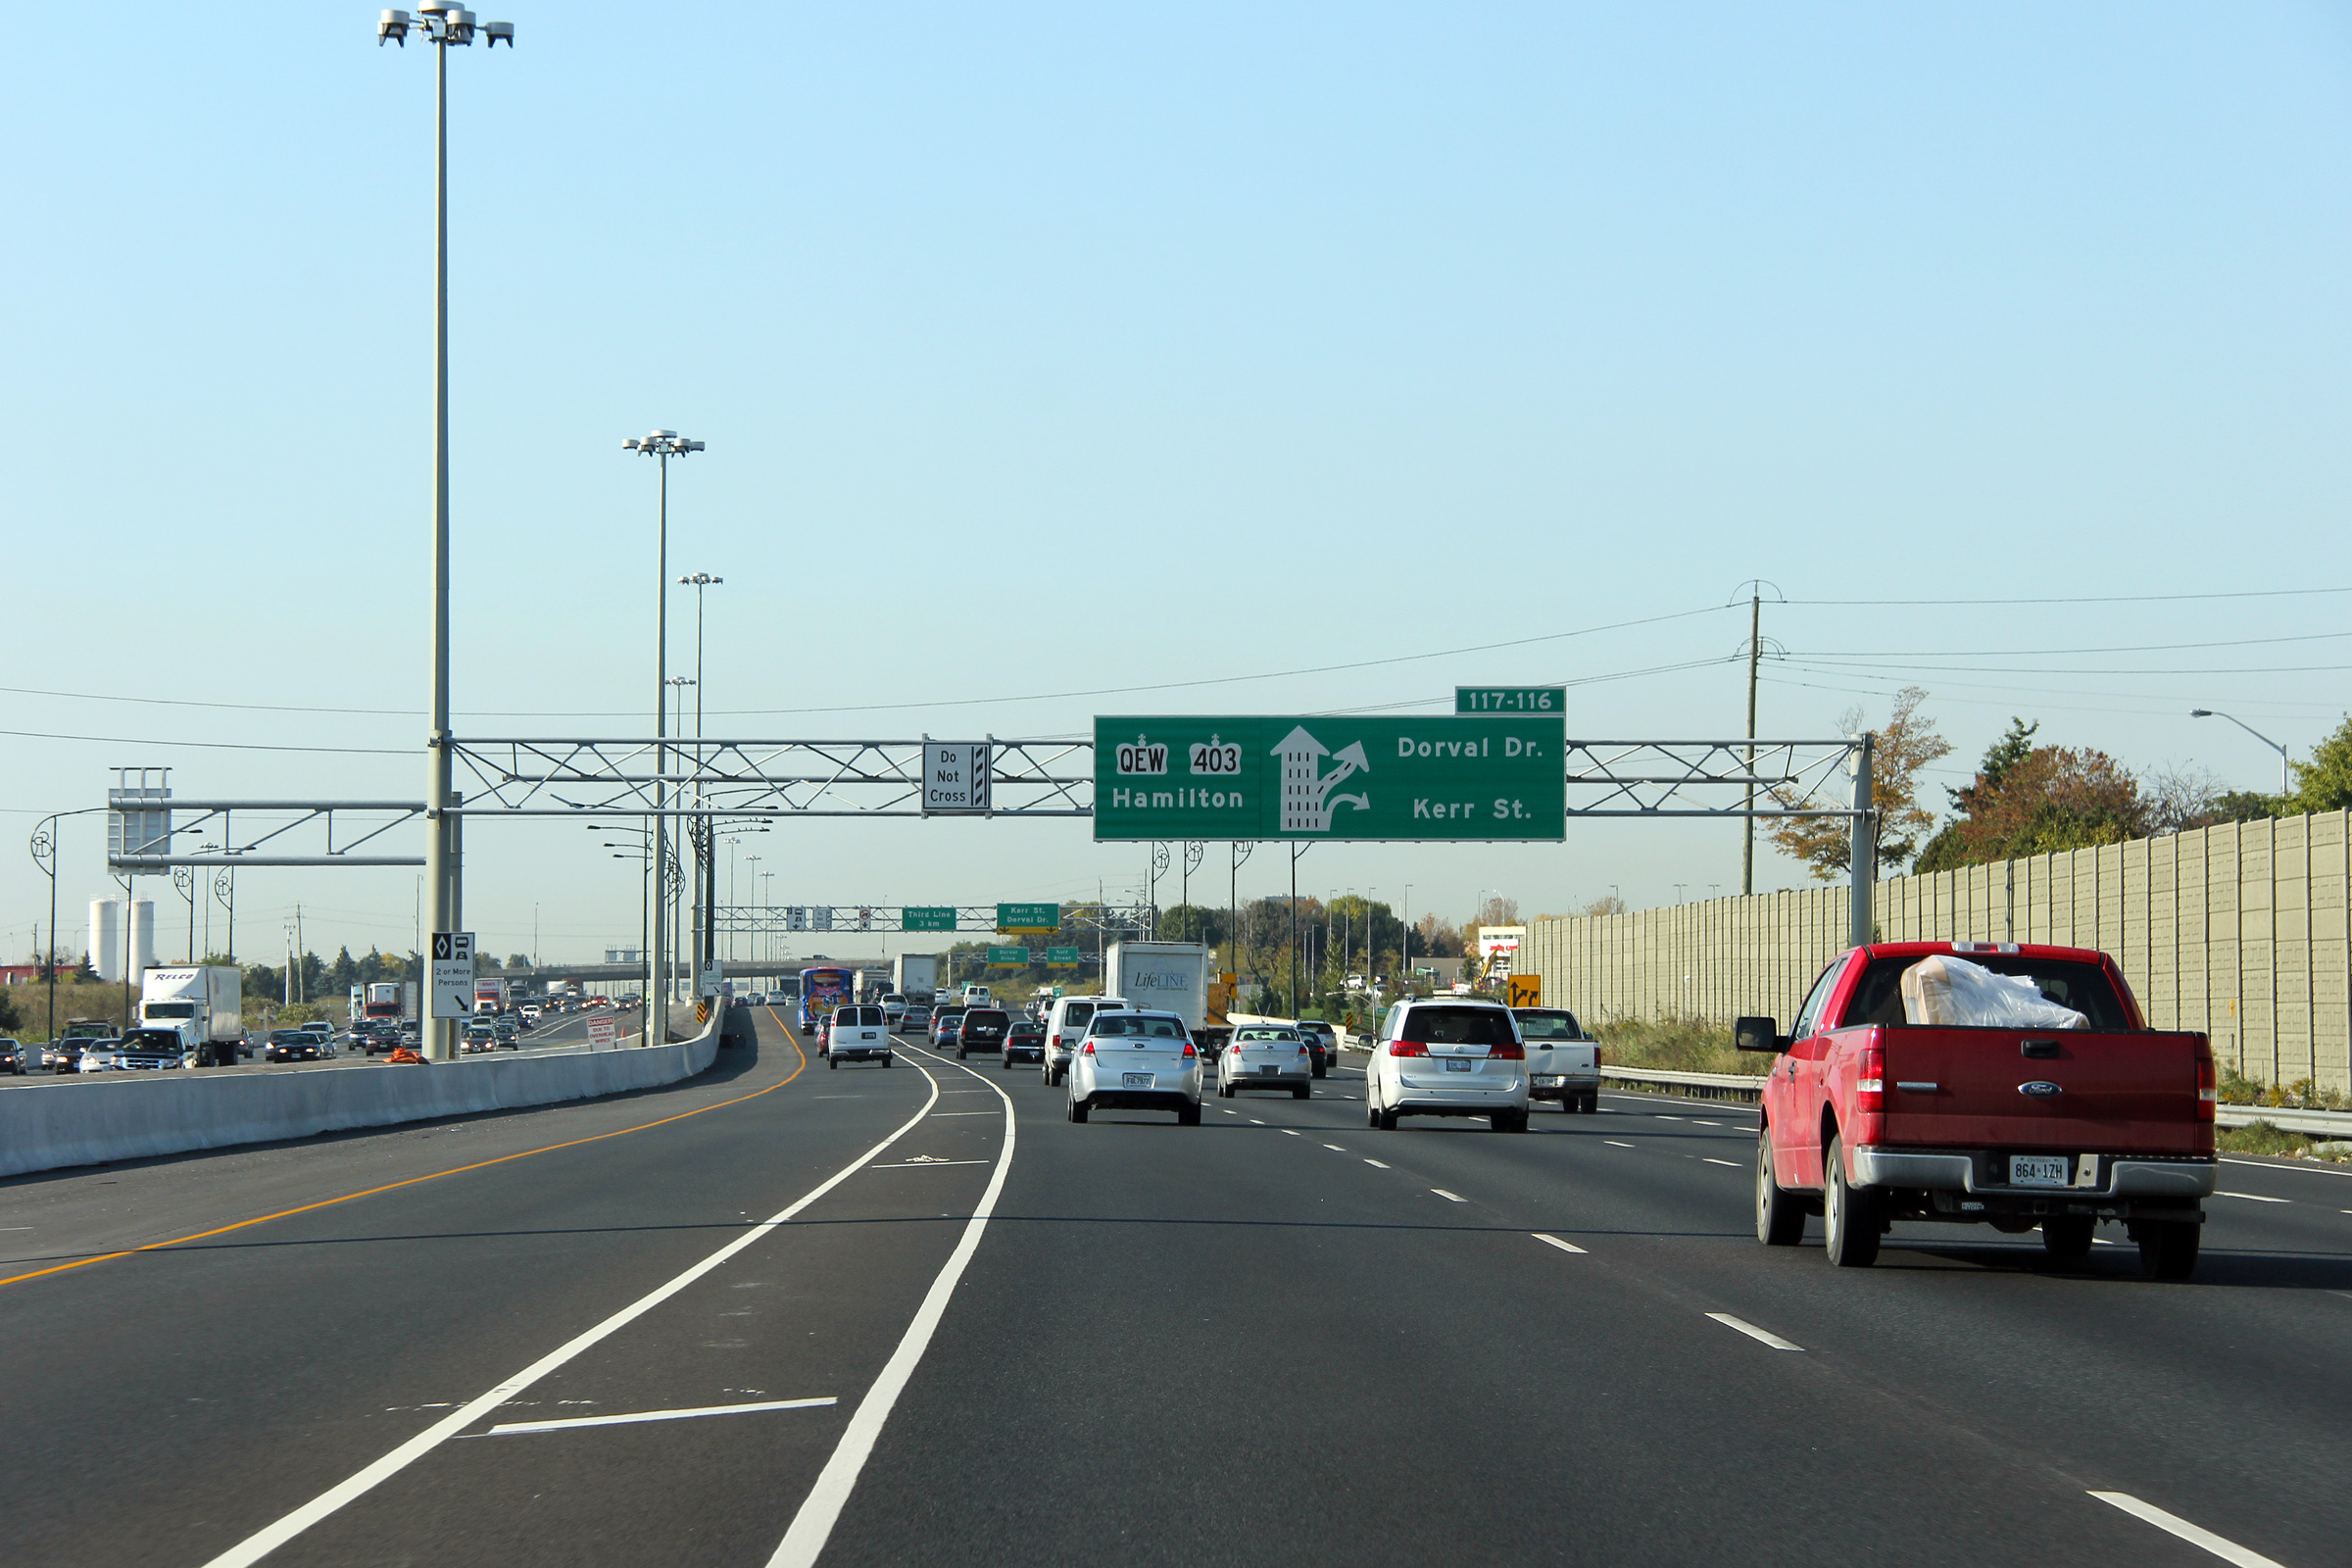
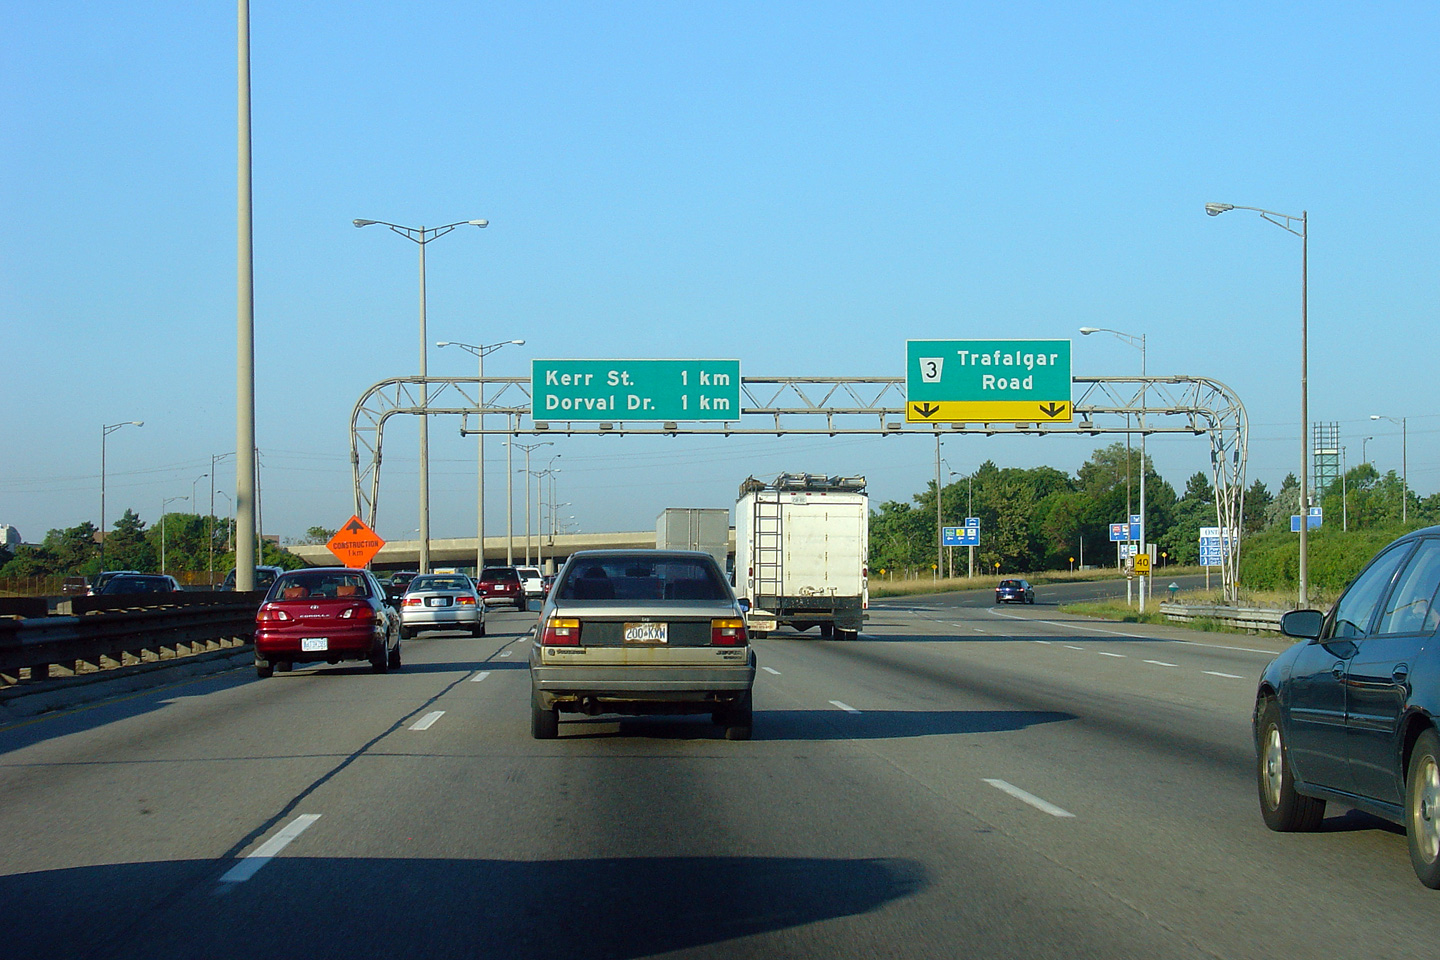
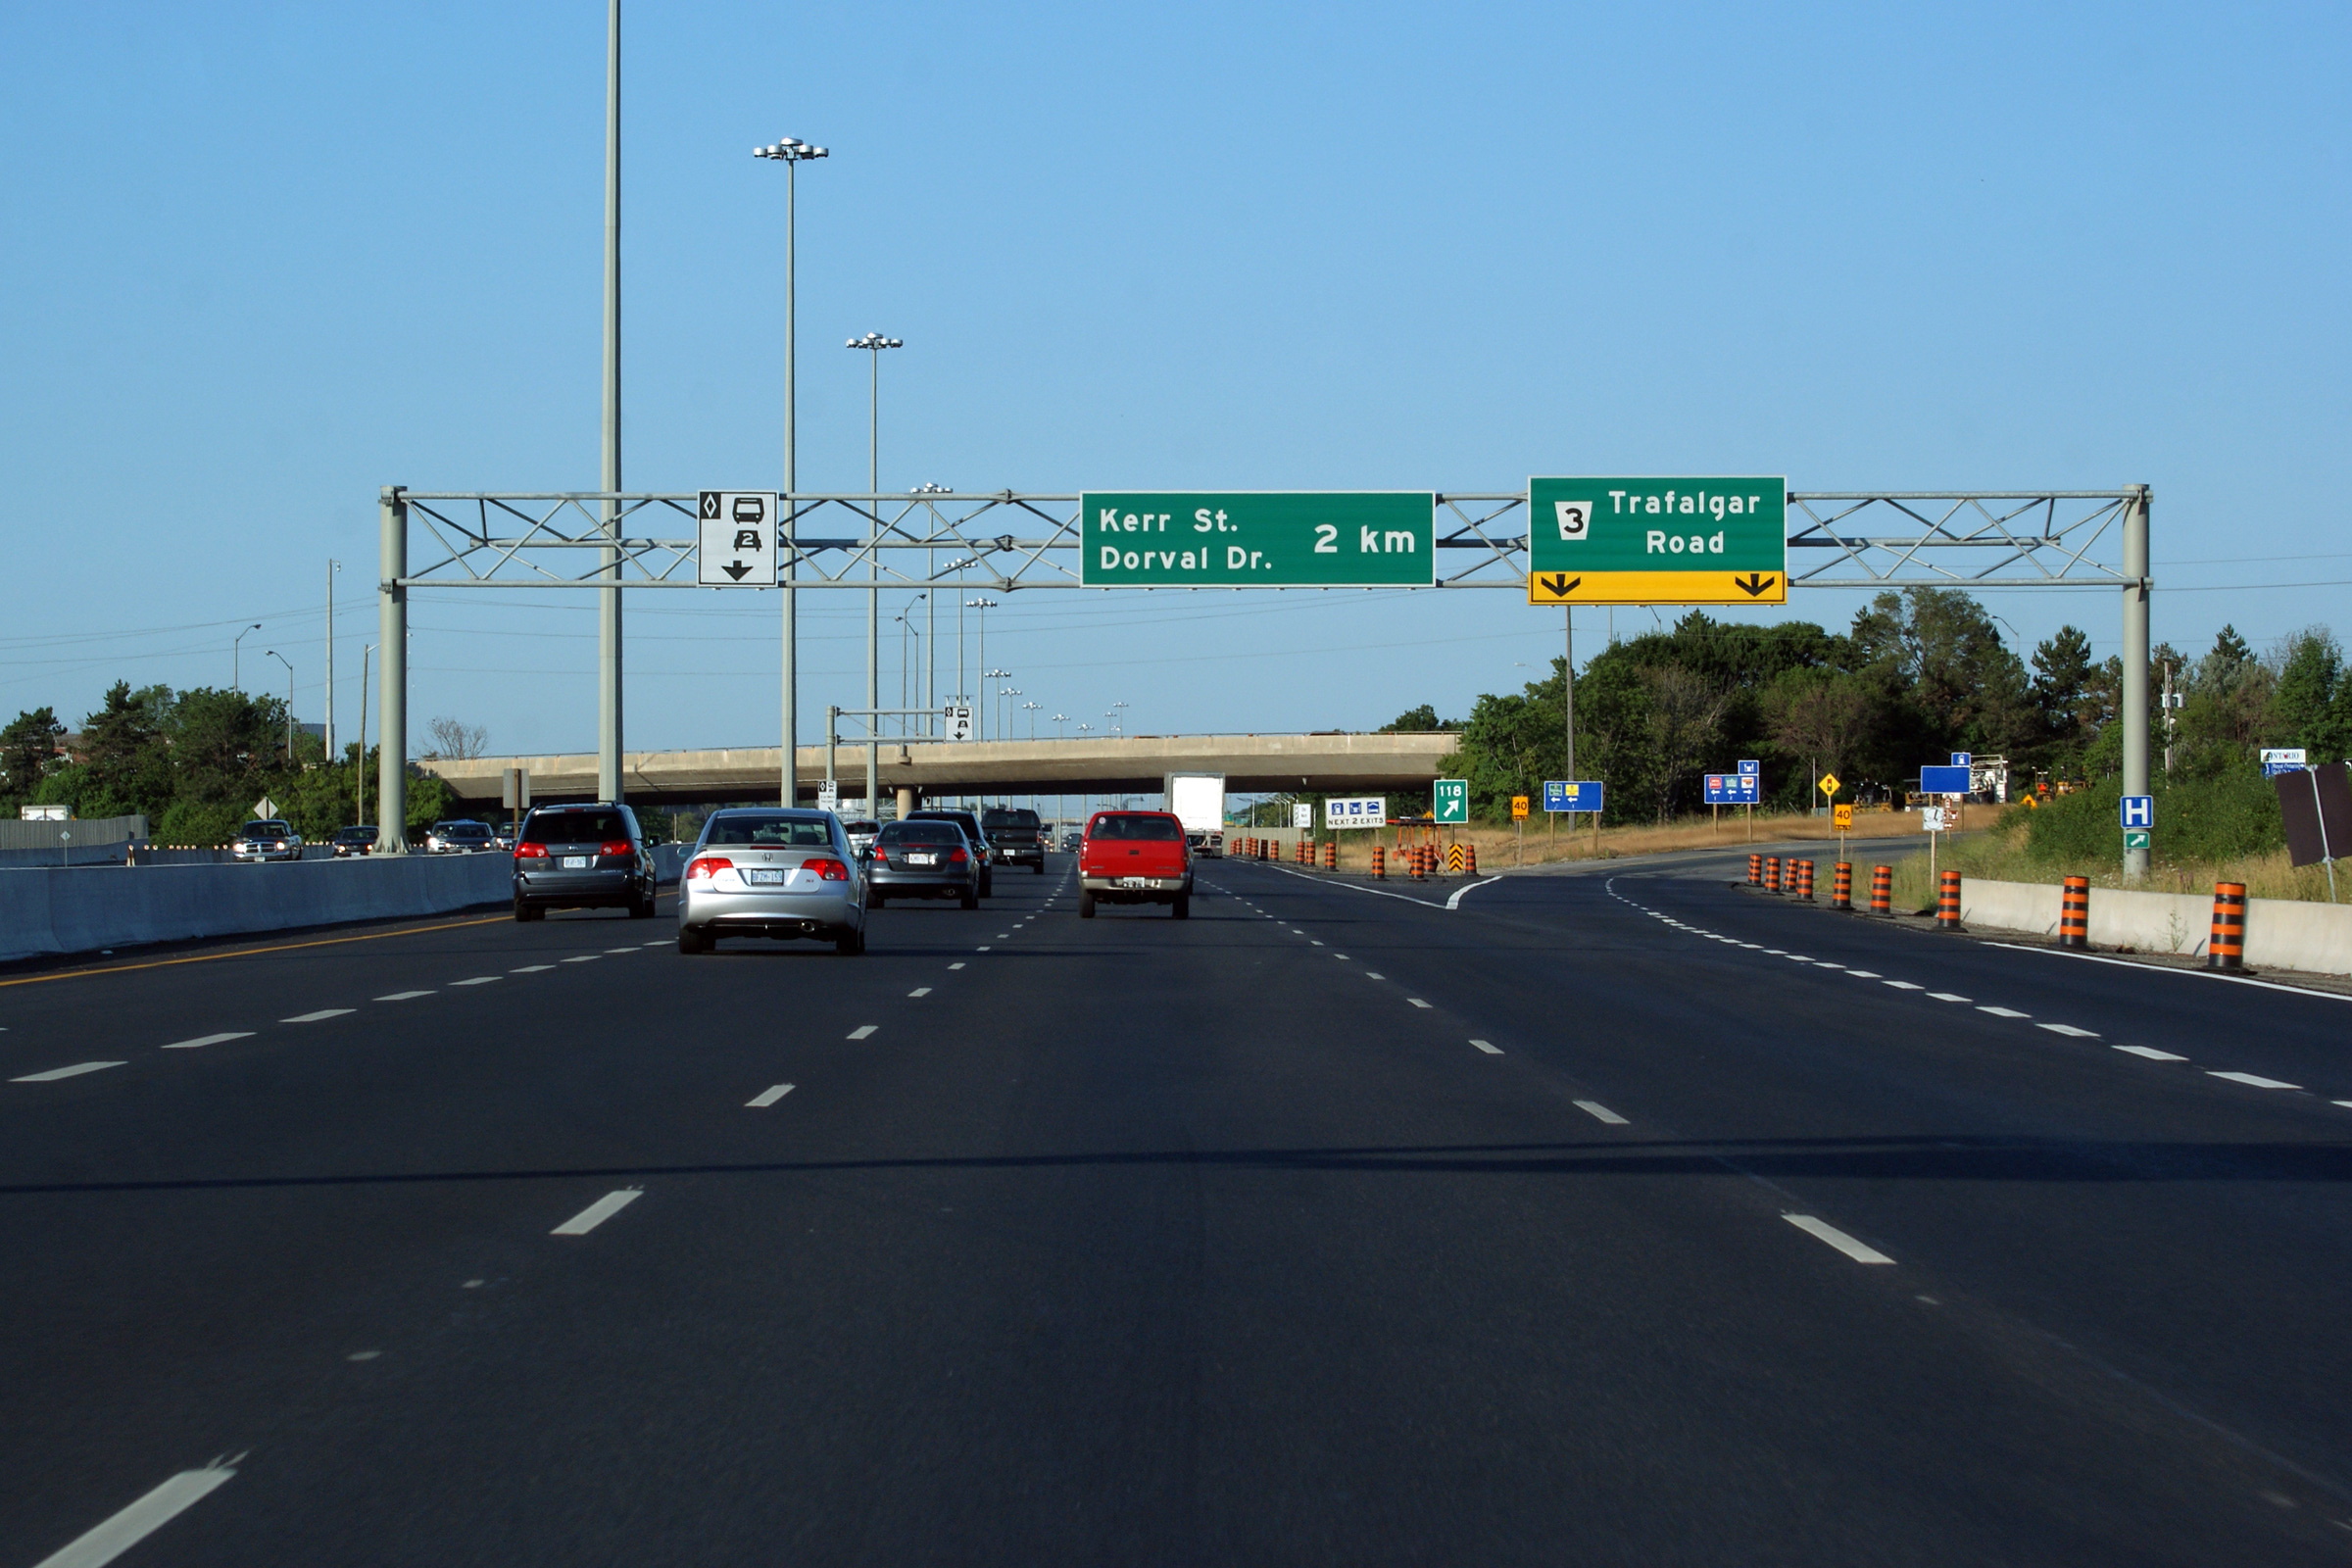
Advanced diagram sign for the Kerr Street and Dorval Drive interchanges.
Despite the consolidation of Kerr Street and Dorval Drive into a single exit
ramp, the newly erected (as of 2011) diagram sign still showed both exits as
having unique exit ramps from the freeway. Upper photo taken: May 2nd, 2007. Lower photo taken: October 11th, 2011. |
 (720x480) (720x480)(1440x960) (2400x1600) |
||
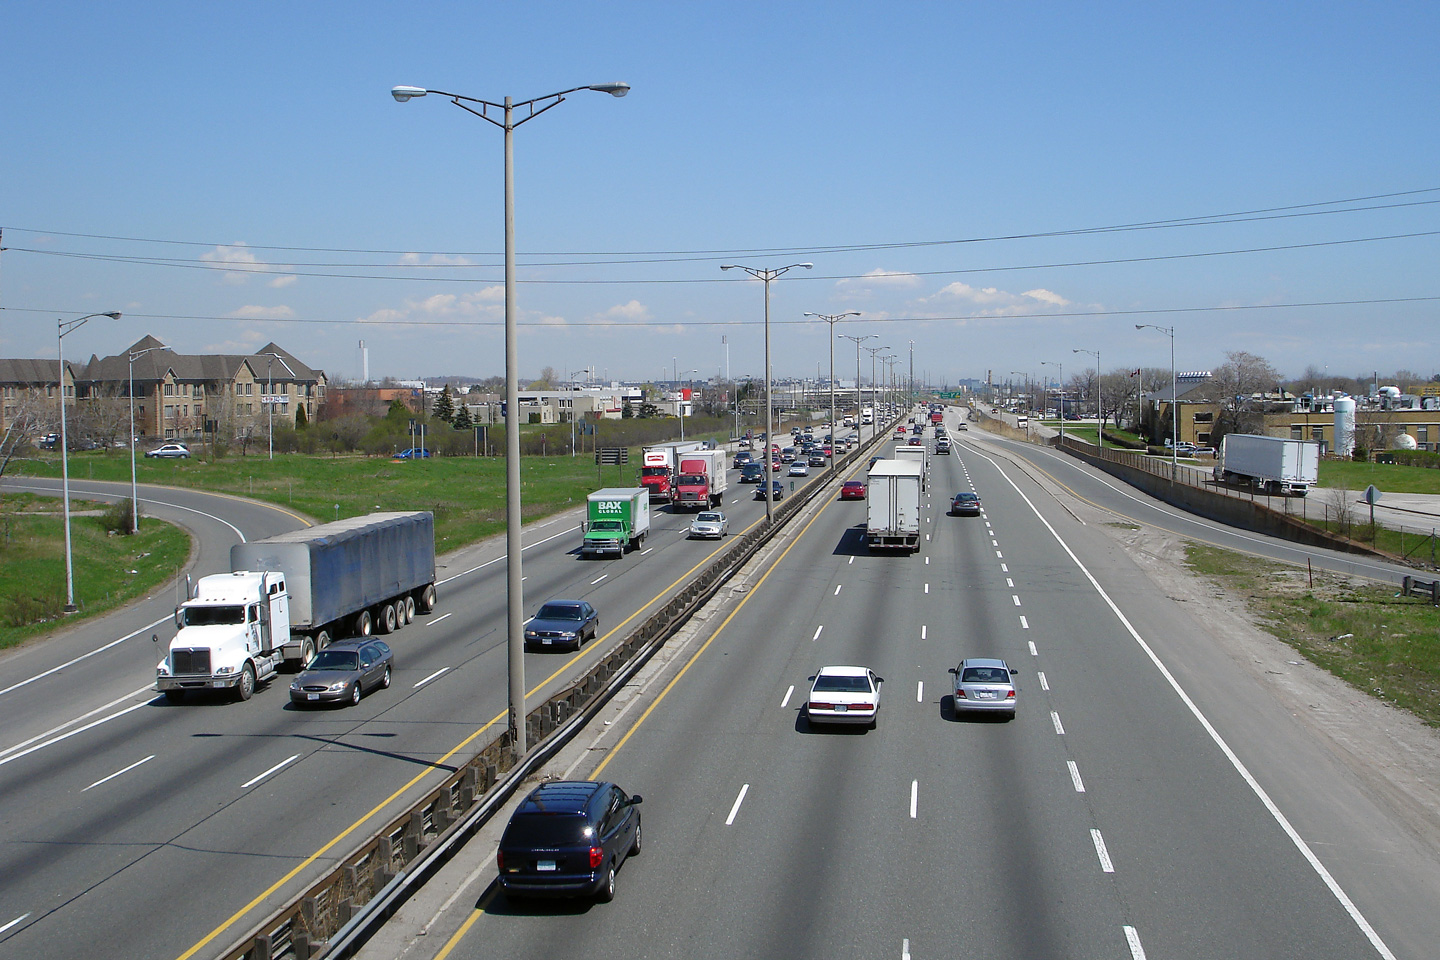
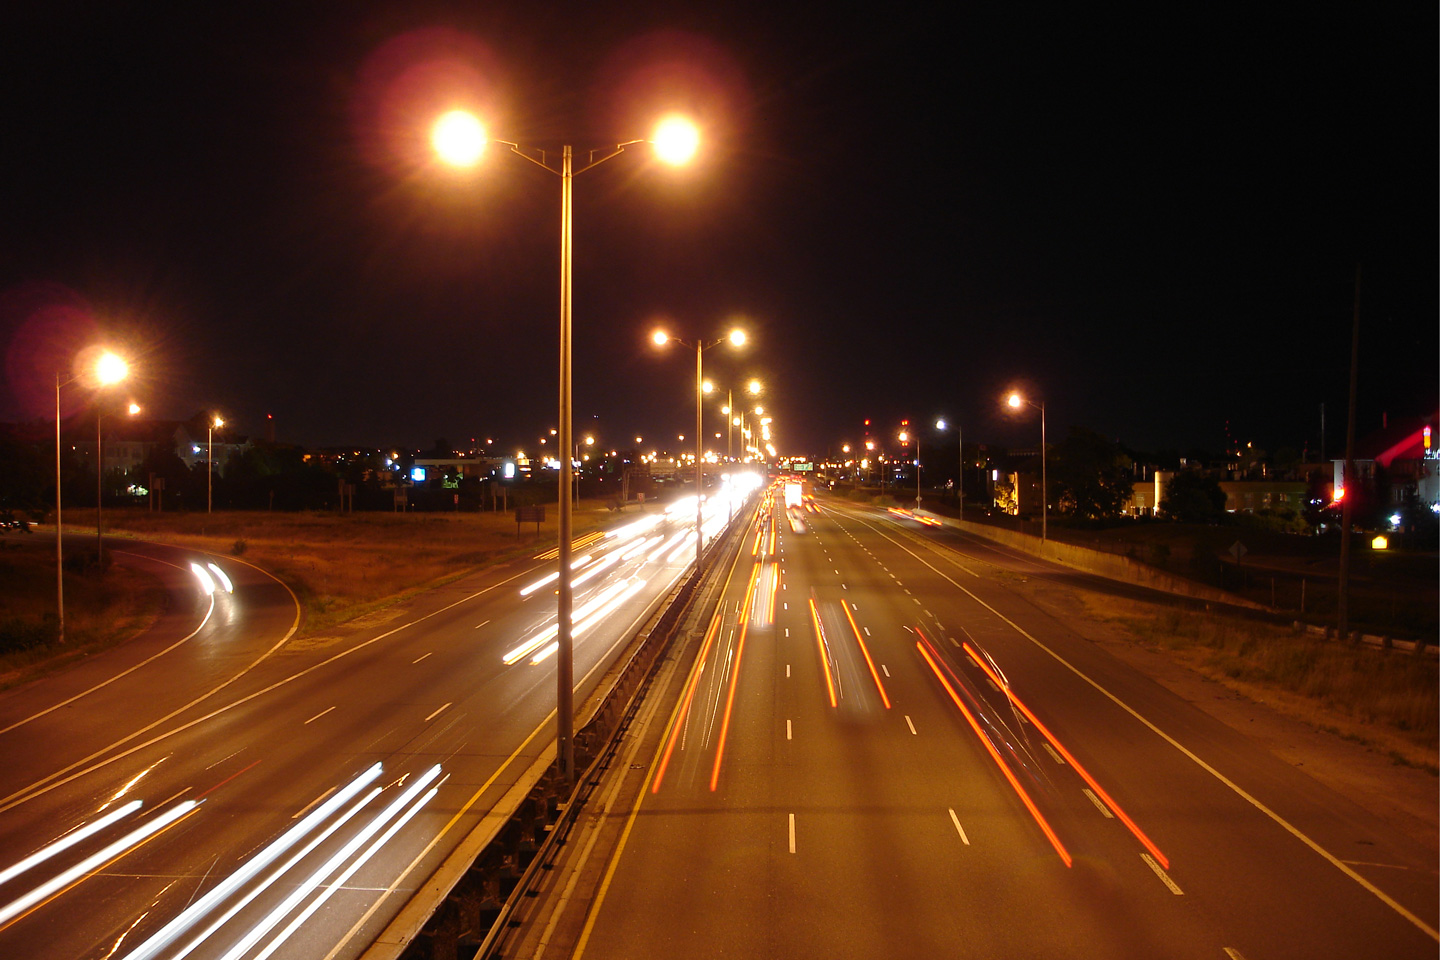
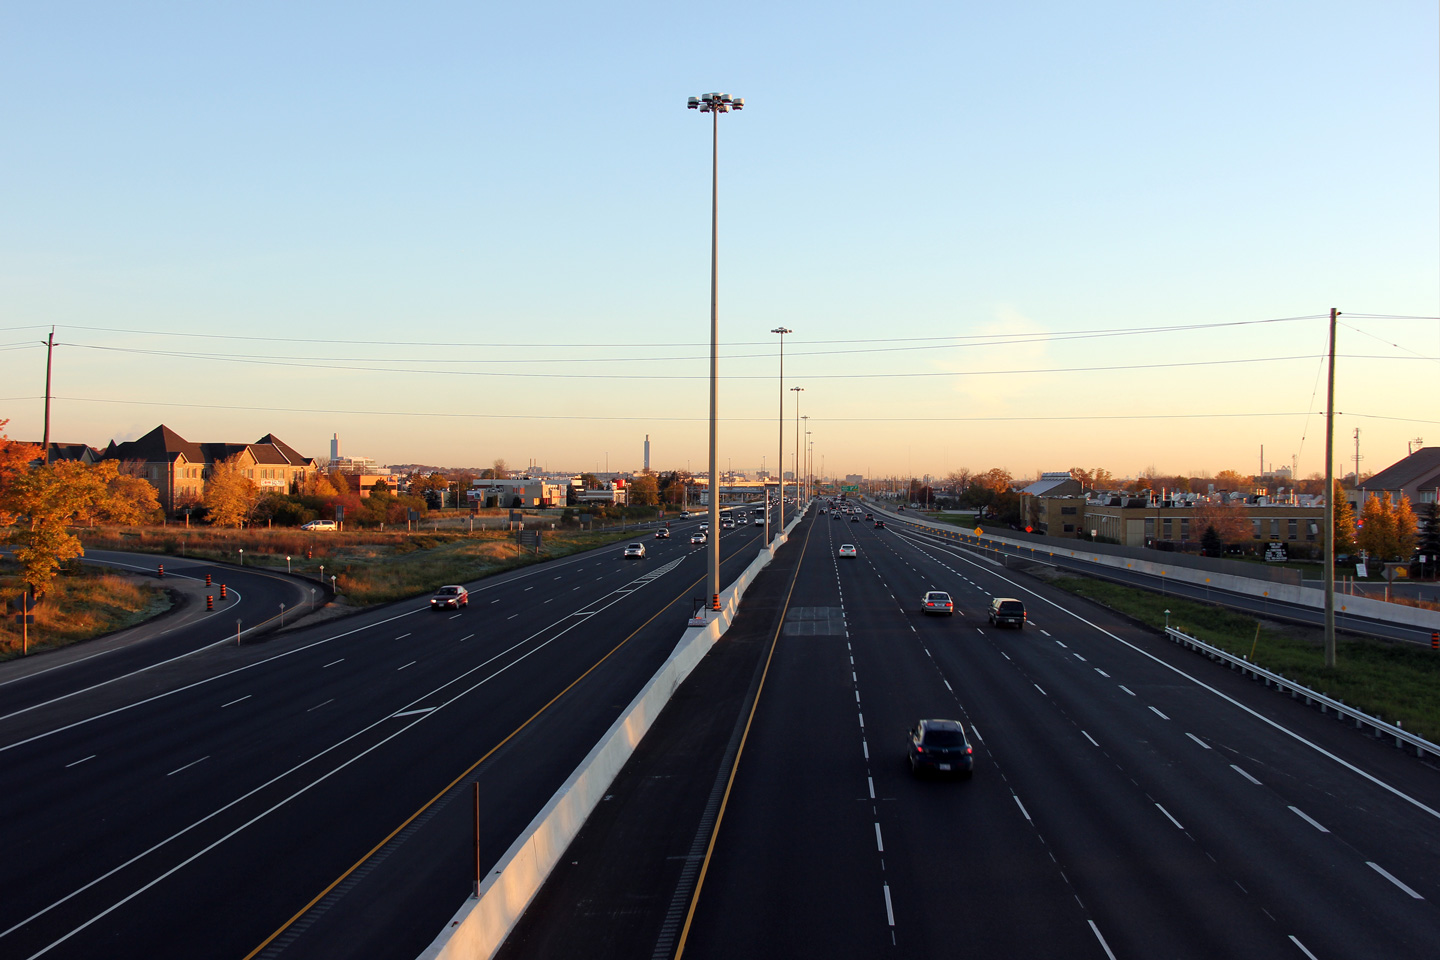
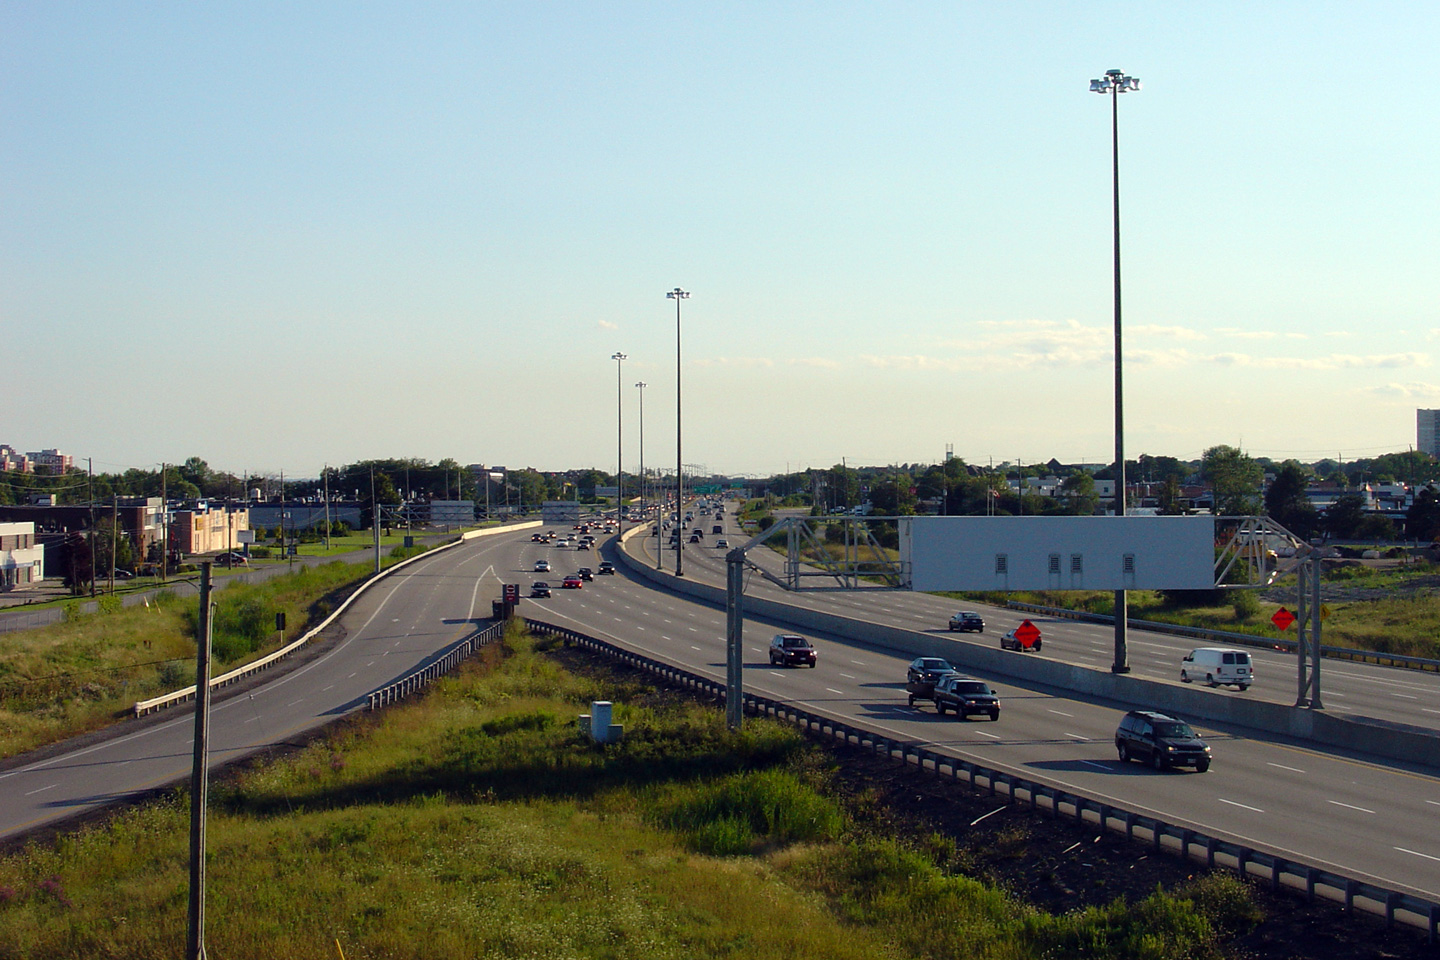
| Town of Oakville Regional Municipality of Halton |
The QEW/403 looking towards Hamilton from the Trafalgar Road overpass.
Prior to the HOV lane implementation, the section of freeway in the vicinity
of Trafalgar Road, still had a very vintage design. Prior to the
addition of HOV lanes, this part of the highway
highway had not seen a major rehabilitation since it was first 6-laned in
the 1960s. Upper photo taken: May 2nd, 2007. Middle photo taken: July 20th, 2007. Lower photo taken: November 5th, 2011. |
|
||
| Town of Oakville Regional Municipality of Halton |
Looking towards Toronto along the QEW/403 from the
Trafalgar Road overpass. Upper photo taken: May 2nd, 2007. Middle photo taken: July 20th, 2007. Lower photo taken: November 5th, 2011. |
 |
||
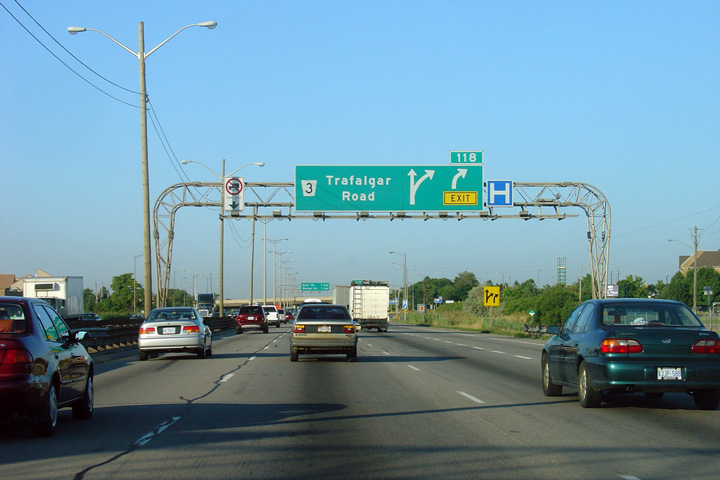
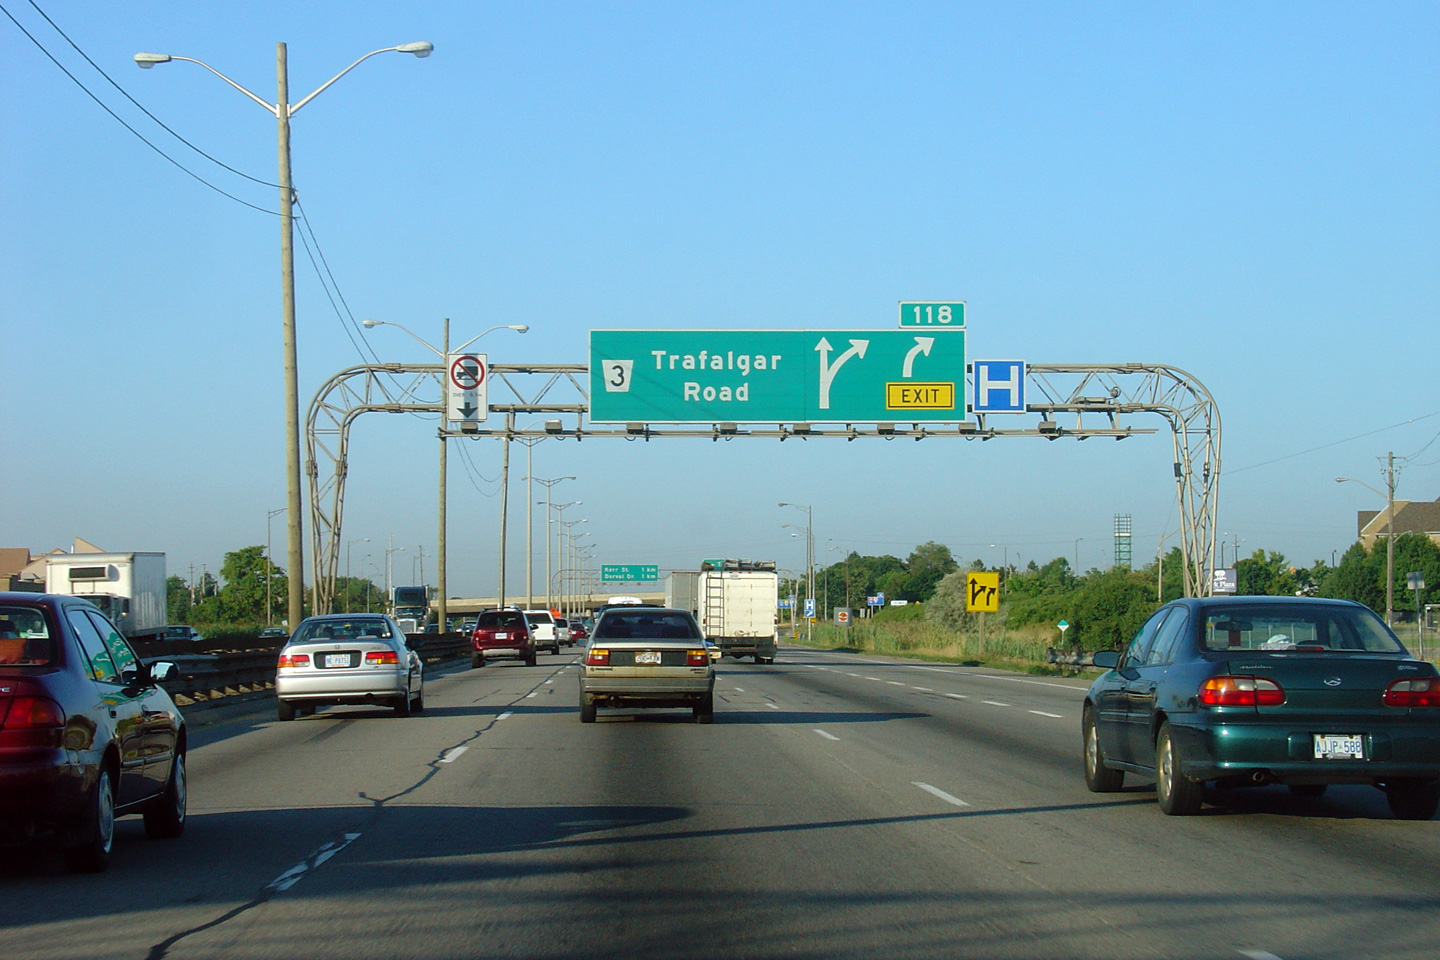
| Town of Oakville Regional Municipality of Halton |
Overhead signage for the Trafalgar Road interchange. Upper photo taken: July 30th, 2007. Lower photo taken: July 30th, 2011. |
|
||
| Town of Oakville Regional Municipality of Halton |
The fourth Hamilton-bound (general purpose) lane defaults off at the Trafalgar Road
interchange. Upper photo taken: July 30th, 2007. Lower photo taken: July 30th, 2011. |
|
||
| Town of Oakville Regional Municipality of Halton |
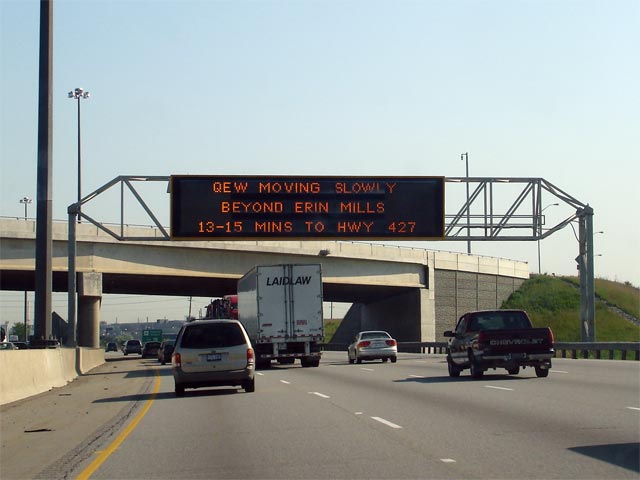
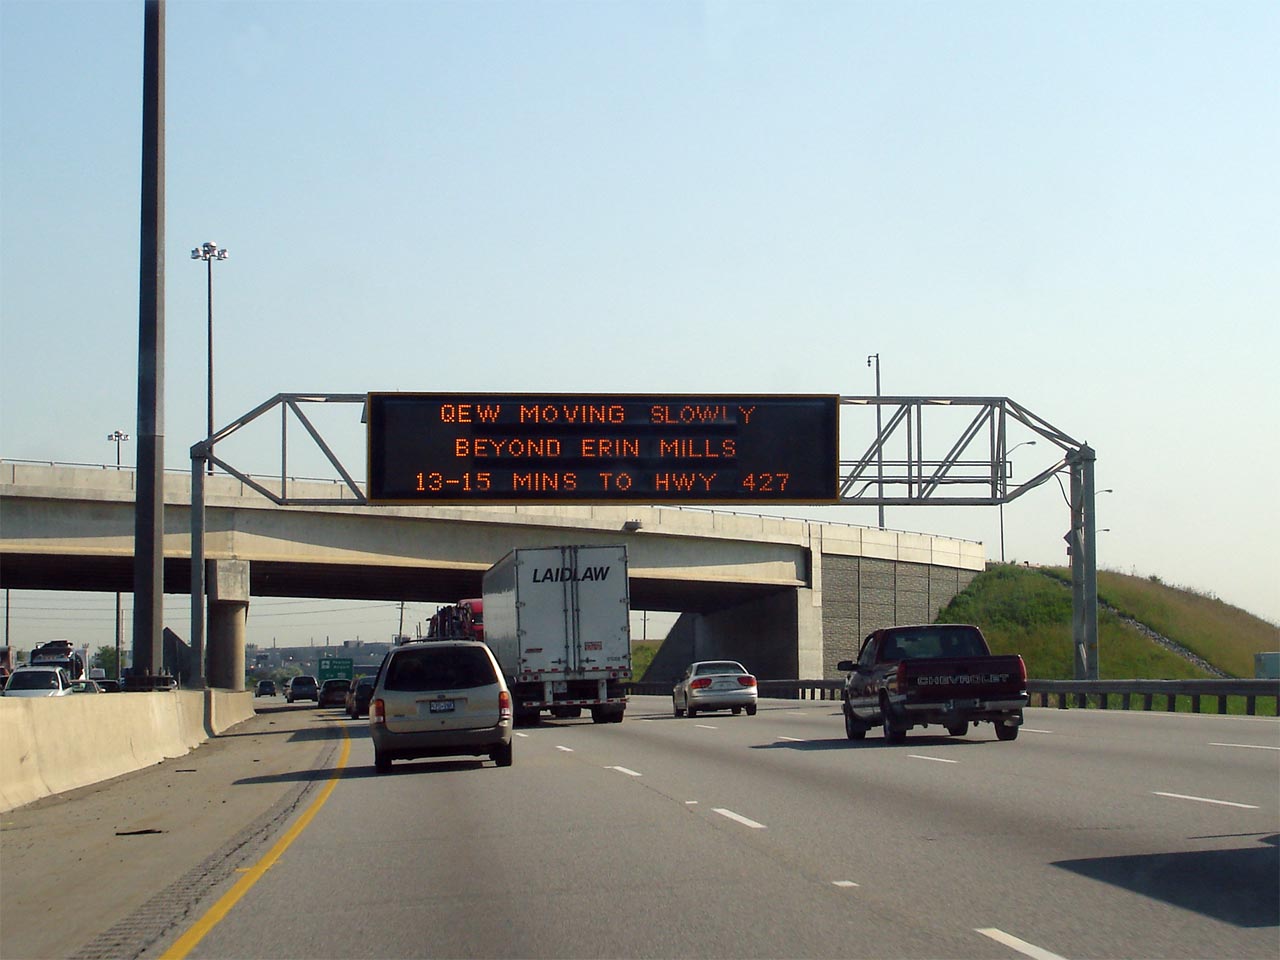
Changeable message sign located at the Royal Windsor Drive overpass.
Note the travel time estimates displayed on this sign. Travel time to
Highway 427 is displayed on this sign alone
during the morning rush hour. Travel time estimates are not given on
any other changeable message signs in Ontario. Photo taken: May 30th, 2007. |
 |
||
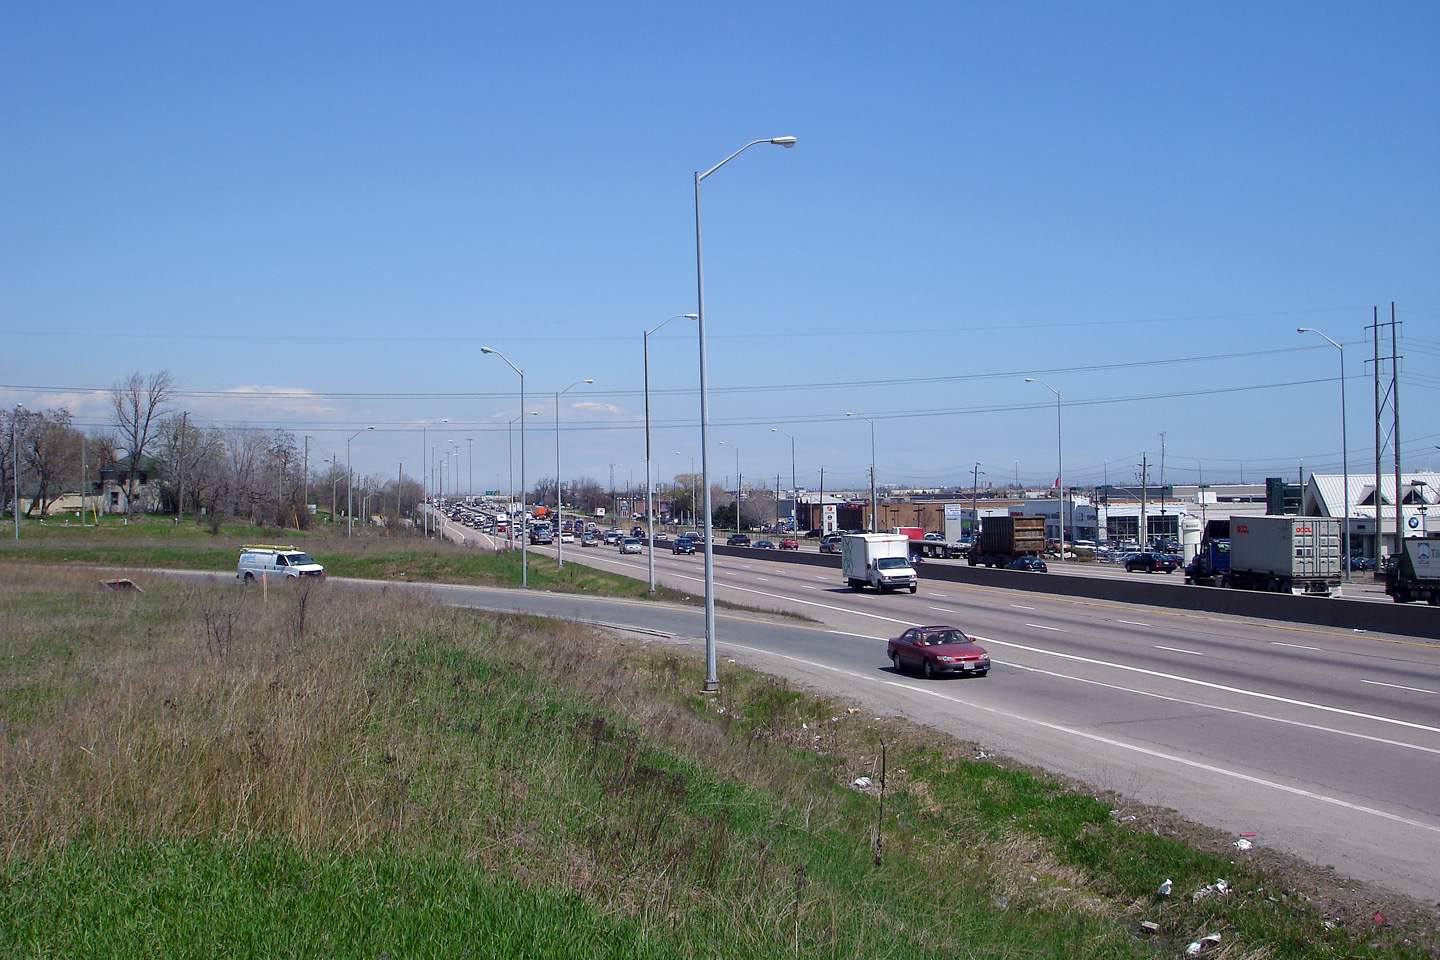
| Town of Oakville Regional Municipality of Halton |
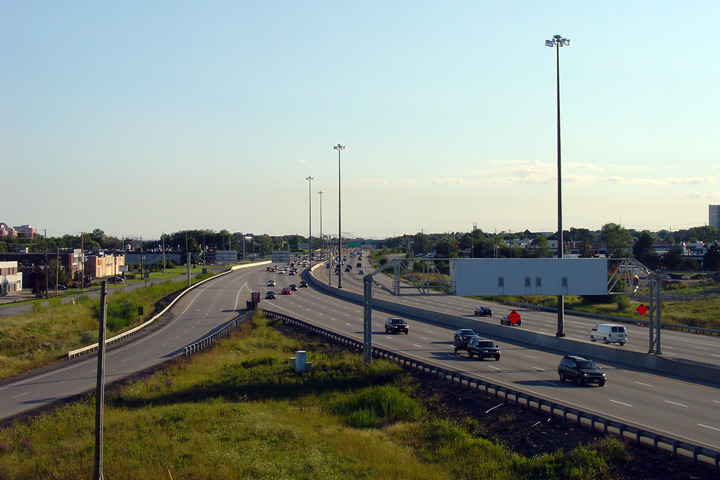
Two views looking towards Hamilton from the Royal Windsor Drive overpass.
Finishing in 2001, the QEW was reconstructed and widened from six to eight lanes
through the Royal Windsor Drive interchange. This was the
first major contract completed as part of the long term plan to construct an
additional lane along the QEW through Oakville and Burlington. Photos taken: August 12th, 2006. |
 (720x480) (1440x960) 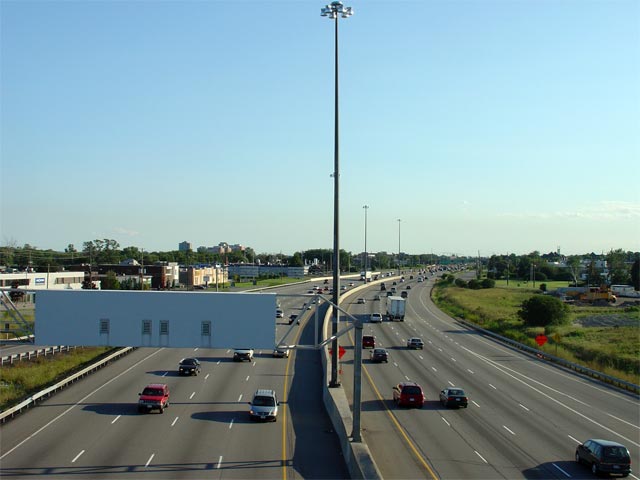 (720x480) (1440x960) |
||
| Town of Oakville Regional Municipality of Halton |
View looking easterly from the Royal Windsor Drive overpass along the QEW/403. Photo taken: August 12th, 2006. |
 (720x480) (1440x960) |
||
| Town of Oakville Regional Municipality of Halton |
Looking east from just east of Royal Windsor Drive towards the eastern
QEW/403 interchange. Photo taken: August 12th, 2006. |
 (720x480) (1440x960) |
||
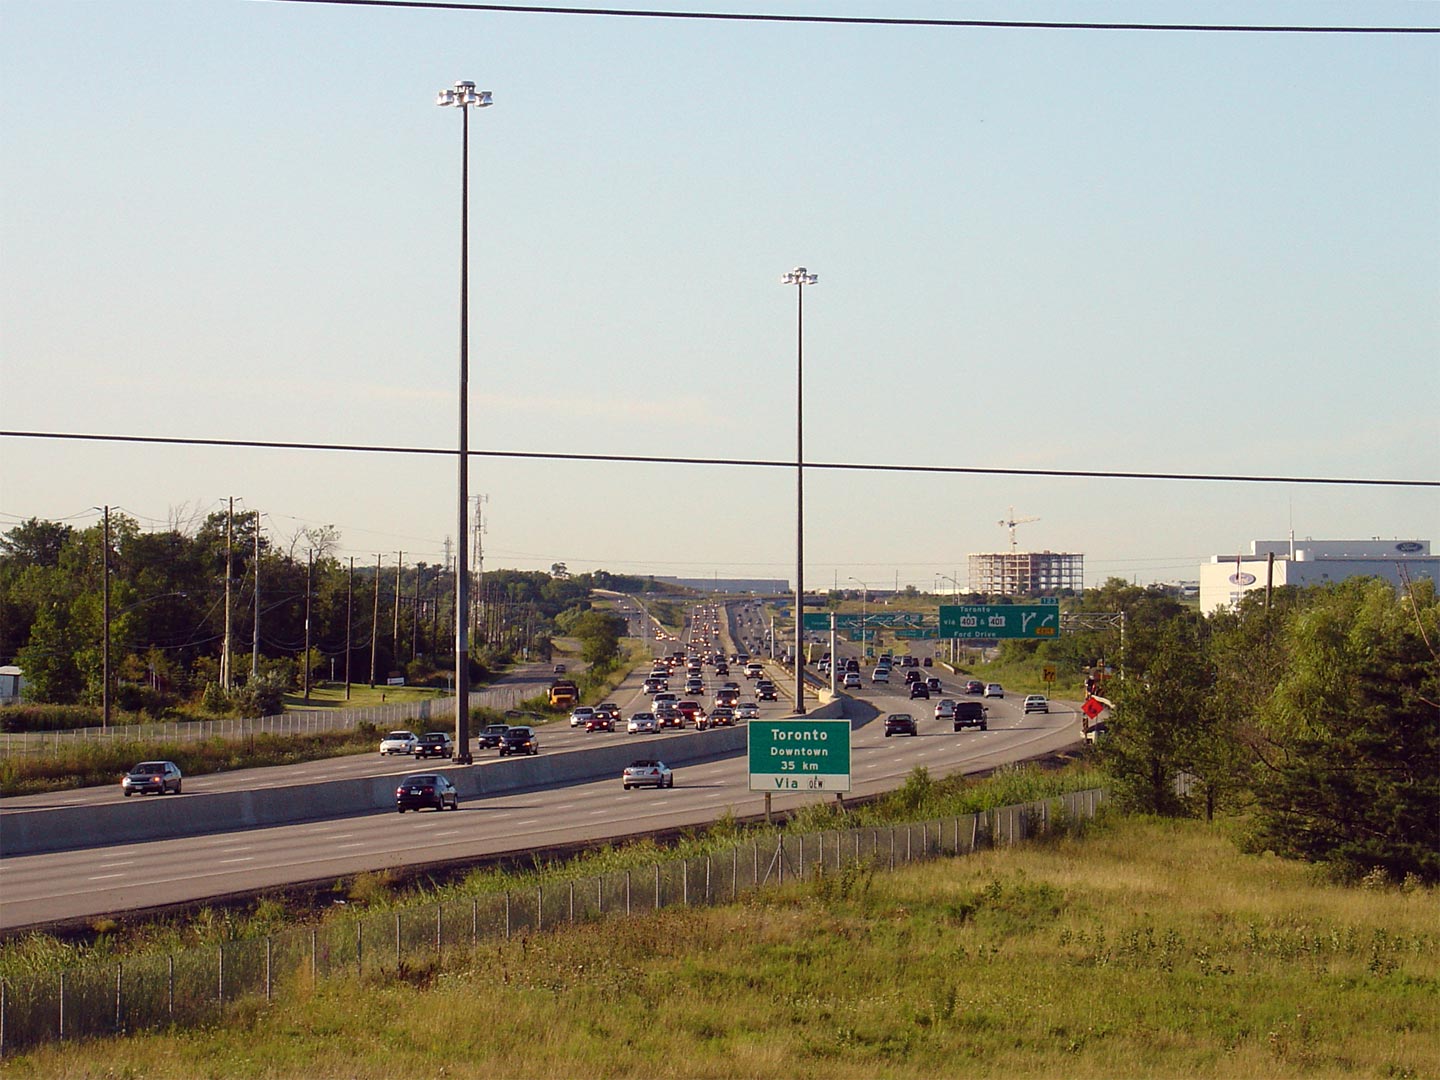
| Town of Oakville Regional Municipality of Halton |
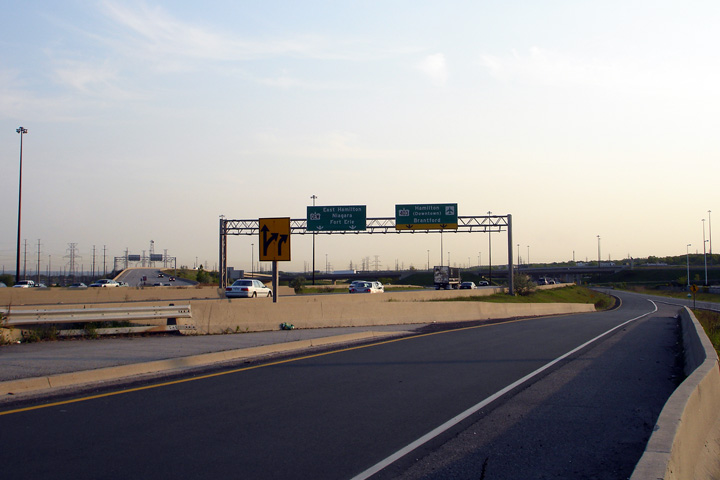
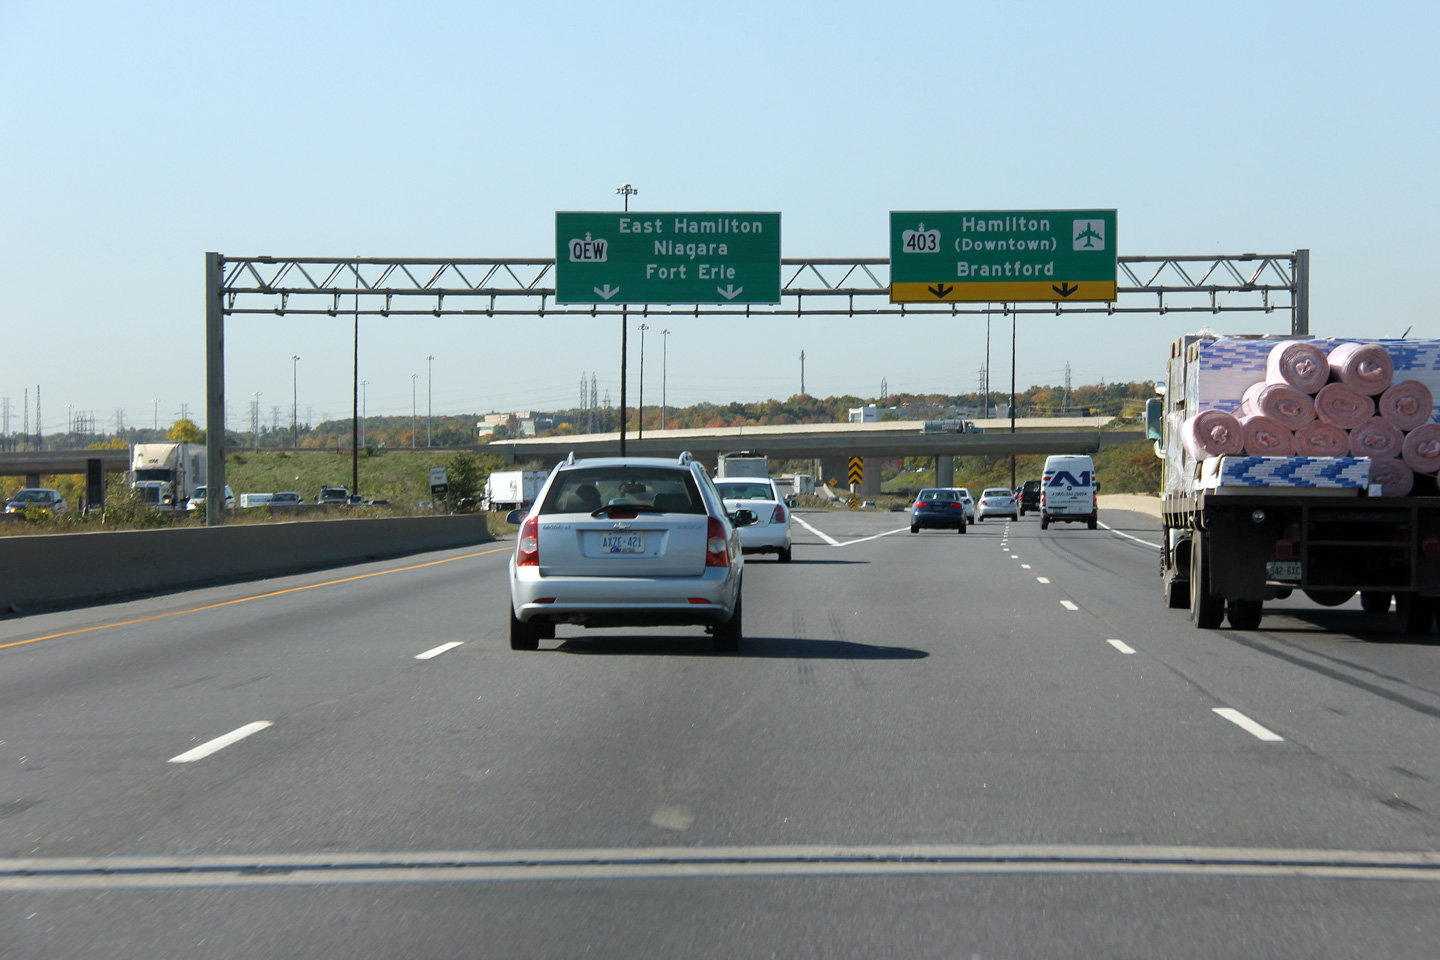
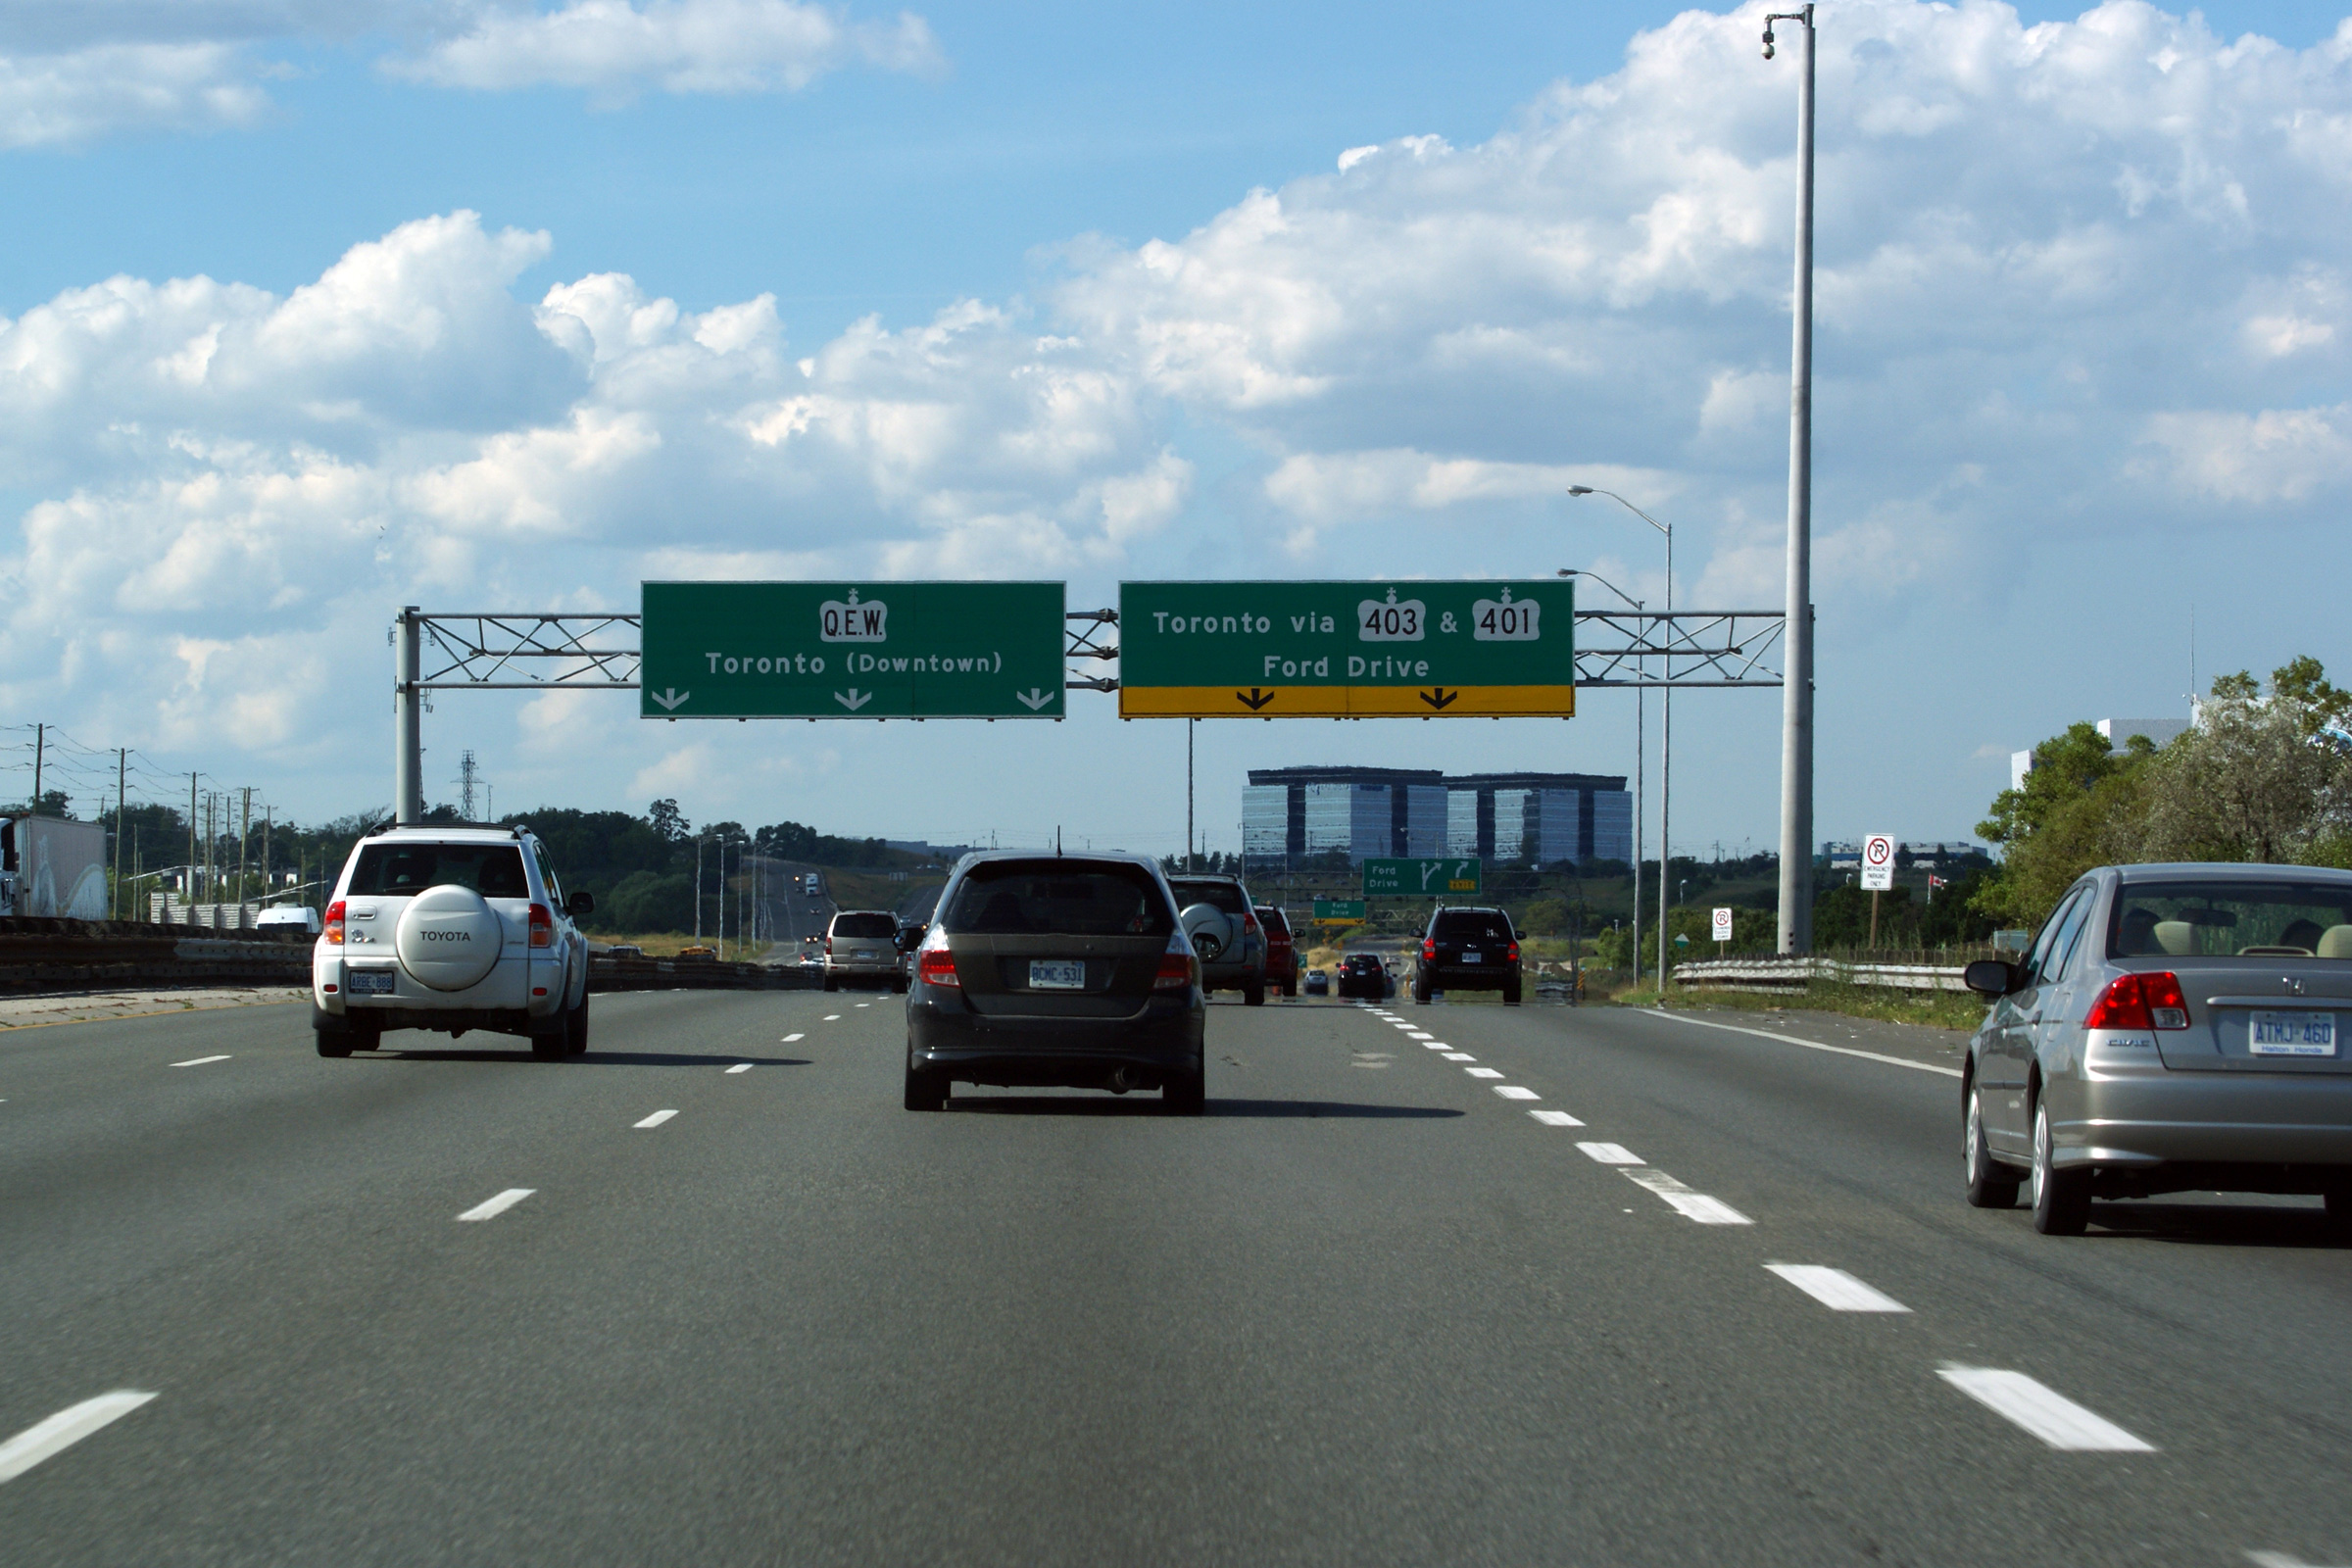
Advanced signage for the eastern Highway QEW/403
split. Traffic bound for Toronto, and Pearson International Airport is
directed along the 403 through Mississauga instead of the more direct route
via the QEW. Presumably, the
403 is suggested to
minimize traffic volumes along the often congested QEW through southern Mississauga. Photo taken: July 30th, 2011. |
 (720x480) (720x480)(1440x960) (2400x1600) |
||
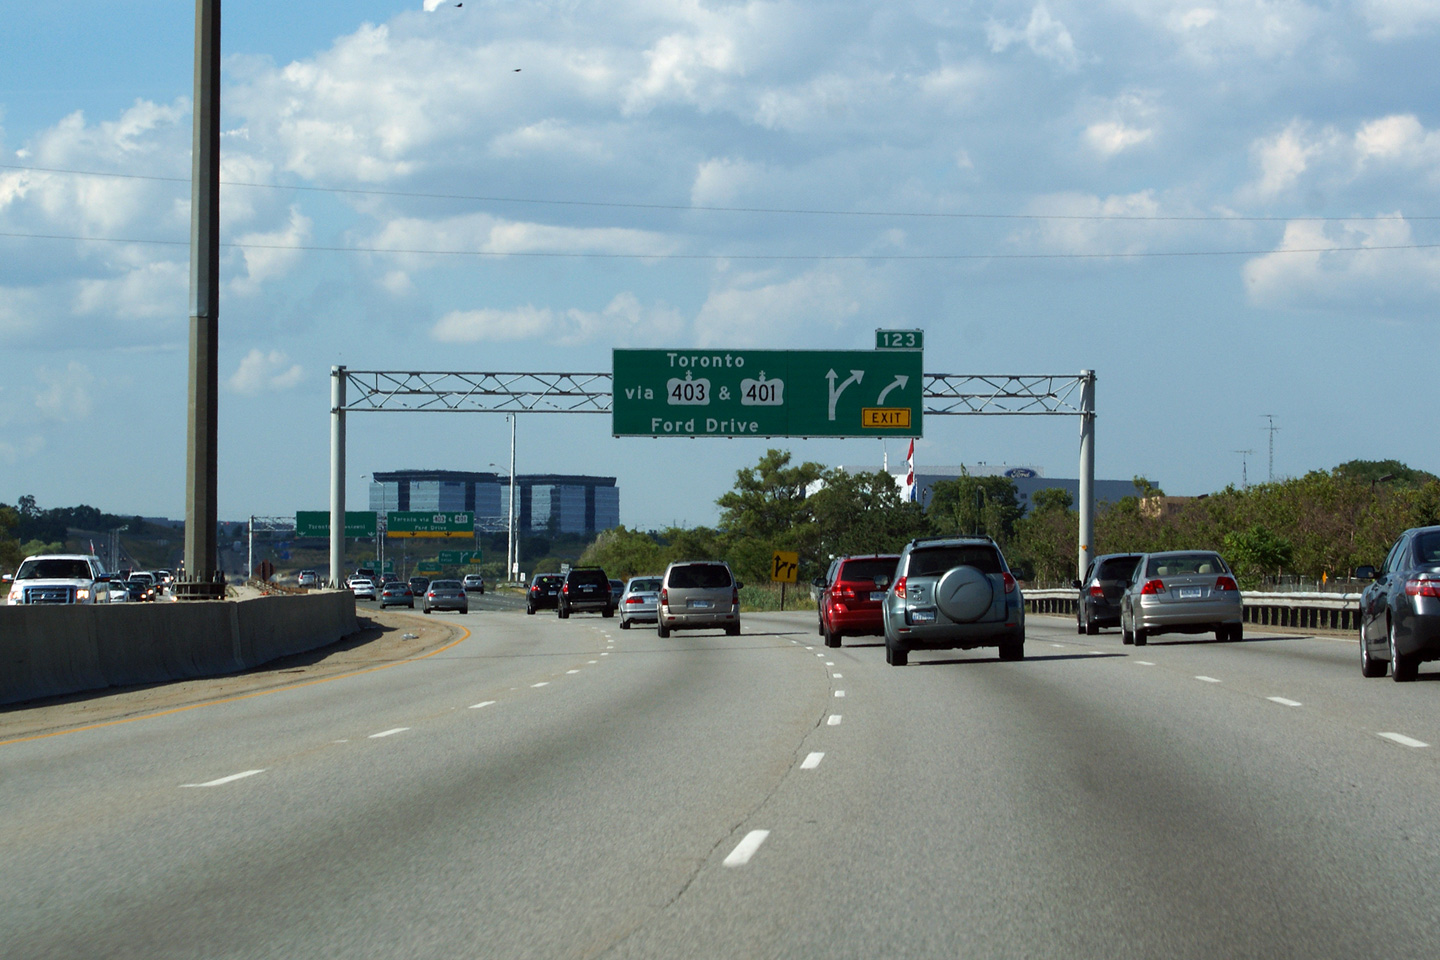
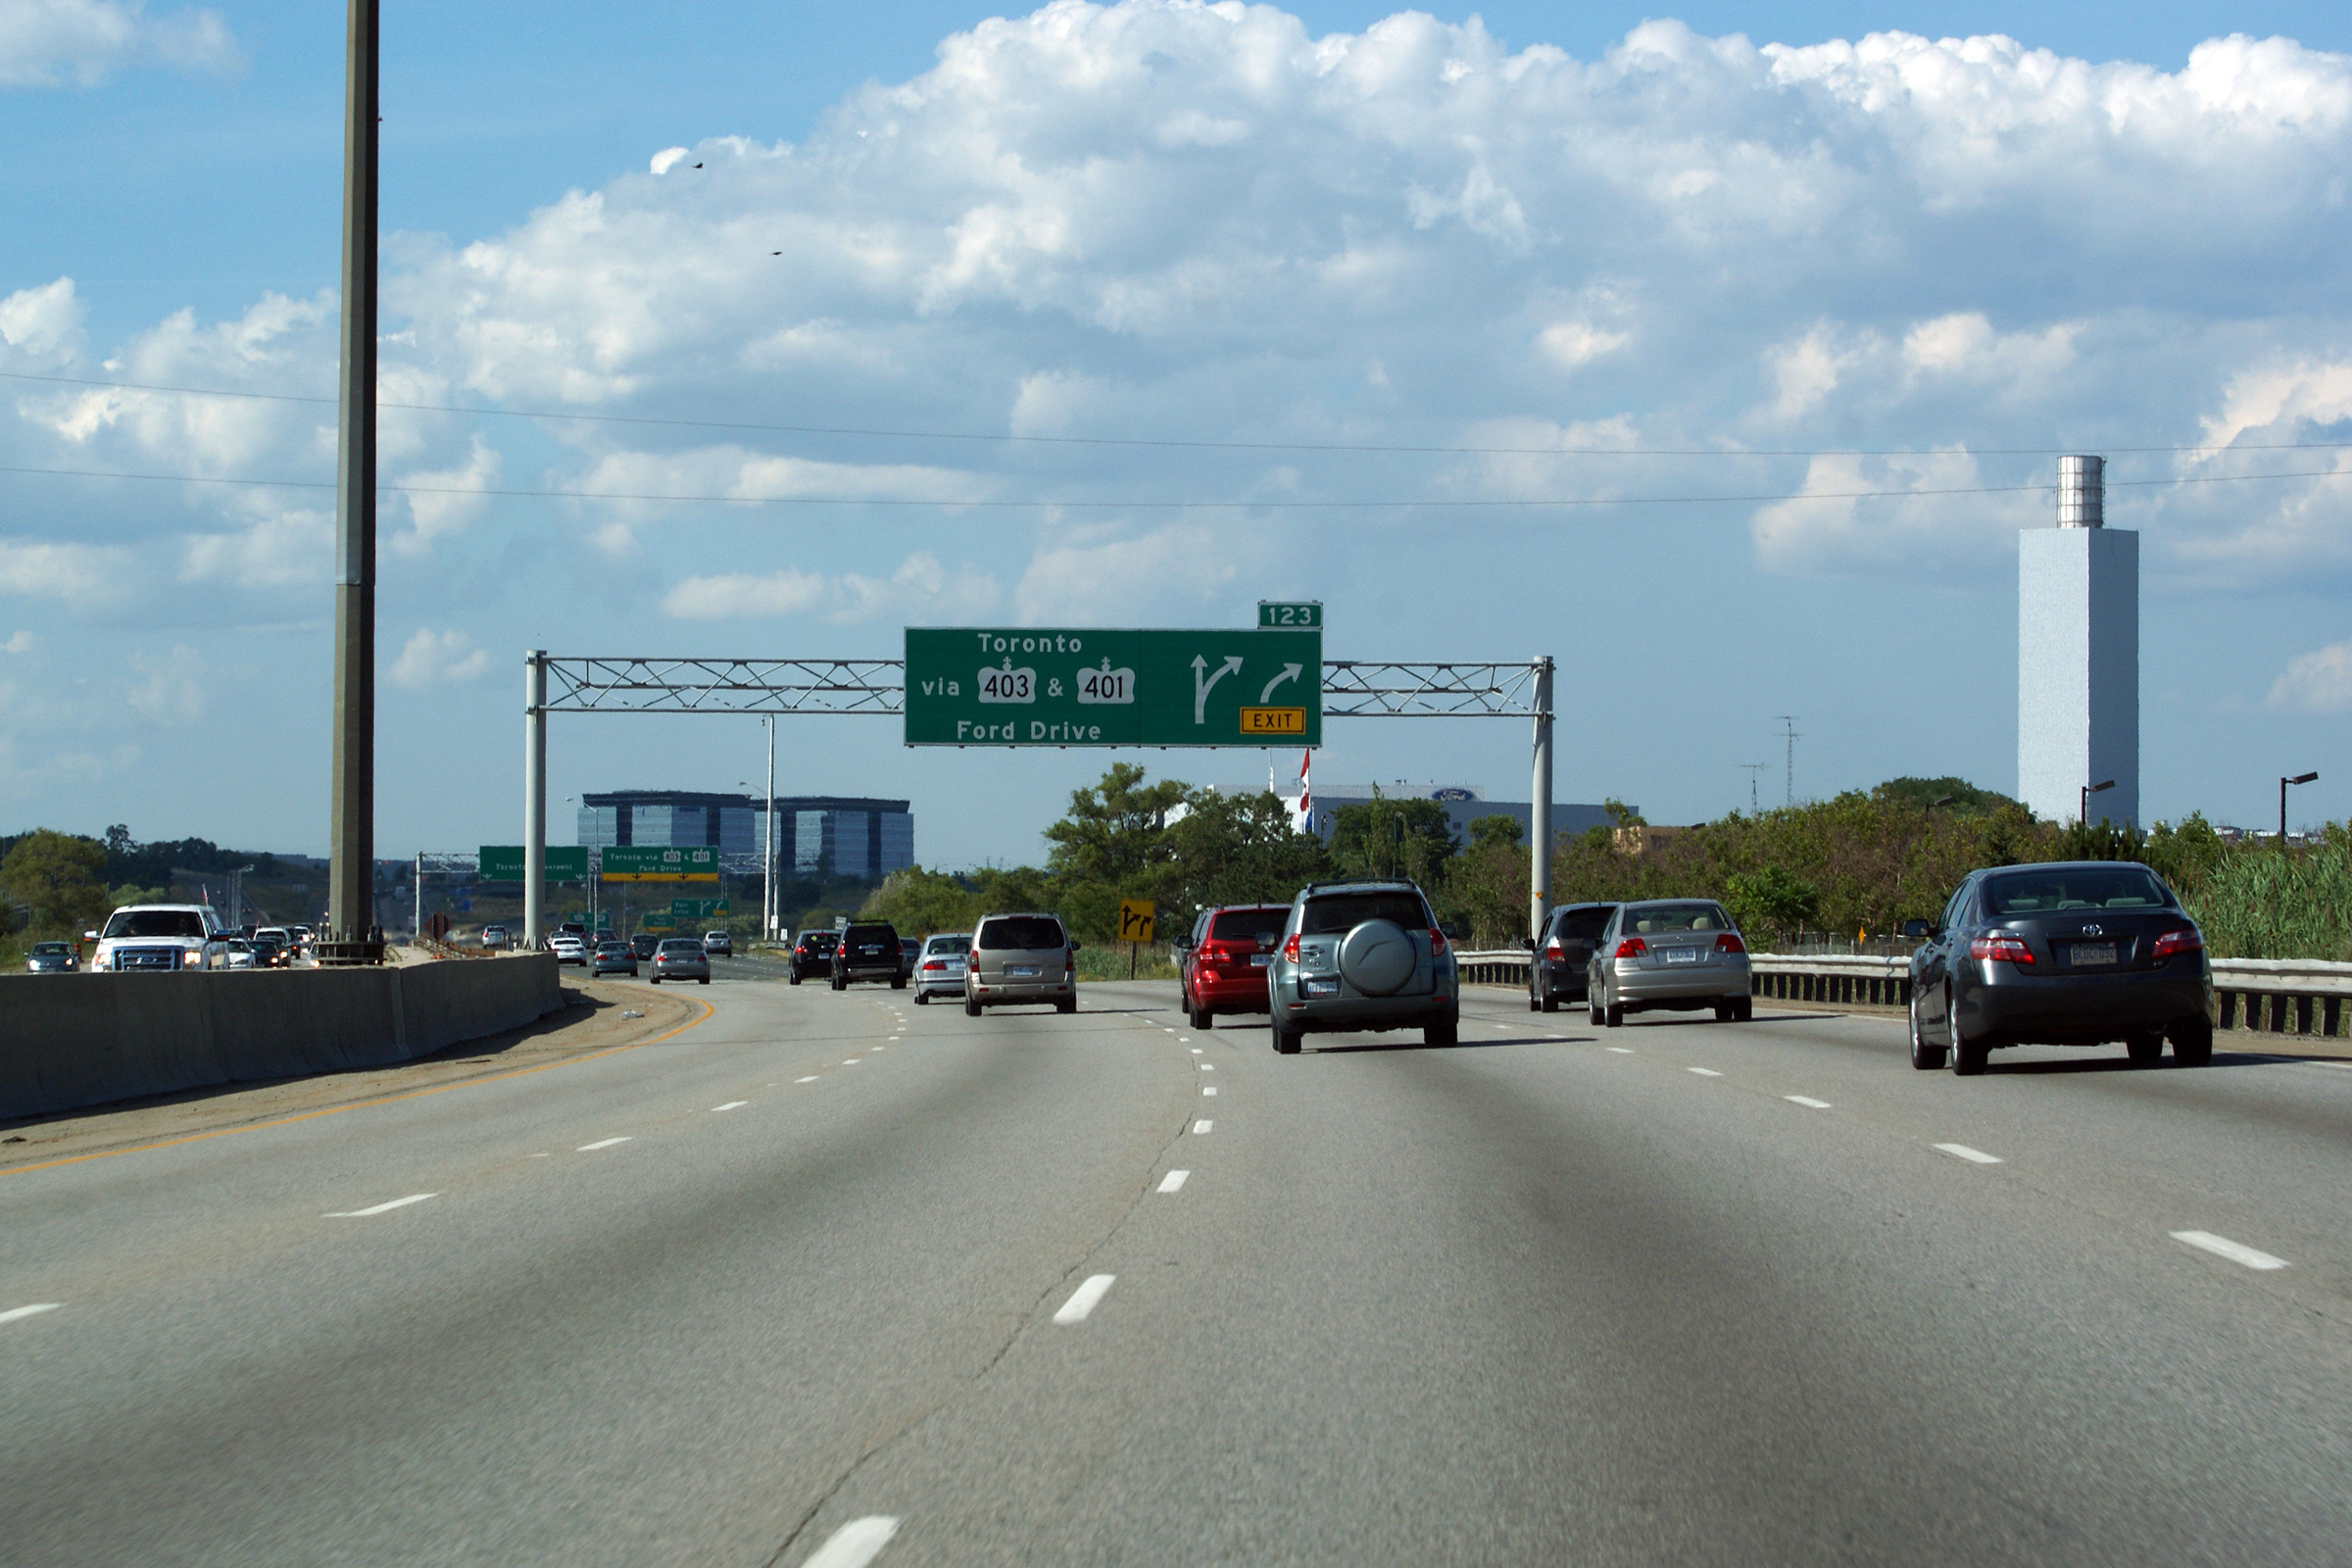
| Town of Oakville Regional Municipality of Halton |
Signage at the eastern QEW/403 split. Photo taken: July 30th, 2011. |
 (720x480) (720x480)(1440x960) (2400x1600) |
||
| Town of Oakville Regional Municipality of Halton |
Two views looking towards Hamilton at the Highway 403 and Ford Drive
interchange in Oakville. Upper photo taken: August 12th, 2006. Lower photo taken: June 27th, 2009. |
 (720x480) (1440x960)  |
||
| Highway 403 departs the QEW in Eastern Oakville where it will traverse through the central section of Mississauga. Click here for Highway 403 Images | ||||
| Continues on QEW Page 5 Images |
<- Page 3 Images Queen Elizabeth Way Images Index Page 5 Images ->
<- Highway 812 Images Back to Queen Elizabeth Way Highway 2 Images ->
Copyright (c) 2004-2012, Scott Steeves (Webmaster) scott@asphaltplanet.ca


 (720x480)
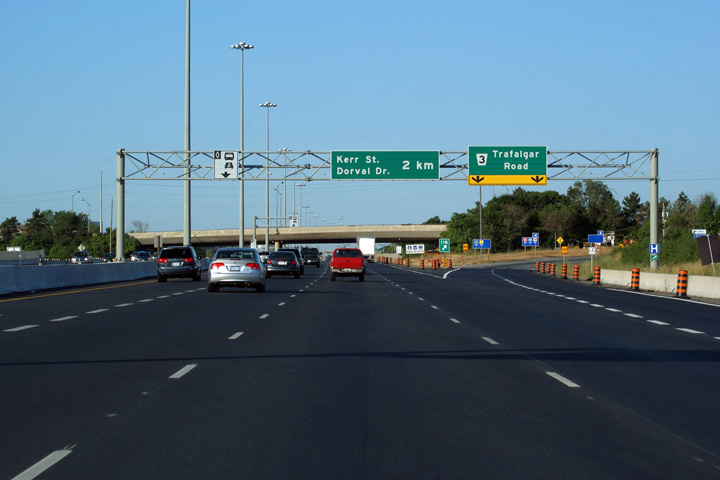
 (720x480)